
When I shared my Office Updates: The Before & My Plans last month, I mentioned that I was going to try my hand at wallpaper. I had never done wallpaper before, but my friend did some peel-and-stick from Target and it looked fantastic so I figured I’d give it a try!
I started with checking out the options at Target and Amazon and settled on a few favorites:
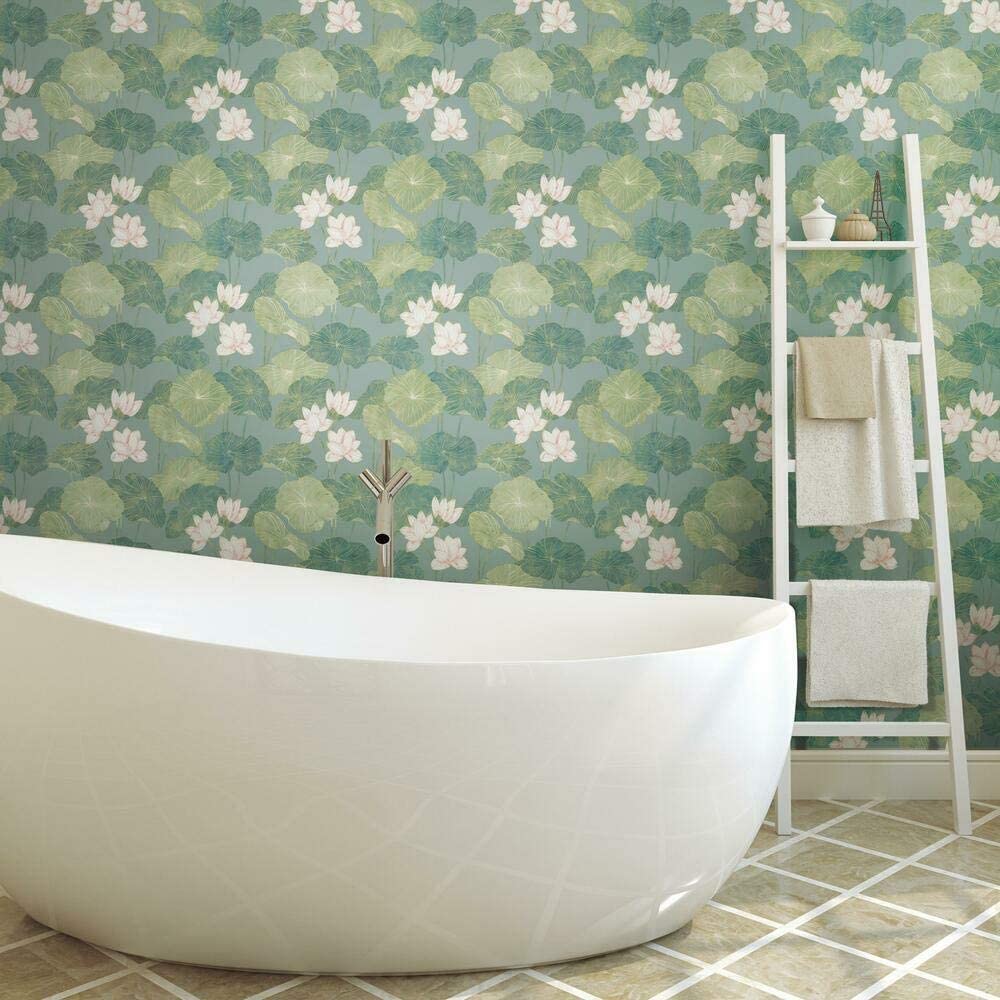
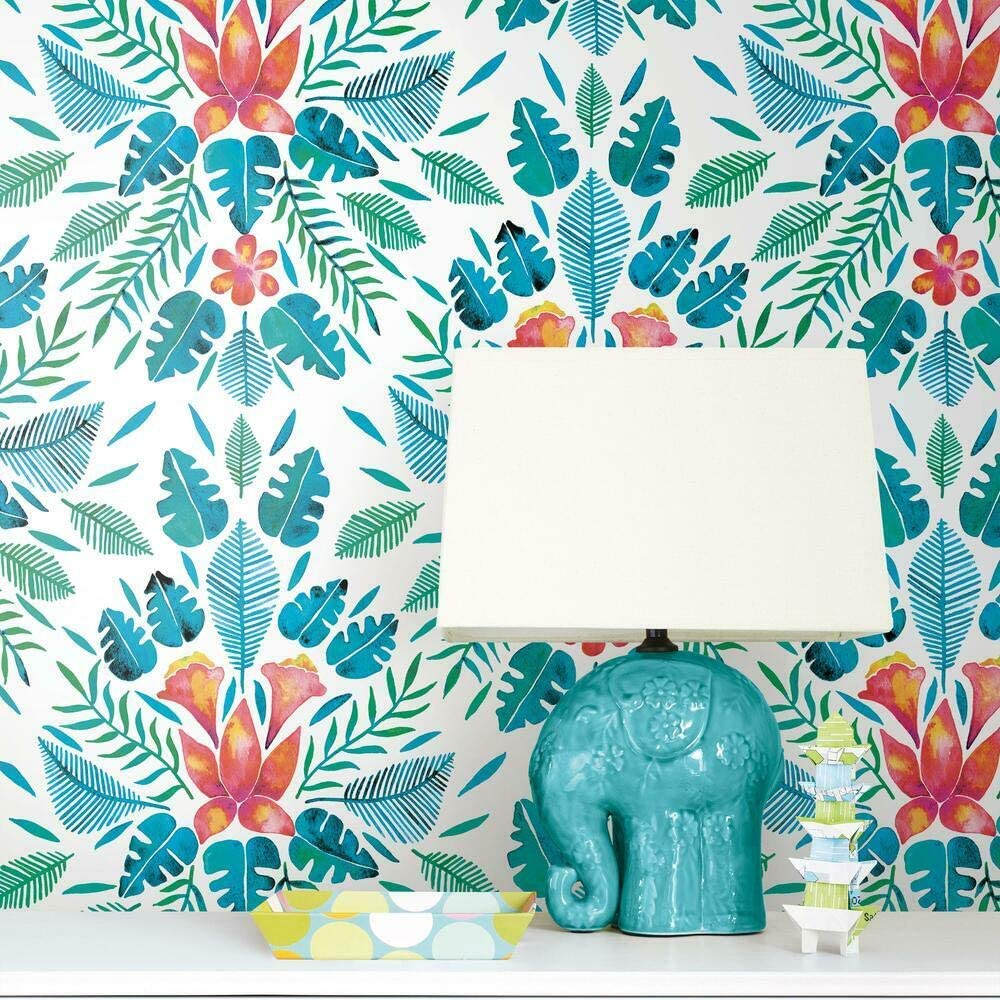
But then once I added up the prices for how many rolls I’d need, I let the money savings guide me to a final choice.
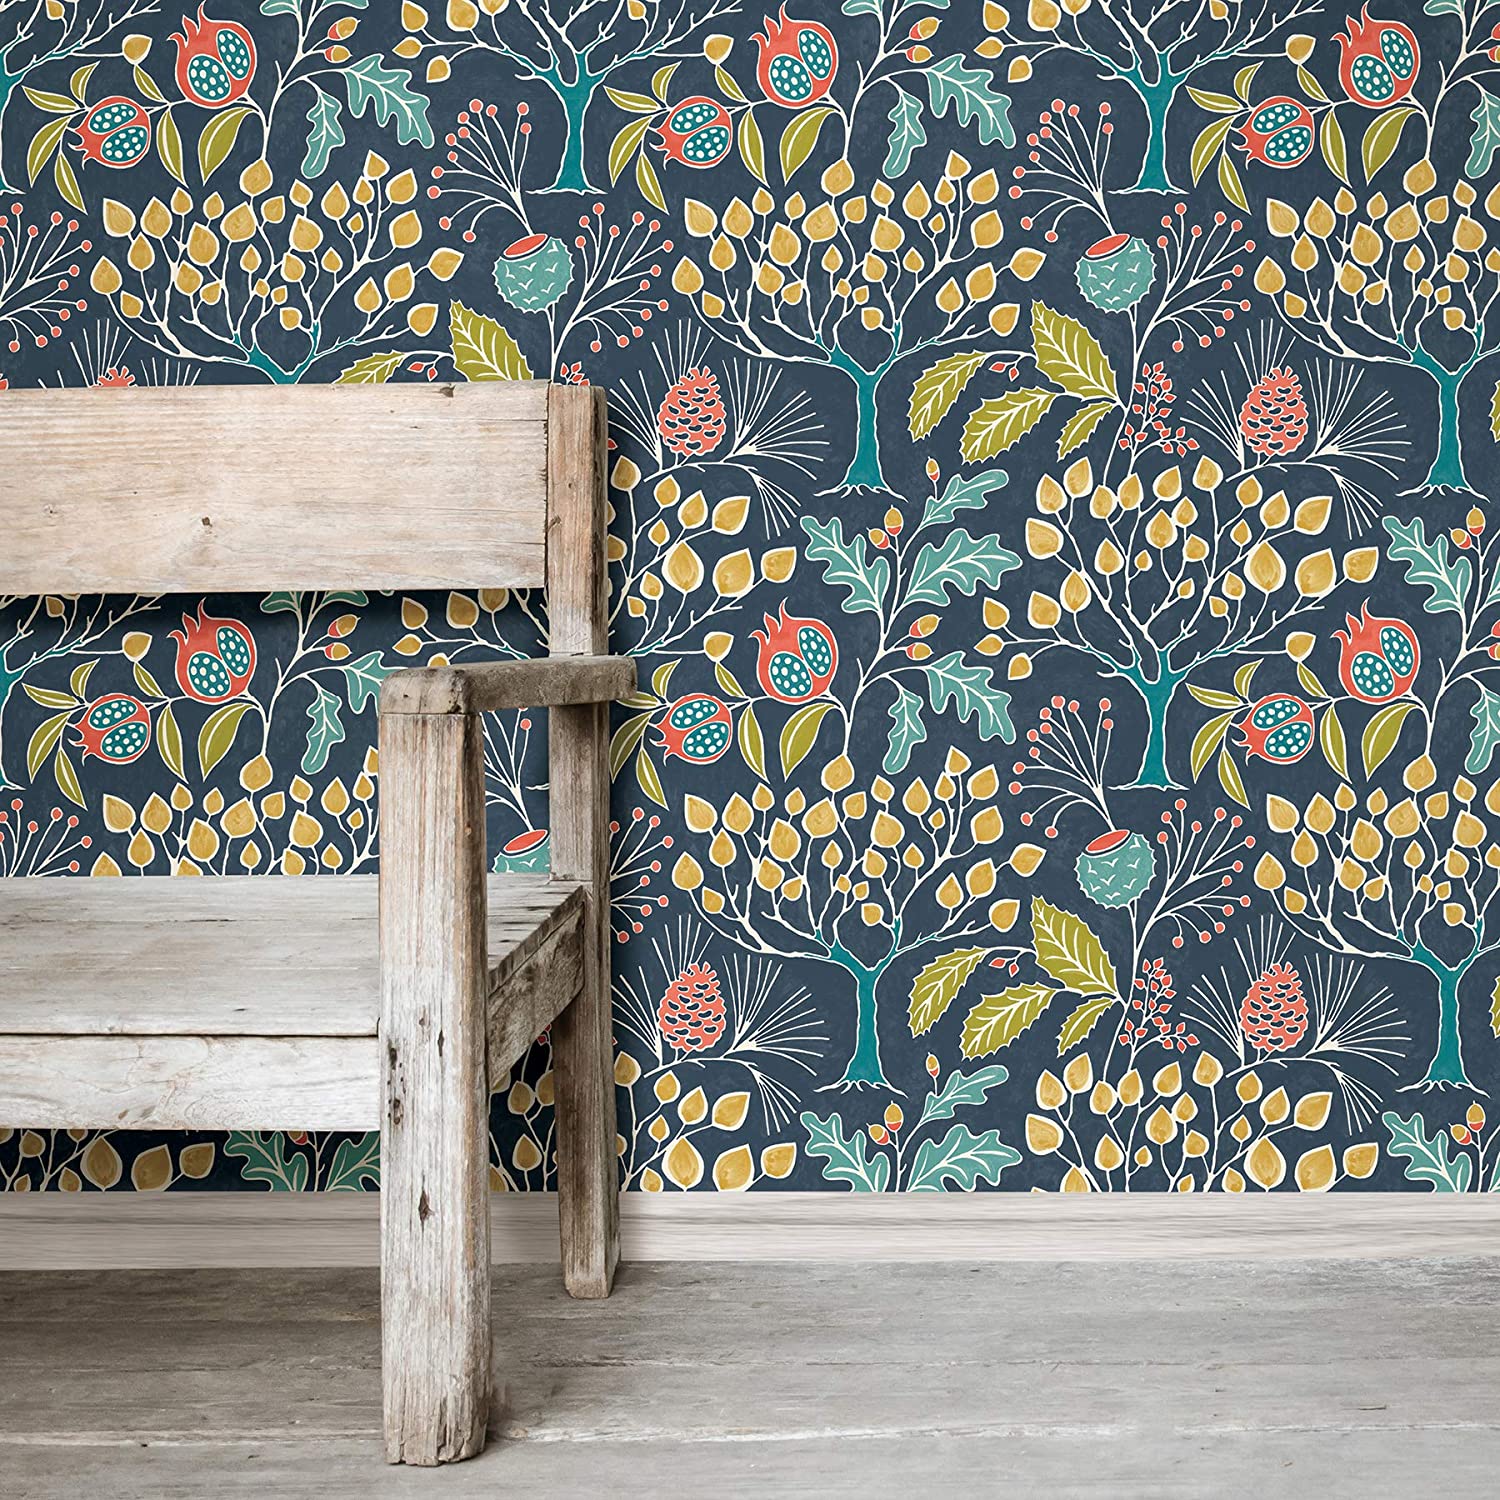
I ended up selecting this one from Amazon: NuWallpaper NU3038 Groovy Garden Navy Peel & Stick Wallpaper for $25 per roll. I anticipated needing 3 rolls, but ordered 4 rolls just in case I had any issues with lining the pattern up or miscalculating. It was free returns (and I have the option of dropping the return off at our local Kohls), so it made sense to be extra prepared.

I also purchased this Wallpaper tool kit for $6 which was EXACTLY what I needed for every step of the application. The best $6 I’ve spent all month!
I dragged everything away from the wall and grabbed a step stool, one roll of wallpaper and my tool kit.
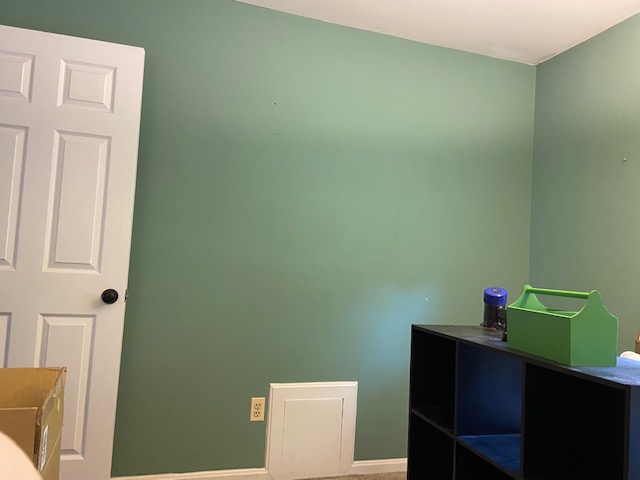
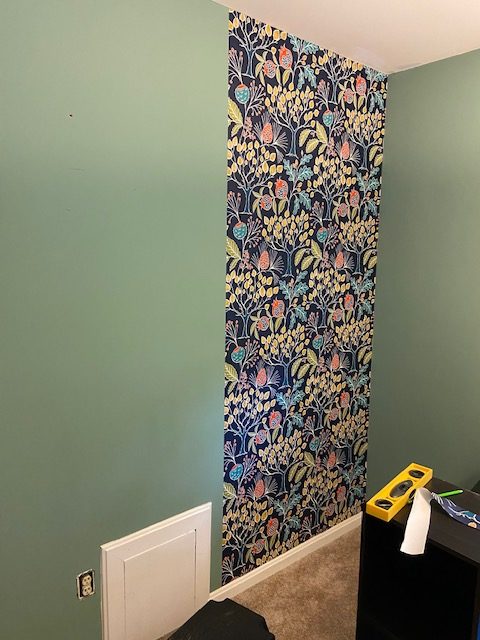
I decided to start on the far right side of the room just in case my last piece ended up being thin and wonky… it could hide behind the door. Here is the first piece:


Just like a sticker, you peel off the backing and give yourself a foot or so to work with. I applied the top as straight as possible and then slowly unwrapped the backing while smoothing down the wallpaper with the large red tool.
At the bottom of the wall, where it meets the trim, I used the knife to carefully trim the wallpaper to line up with the trim. The smaller blue tool was perfect if you had more aggressive smoothing to do — you could really get it in there without worrying about ripping the wallpaper.
For the second piece, I had to make sure to line up the design properly, which means there was lots of holding wallpaper over my head while sweating and swearing. To be honest, it’s not exactly perfect… but you can’t really tell.
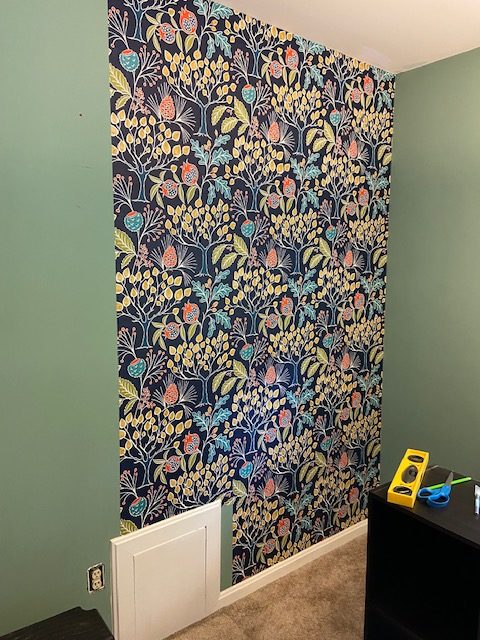


Third piece. Easy, peasy. If you notice, I skipped that little slice next to the plumbing access area. I came back to that bit at the end and cut a little piece that perfectly lined up from my scraps.
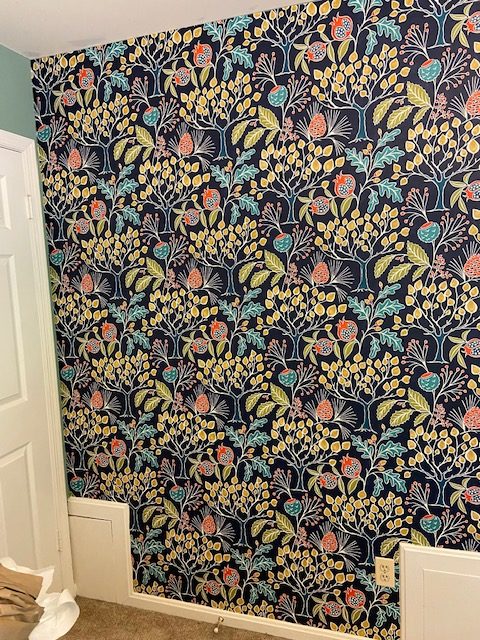
As I said, I was concerned that the last piece might be odd and wonky, but as it was it lined up great. In addition to using the knife at the bottom of the wall, I also sliced the side of the wallpaper so it lined up with the seam on the left.
The entire process took me 2 ½ hours from start to finish. I did the entire project myself with a step stool and no other help. I ended up using 3 rolls (with some bits left over) and didn’t open the 4th roll at all. The total cost of my wallpaper project was: $75 in wallpaper ($25 per roll) and $6 for the toolkit = $81 total.
I’ll do a full reveal of the before/after of the office as soon as I get it typed up, but I’m LOVING my new wallpaper. It just makes the room feel so much more fun and fresh and makes for a fabulous zoom background too!

Disclaimer: This post contains Amazon affiliate links. This means that clicking on a link may help me earn a small commission at no cost to you.
That looks so nice! Good job! I don’t know if I could do that. It would look nice in my back bedroom. Peel and stick, that might be easier. Thanks for the idea. I Love the pattern.
Thank you! It was really not THAT hard, just tricky in spots. A second person would have made it easier, I just wanted all the fun for myself… haha!
It looks so good! I can’t believe how well it coordinates (at least virtually) with your existing wall color.
Thank you! I am super happy that I didn’t have to bother painting the other walls in the room!
I love this so much! I’m so glad you posted about it…I’ve seen other “influencers” post about similar products, but they are all people who I feel like maybe aren’t 100% honest and are just doing it for free product or payment? So I’m very excited to see you posting about it, and having a positive experience! I’ve wanted to do something similar in our kitchen for a while! Thank you!
Awww thank you! This was 100% on my own and 100% not sponsored in any way — I actually haven’t done a sponsored post in years. However, even when I did do a sponsored post I was super honest because I’m so sick of people who LOVE everything they are shilling! lol This would be a great option for a kitchen, because the wallpaper is kind of plasticy and you can totally wipe it down with a damp rag if needed.
Very nice job. How sticky is it? With regular wallpaper, you can put it up then essentially float it around to get it to line up exactly where you need it, then smooth it out and move on to the next piece. I am picturing this stuff being like shelf contact paper and getting stuck to itself and everything and ending up with a $25 ball of garbage and a lot of frustration.
It is sticky, but once you put it up you can pull it back down with no issues to re-apply it straighter. If you stick it to itself, I imagine it would probably get stuck — however, since you are unrolling a foot or so, placing it on the wall and smoothing it down there isn’t too much of a chance to get it all balled up.
Thanks for the info!
I covered my linen closet shelves, and that was big for me!