
As I mentioned in my April Thrift Haul post, I found a pretty Line of Oslo blouse at the thrift store for $6 and immediately decided to buy it and dye it.
Here is the before:
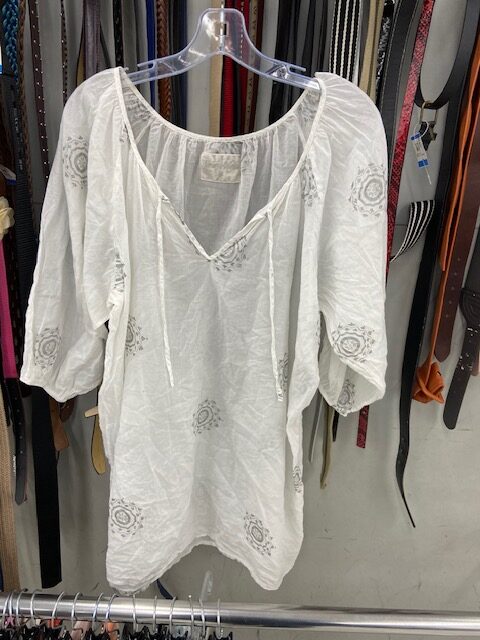
I don’t know if it’s actually a blouse, tunic, swim coverup or dress… it’s flowy and hits about the top of my thigh. I found the brand website and this pretty little top traveled here from Norway, so that’s pretty dang cool. I love the drape of the top, the sleeves, the neckline and the silver accents. However, I don’t really wear white.
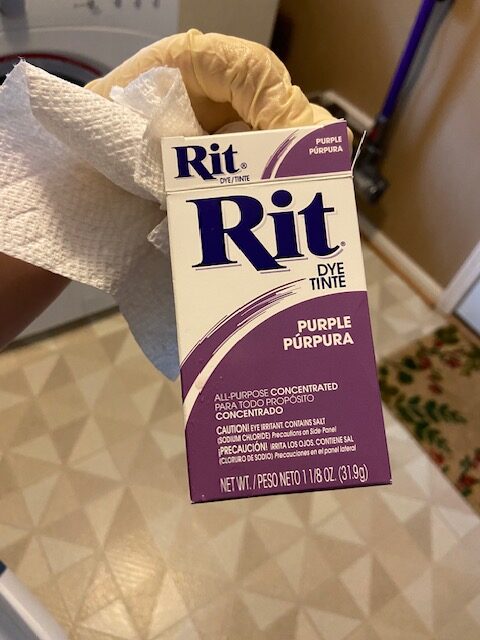
So, that brings us to the dye! I was initially thinking I’d go for a dark grey but when I checked my stash, I found a box of purple dye that I had never used. So, I figured why not? Here’s a link to the exact box of dye on Amazon if you’re looking for it.
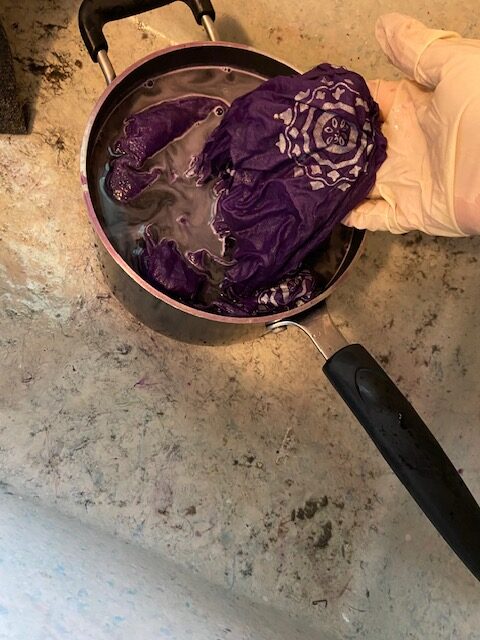
Anyways, I could not have been lazier with this project. I put on a pair of gloves, wet the shirt, added the powder dye to a pot of hot water (it’s a pot I only use for dying… not for food) and swished it around for maybe 5 minutes.
I didn’t want it to be super dark purple, I just wanted it to be less white. And I wasn’t sure if the silver was going to show through or not. So, about 5 minutes and I was done. I rinsed it and rinsed it until the water was mostly clear. The photo on the far right is the rinsed color, however it always gets a bit lighter once dry.
I threw it in with the rest of my load of laundry through the washer (on cold) and the dryer.
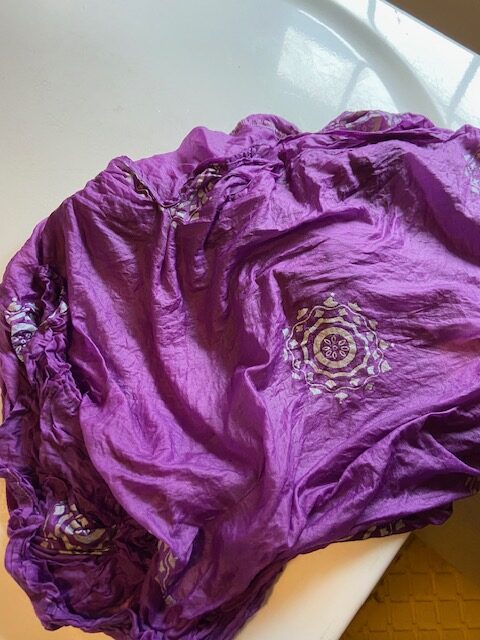
And here is the after:
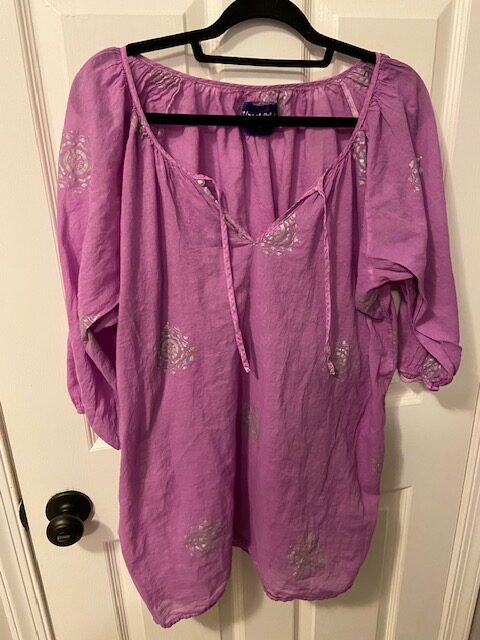
I love how it turned out and the fact that the silver came right though, so I didn’t lose the pattern at all. It’s still somewhat transparent, so I’ll have to wear it over something more than a bra. However, I’m thinking I’ll use this as a swimsuit cover up (with and without shorts) on our next trip. It also will look really cute knotted over the front of a dress, so I still get coverage but it can pretend to be a shirt.
So yeah, certainly worth $6 and not much of my time!
Disclaimer: This post contains an Amazon affiliate link. This means that clicking on a link may help me earn a small commission at no cost to you.
Very pretty!