I mentioned back in August that I was going ‘low gluten’ in my diet to hopefully help with some issues I’ve been having with Eosinophilic Esophagitis (EOE). I *finally* have an appointment with an allergist later this week, so fingers-crossed that they can do all the tests on me to figure out what’s going on with my body.
Since June I’ve been trying out lots of different Gluten Free foods and baking mixes. I gave some of my initial feedback in my August post, but I’ve tried a bunch more options, so I thought I’d do some quickie taste reviews.
For my Gluten Free shopping, our typical store of Aldi is relatively limited when it comes to GF options. I have been making a special trips to Wegmans (baking mixes, pretzels, cookies, noodles, breads), Walmart (baking mixes, noodles) and Giant/Martins (baking mixes, noodles) which have bigger selections to choose from. The Wegmans is not convenient to our home, but there is one by my office – so I make it a point to go by there after work to load up!

Muffin Mixes:
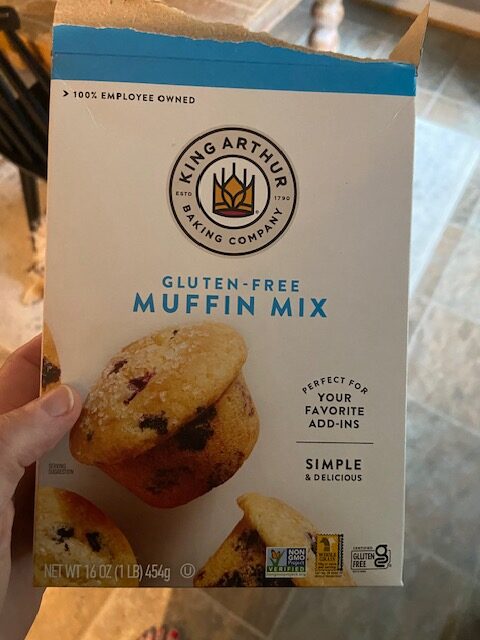
- Bettergoods Gluten Free Banana Nut Muffin Mix (Walmart) and King Arthur Gluten-Free Muffin Mix (Wegmans) – both of these are really delicious made with 1-2 smashed bananas and some dark chocolate chips. Both of them pass the ‘wow, they taste normal!’ test and my husband and I really like them.
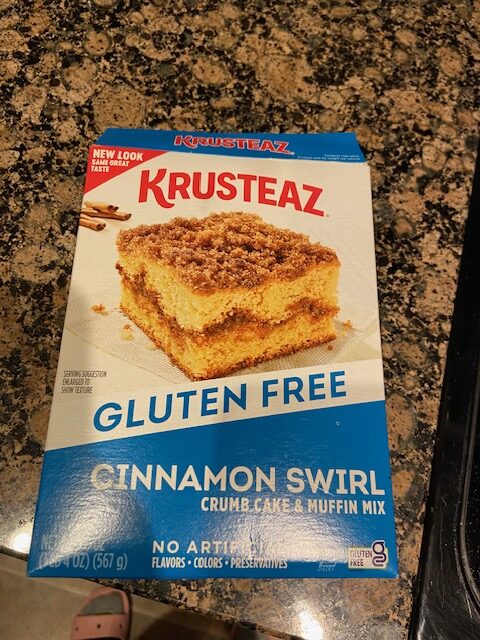
- Krusteaz Gluten Free Cinnamon Swirl Crumb Muffin Mix (Walmart) – if you like cinnamon coffee cake, this gluten free mix tastes practically identical to the filled-with-gluten version!
Brownie Mixes:
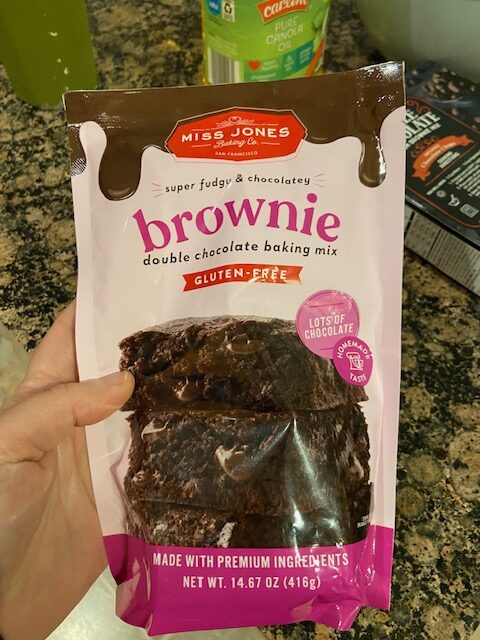
- Miss Jones Double Chocolate Gluten Free Brownie Mix (Walmart) – this is the only gluten free brownie mix that I think tastes just as good as the ones that have gluten in them. It is thick and fudgy, and I’m pretty sure if I didn’t tell my kid these were GF, he’d eat the whole pan without questioning them.
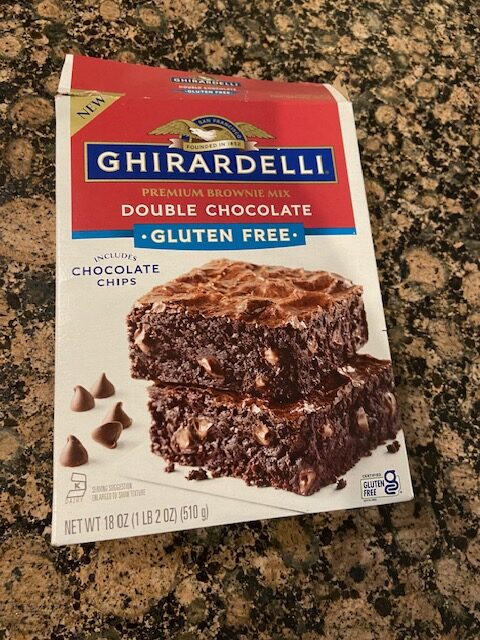
- Ghiradelli Double Chocolate Gluten-Free Brownie Mix (Giant/Martins and Walmart) – our preferred brownie brand is the Ghiradelli Double Chocolate Brownie Mix that we get at Costco (it’s four bags in a huge box and lasts us forever), because it’s so fudgy and yummy. I was super excited to try this GF version and they tasted good… BUT I had an EOE flare from them. So, while they do taste good, I can’t recommend them because I’m not sure what in the ingredients caused my flare.
Other Treats:
- Krusteaz Gluten Free Meyer Lemon Bar Mix (Walmart) – Krusteaz does it again with this lemon bar mix… it tastes just like the kind that contains gluten!
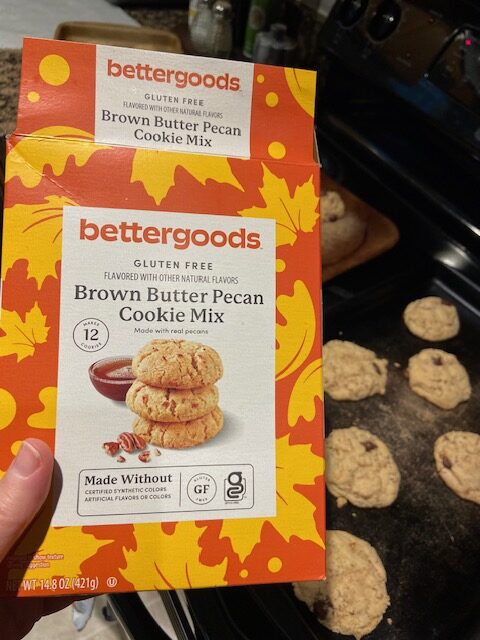
- Bettergoods Gluten Free Brown Butter Pecan Cookie Mix (Walmart) – I picked up a box of this mix at Walmart (which has an impressive selection of GF mixes) and it was just ‘meh’ when I made it. I even added some dark chocolate chips to fancy it up a bit, but this mix was underwhelming.
I’m about 90% sure that gluten is one of my triggers (there may be more), so I’ll be continuing on this low gluten/no gluten journey for a while. If you’ve gone gluten free – either by choice or necessity – what are your favorites? I’m taking snacks, baking mixes, bread items that don’t taste like cardboard, etc.