Another Laundry Improvement

Almost exactly 2 years ago I posted about my *groundbreaking* idea of having two laundry baskets in my closet (read it here). Sure, it wasn’t rocket science, but since implementing my new approach I have shrunk my clothing by accident probably 98% less often.

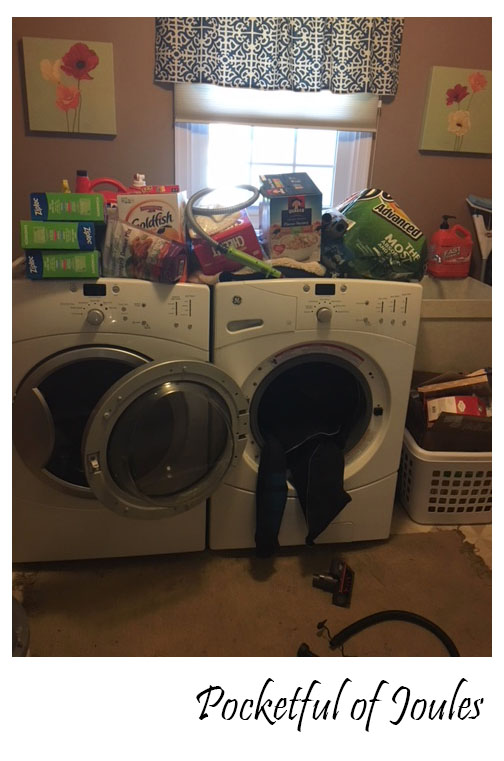
There was one issue though. After washing my ‘no dryer’ items, I’d lay them all on top the washer/dryer to let them air dry. Or, I’d stick them on hangers and hang them all over my bedroom – on my closet door, on my dresser knobs, on Ollie’s tail if he was moving too slowly…

It was a mess.

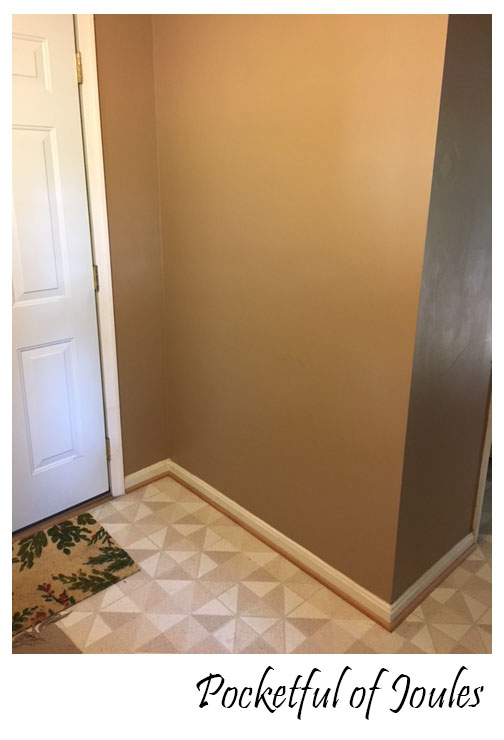
So I decided to improve the situation with a fancy, new laundry rack. I didn’t have space for a standing rack though, so I found one that mounts on the wall. I checked out a bunch of options and ended up with one that had 3.5 out of 5 stars and almost 100 customer reviews.

Specifically, this one:

I ordered it off of Amazon (of course, because I order practically EVERYTHING off Amazon nowadays) and it came a couple days later. I also ordered a set of clothespins and chia seeds and a dog collar and a lunch box…

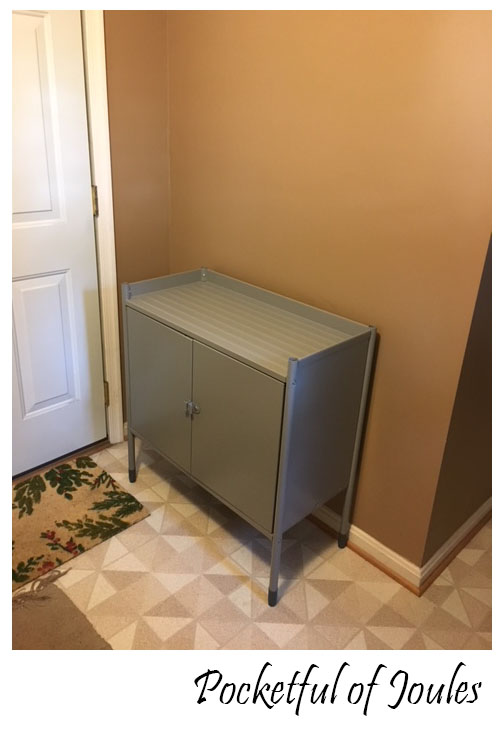
Anywhoo… it came like this:


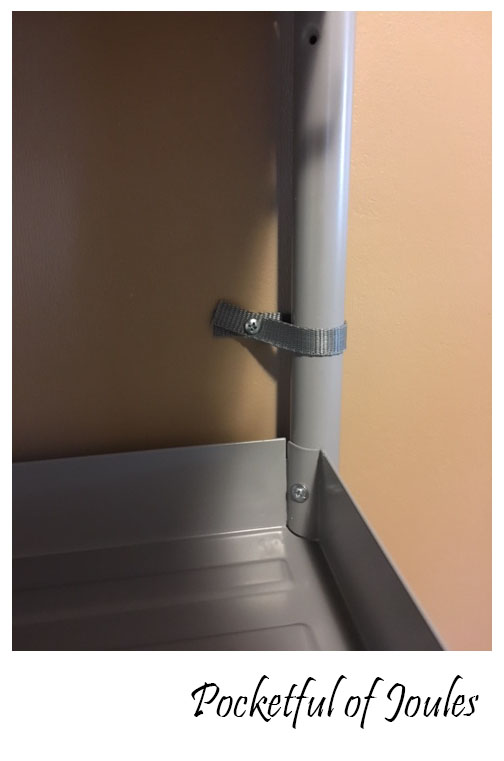
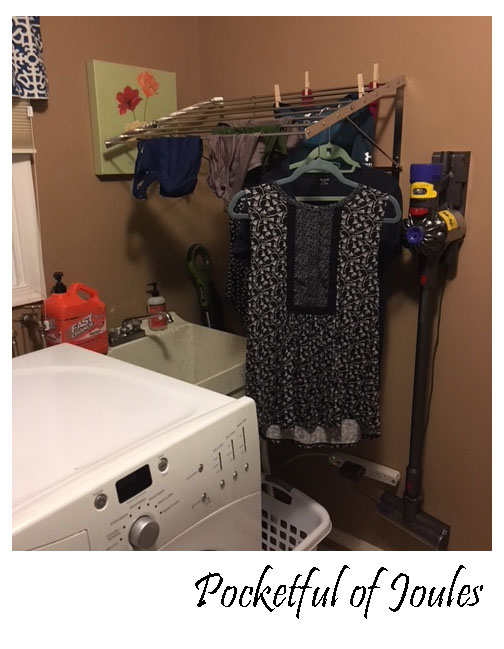
It wasn’t too much of a pain to put together, but it was missing one screw. I still haven’t gotten around to replacing it, which is kind of annoying. The whole thing went together in less than 20 minutes or so and then I screwed it into the wall (with drywall anchors):


I like that it collapses to the wall when I’m not using it and then I can easily open it up and hang items when I’m doing laundry:

This $50 investment makes doing laundry so much easier/better/more tolerable for me. I mean, I still hate doing laundry, but at least now I can hang everything up to dry without playing clothing Tetris on the top of the washer/dryer.

How do you air dry clothes? Do you have a clothing rack or just hang things all over the house?

Disclaimer: This post contains Amazon affiliate links. This means that clicking on a link may help me earn a small commission at no cost to you.

Like what you see? Share me with your friends!

A Storage Situation for all my Overflow Pantry Needs

When we moved into our house 6 years ago, I was pretty excited to have an in-kitchen pantry. I organized it back in 2013 and it pretty much stayed exactly the same ever since. Which, I guess, means that the organizers I bought worked really well.

The problem is Costco.

I try to only go to Costco every 4 – 5 weeks or so. Each time I go I pick up a huge piece of salmon, which I then cut into 4 pieces and stick in the freezer. We eat salmon once a week (it’s part of my lowering cholesterol diet), so once it’s gone… I need to go back to Costco. I also like to buy a huge bag of mixed nuts (each bag lasts us one week of packing lunches), a huge jug of olive oil for refilling our regular bottle, bulk portions of goldfish and cheese-it’s, toilet paper, paper towels, etc.

This stuff does NOT fit in the pantry. So, instead I would just kind of pile it up on a table sitting in my laundry area. We don’t really have a laundry “room” because there is no door. Instead you can actually see the laundry area from the corner of the den. There is also a door to our backyard there, as well as a door to my garage.

I put a table across from the laundry machines as a way to have some nice hidden storage, but it wasn’t cutting it. I forgot to take a photo of the actual table, but here is our stash piled on top the washer/dryer after I removed it:

Here is the space where the table used to live… next to the door to my garage:

It’s a perfect little area that is hidden from the den, but still pretty accessible for easily grabbing and refilling stuff… like goldfish.

We took a fun family trip to Ikea (MEATBALLS!) and after wandering around the store in a stupor for an hour, I picked up a HINDO shelf unit. Specifically, a HINDO shelf unit and a HINDO cabinet unit which totaled $119.

My husband brought in the two flat pack boxes and then escaped to the garage while I put it together. I’m actually one of those weird people who really enjoys putting together furniture, so it worked out well for both of us.

Here’s the bottom part all assembled:

After putting the top shelving unit together, I grabbed some drywall anchors and secured the entire unit to the wall. This is super important to do if you have a kid in the house, because you don’t want a heavy unit to fall on them!

Here is a close up of one of the straps:

A strap wraps around the bar and then gets screwed right into the drywall anchor on both sides of the unit.

And here is my new overflow storage area:

{Swoon}

I LOVE it. I’m actually at that point where I will just randomly wander into the laundry area and stare at the storage unit. It does look close to my garage door, but it doesn’t get in the way when I open it. The cabinet area stores accessories for our vacuum cleaner and steam cleaner. The upper shelves hold all our bulk pantry stuff with room to grow. The cabinet and shelving area are both super sturdy and I’m really happy with how it all turned out!

Like what you see? Share me with your friends!

I did a Paint Night & It Wasn’t a Disaster

Overall, I’d consider myself a pretty crafty person. Over the years I’ve done some cross-stitch projects, whipped up some pretty snazzy stained glass windows and even threw some porcelain on the pottery wheel. While I enjoy painting stuff like furniture and walls, I’ve never really been artistic in the way of being able to draw things. So, whenever I’d see someone post about a Paint Night event I’d think it was cool but knew that my painting would be the worst in the bunch.

Also, what would I even do with a terribly painted picture of a random flower or sunset? Probably just hang onto it until I decided to throw it in the fire pit…

A few weeks ago I saw that they were doing a Maryland-themed paint night event at the Columbia Arts Center.  So, I decided to suck it up and try it out for myself. The class was taught by Mark Russo from Mark Russo Creations and he provided the paper guide to our design, a reclaimed wood pallet, all the paint and measuring materials needed… and the moral support.

I was actually surprised that there were no stencils involved, just a sheet showing you how to divide up the sections of your design. Oh, and I could have done a few different designs such as a Maryland crab, Black Eyed Susan (the Maryland flower) or the Maryland Flag (with or without a crab added) and I decided to stick with just the flag design.

I started by sectioning out the pallet penciling on all the lines that I would need to make the design of the flag.

Then, I used the paints they gave me to mix up some custom colors and started on filling in the guides that I had drawn.

I did two coats of each color and finished up by adding on the black and then white to cover up some of my pencil lines.

And BOOM, I’m done! It took about 2 ½ hours but I did this 100% by myself and I’m thrilled at how awesome it turned out!

Now that I’ve successfully completed my first pallet painting, I’m thinking about doing another one. I have the guides for the Maryland flag, so I might try to do my own Maryland flag beer openers on some blocks of wood, like on Mark’s Instagram page. If I can figure them out, the will make awesome Christmas gifts for my siblings!

Have you done one of those Paint Night classes? What did you make?

Like what you see? Share me with your friends!