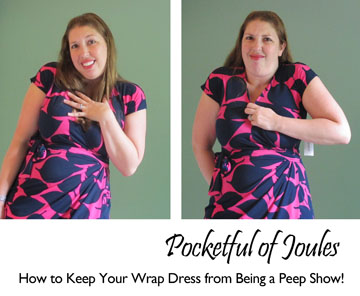
How to Keep Your Wrap Dress from Being a Peep Show

I went to Nordstrom Rack and found this Maggy London wrap dress marked way down to just $35. I couldn’t resist it! The colors were pretty, the price was right and the fit was great, except for one little thing…

IMG_4049

BOOBS!
Right?!

Wrap dresses are super flattering, especially for us curvy girls with boobs and hips. However, they also fly open like they’re advertising your goodies for sale.

Yes, you can always throw a camisole on underneath your dress, but when it’s 95 degrees and humid the last thing you want is another layer of clothing. So you can do one of two things, strategically keep your hand over your cleavage or just yank that baby back together when nobody is looking (you hope).
How to Keep Your Wrap Dress from Being a Peep Show

As attractive as those options tend to be (obviously), they are not really a great long term solution. Which brings me to the point of today’s post: a super easy way to fix your wrap dress for less than $5.

And no, the answer is not to use a safety pin. {However, if you MUST use a safety pin, use one of these  — it’s an assorted set of black and white pins so that they don’t catch the sun and glint… catching everyone’s attention!}

Before you start, go out and buy something like this:
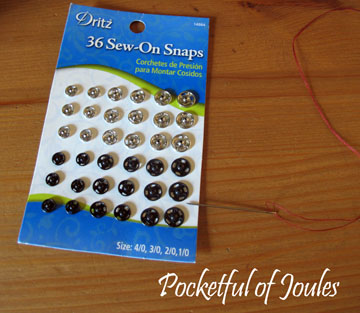
snaps

You can get sew-on snaps at your local Joann’s or online. Here’s a set on Amazon.com for just $3. And before you tell me what a horrible sewer you are, let me say that ANYONE can do this. I wouldn’t consider myself a good sewer, just a randomly capable person who can figure stuff out logically. If I can do this, you can do this!

Step 1: Put your dress on and use a safety pin to hold the top together just a smidge below where you’d like it to fall. Take the dress off over your head, keeping the safety pin attached to the dress.
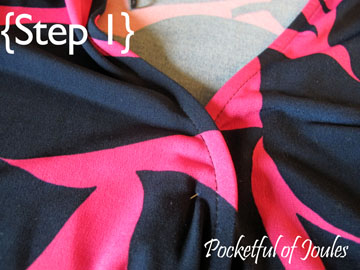
step 1

 Step 2: Leave the safety pin in your dress. Take the pokey end of a snap (I used the largest one in the package) and sew it onto the side of the dress that will lay closest to your skin. Try to use thread that will blend into your dress; however if you don’t have matching thread just keep the sewing on the folded over area of the seam. Then, you won’t be able to see it come out the other side.
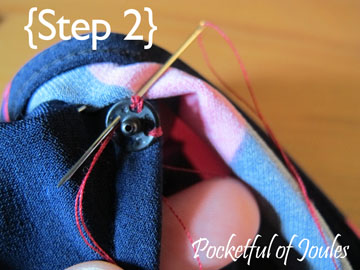
step 2

 Step 3: STILL leave the safety pin in your dress. Line up the unsewn side of the snap with the one that is now sewn onto your dress and attach above the safety pin. Once again, be sure to keep your sewing on the flap so that your thread won’t be seen through the fabric.
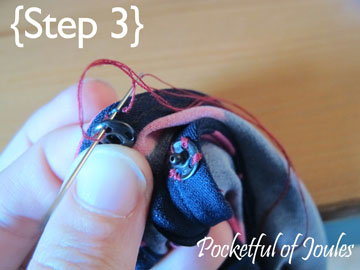
step 3

Step 4: Once both sides of the snap are sewn on, make sure they line up and snap together. NOW you can remove the safety pin.
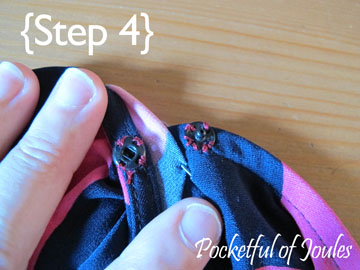
step 4

Step 5: Look the safety pin is out and the dress is snapped together!
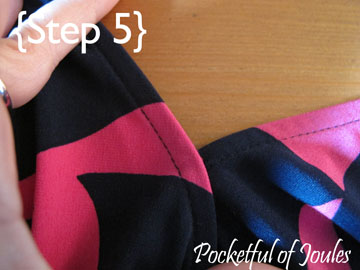
step 5

You’re done! All that’s left to do is for you to try your dress on again and marvel about the fact that you no longer showing off your bra.

Wrap Dress tips - Pocketful of Joules

And if you’re wondering what that cord is in the picture, I’m trying out a remote camera shutter and I’m kind of loving it! I’m also loving my new wrap dress, which is why it will be going to BlogHer with me this week.

Are you a fan of wrap dresses? Do you go the camisole route, or just stick a safety pin through the fabric and pretend to ignore the shiny gleam that peeks through?


Disclaimer: This post contains an Amazon Associates link. This means that clicking on a link may help me earn a small commission at no cost to you.

DIY: Not Your Grandma’s China Cabinet

I’ve always wanted a china cabinet. Like a REAL, grown up china cabinet.

I was given my paternal grandmother’s china years ago when she passed away and I’ve never had a place to display it. So, for almost exactly 10 years it was wrapped in newspaper and stored in the backs of closets, in my parent’s basement and then finally moved into my own basement when we did our last move about 2 ½ years ago.

Well, I finally have my very own china cabinet! It was in terrible shape when I first got it – the top portion needed some hard scrubbing, three coats of Old English cleaner and two more coats of Orange Clean dusting spray – but now it’s gorgeous!

I mean, it still smells a little, but it really is quite a hottie:

china cabinet - before

Once I had it set up in my kitchen and anchored to the wall (I highly recommend these: Safety 1st Furniture Wall Straps) I wasn’t really sure what to do with it.
Mixer

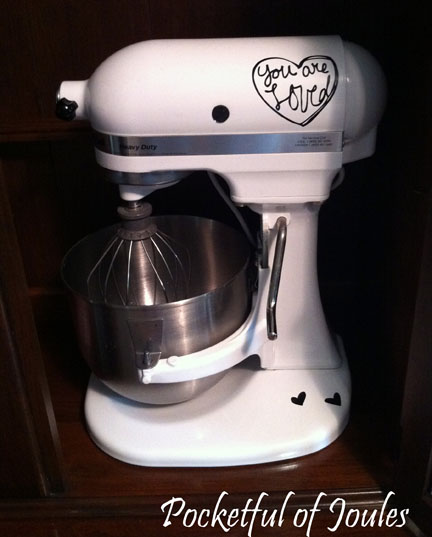
I knew I wanted to store my mixer inside, because it’s cute and I like it to be on display. But other than that, all I knew is that I didn’t want some boring old set up of china that could have been taken straight from my grandma’s house. I imagined something fresh and eclectic that looked like it belonged with the rest of our house… so here’s what I came up with:

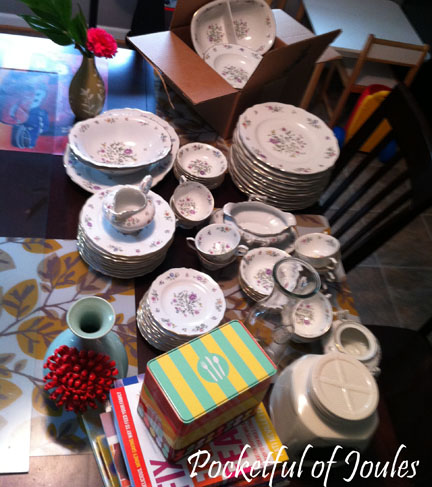
First I gathered all the china and some other stuff that I thought might work in the cabinet.

stuff spread out

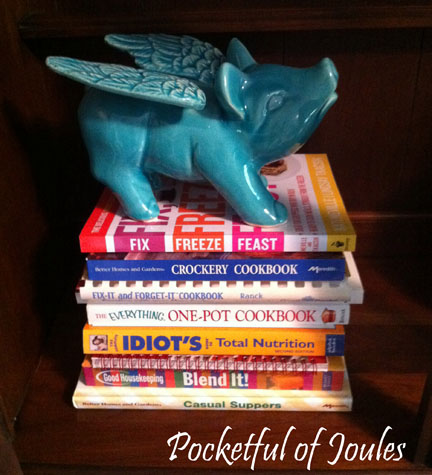
Then, I started playing with different stacks of stuff. I wanted to include some silly stuff, some color and also make it balanced to the eye.

book stack


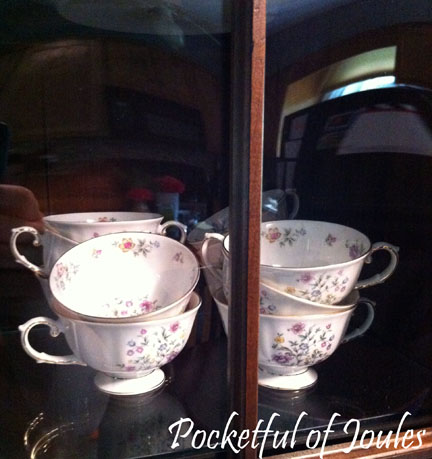
teacups


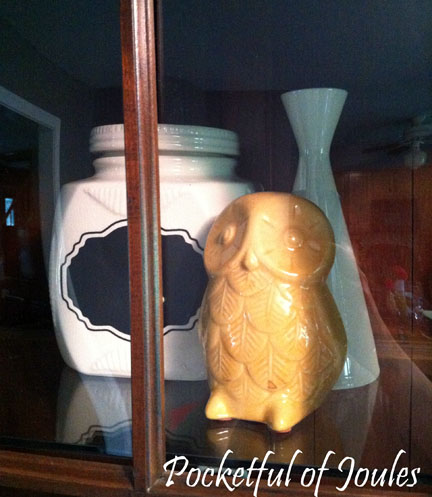
yellow owl


silver owl

I had to move things around a few times to make sure that it looked ‘right’ to me… I tried different stacks of plates, adding in random vases and trinkets, and at one point considered including a small painting or picture. When I thought I’d found the perfect setup, I realized that the door wouldn’t close with the large plates stacked by it, so I basically had to move everything around all over again.

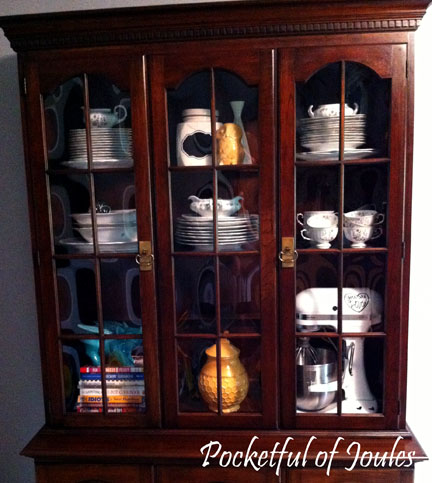
Here’s a close up of where I ended up:

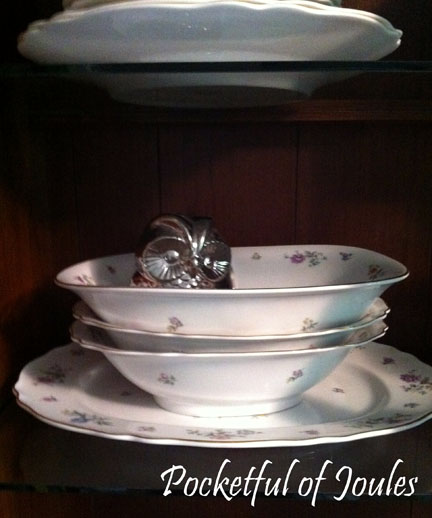
finished cabinet

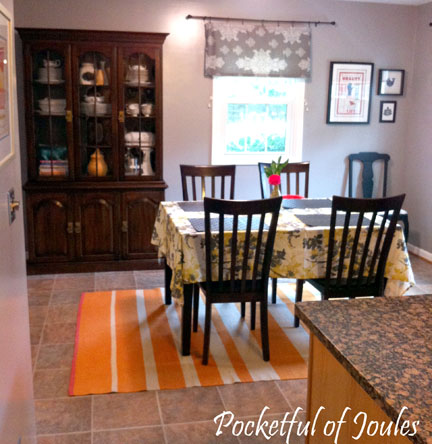
Here is a wider view that shows you how my big, handsome china cabinet looks with the rest of the room:

after - wide shot

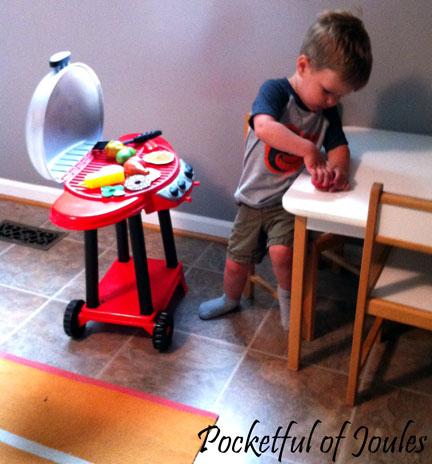
Also, here is what Jack was doing while I was moving things around in the china cabinet:

Jack angel

However, before you think he’s a little angel playing nicely with his grill… here is the other side of the room:

mess

What do you think of my china cabinet? Am I weird for including my flying pig with my grandmother’s Millefleurs by Franconia china set? Do you assume that bloggers all have clean houses because of how they crop their photos?


Disclosure: Pocketful of Joules is a participant in the Amazon Services LLC Associates Program, an affiliate advertising program designed to provide a means for sites to earn advertising fees by advertising and linking to amazon.com.


5 Tips for Having an Awesome 4th of July Party on a Budget

We’ve been talking about having our friends over for an outdoor party pretty much ever since we moved into our house a couple years ago. We even added our fire pit with the hopes that we could have some fun ‘couples nights’ sitting around a bonfire with marshmallows and wine.

Work and life kept getting in the way though and we keep putting it off. However, our neighbor’s annual fireworks plans nudged us in the right direction. Every year he has spectacular fireworks that rival the county’s show, right in our backyard. This year, we decided to take advantage of the free entertainment and have a party!

We didn’t want to go CRAZY though and end up with something that was just going to stress us out. See, I LEARN from my mistakes… After swearing off Pinterest and keeping it ‘easy’ I think I’ve come up with the perfect plan. If you’re planning to have an Independence Day party, or any get together this summer, you may benefit from these tips too!

#1. Keep it Easy AND Tasty
You don’t have to be a master chef to invite people over to your house. We’ve decided to keep it simple by grilling hotdogs and hamburgers the day of the party. I’ll make my easy pulled pork recipe in the crockpot that morning, so that I can pretty much forget about it until people start showing up. Add in a couple bowls of potato chips, a watermelon and a store-bought sheet cake, and we’re good to go.

For drinks, we are going to stock up on bottled water at Costco and have invited our guests to BYOB or BYOW (for my wine loving friends). I’ll start the party off with a few bottles of wine chilling in ice. Oh, and we can’t forget the s’mores makings! I plan to have marshmallows, graham crackers and chocolate bars on a tray near the fire pit. It doesn’t take a bunch of time or money, but I think that everyone will have something to enjoy!

#2. Ask for Help
You don’t have to do everything yourself. If you have a couple friends who love to cook or bake, see if they’d like to bring something. If your brother is a strong and helpful guy, ask if he can come over early to move some chairs outside. Maybe your sister has a super awesome corn hole set? Remind her the day of the party to bring it over with her.

Remember, there are no bonus points for running yourself ragged to do it all on your own!

#3. Don’t Check Pinterest
Look, I love Pinterest too. There are a bazillion fun ideas for pretty much every aspect of your life. However, in the interest of keeping your party SIMPLE and not driving yourself nuts… just stay away.  Otherwise, you’ll end up buried in mason jars, glitter and a glue stick and want to just call the whole damn party off! I just keep telling myself that in order to have a successful party it is NOT required to have fresh squeezed lemonade with sassy homemade ice cubes and hand picked twigs…

#4. Hit up the Dollar Store
I stopped by the Dollar Store over the weekend and got the MOTHERLOAD of party supplies for a fraction of what it would have cost anywhere else. Here are some of my scores:

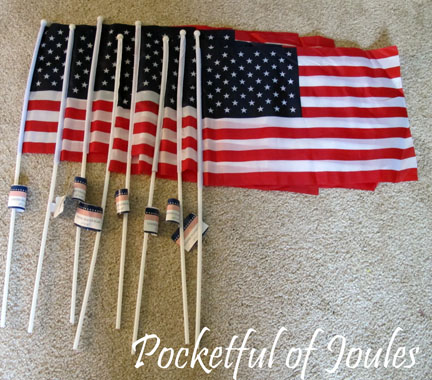
flags

I grabbed 8 flags ($8 total) to put by our mailbox and next to our driveway so that people know that they’re at the right house. The best part is that after the party I can just stick them in the basement until next year.

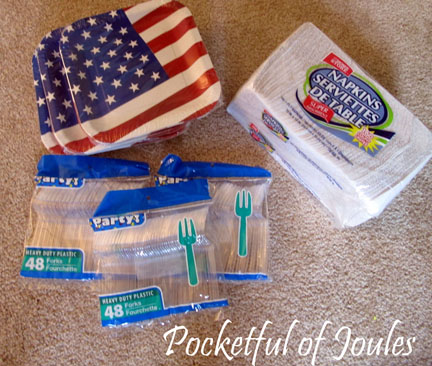
plates

Plates, plasticware and napkins were $7 total for EVERYTHING. Just for comparison basis, I checked Party City’s website and an almost identical set of forks was $4.99. So in just plasticware, I saved almost $12.

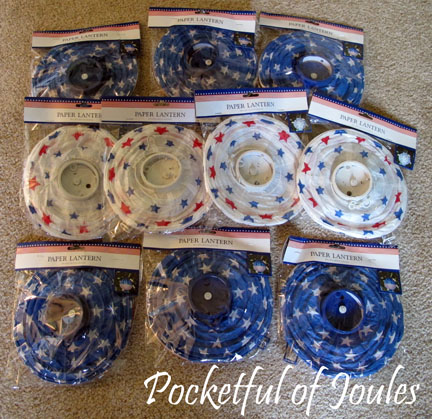
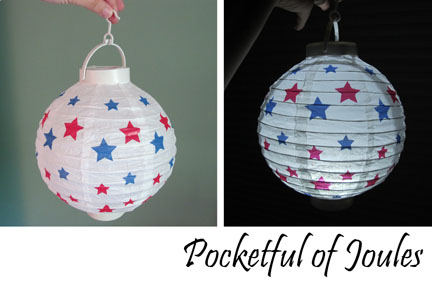
all lanterns


lantern - lit

Okay, I saw these cute lanterns and snapped them up! Only $1 each and they even LIGHT UP!? I’m probably going to spend more in batteries than I did on the lanterns, but I don’t care because I’m in LOVE. I’m going to throw some of these up in the trees outside so that after we watch the fireworks we can follow the glowy trail back to the house.

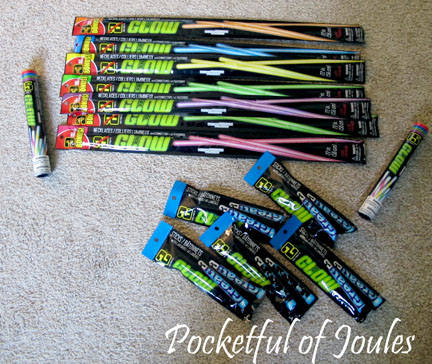
glow stuff

I’ll admit, I might have gone a little crazy with the glow sticks, necklaces, and bracelets ($14 total). But when I was a kid I remember ALWAYS wanting to get the glow necklaces at the fireworks and they were like $5 each and my parents would say no. So GLOW NECKLACES for EVERYONE! I might end up hanging the smaller glow sticks on the edge of our fence so that people can see where to go.

If you’re planning a party, RUN to your local Dollar Store RIGHT NOW because they are a treasure trove of awesomeness!

#5. Mismatched = Eclectic
I don’t know about you, but we don’t have a matching outdoor seating set for 20+ people. So, mismatched is the way to go! We’ve got some Adirondack chairs, a set of porch furniture stolen from our sunroom, a hammock, random outdoor chairs, some wooden indoor trays that we’re going to drag outside, etc. I also have a bunch of picnic blankets that I’m going to spread out on the ground for seating. Nothing matches and that’s totally okay. Because the word of the day is ECLECTIC!

I’m super excited for fireworks. And cake. And s’mores. Oh, and wine. I’m trying hard not to over-think things or stop by Pinterest for just a couple minutes (because we all know Pinterest sucks you in for at least an hour). I have a little anxiety about the number of people coming over, but I think that the plan for everyone to stay outside helps a lot!

How about you – do you have tips for throwing a low key party that doesn’t drive you nuts? Are you also obsessed with the Dollar Store? Would it be weird if I kept those lanterns up year-round, because they are SO freaking cute?!