Over Labor Day weekend, my favorite thrift store had a 50% off sale on clothing, accessories and shoes. I ended up picking up a bunch of random pieces and crossing my fingers that they’d fit… so let’s check out my haul. If you’d prefer the video try-on version, I linked that at the end of the post.
Pink and White cotton dress, $6
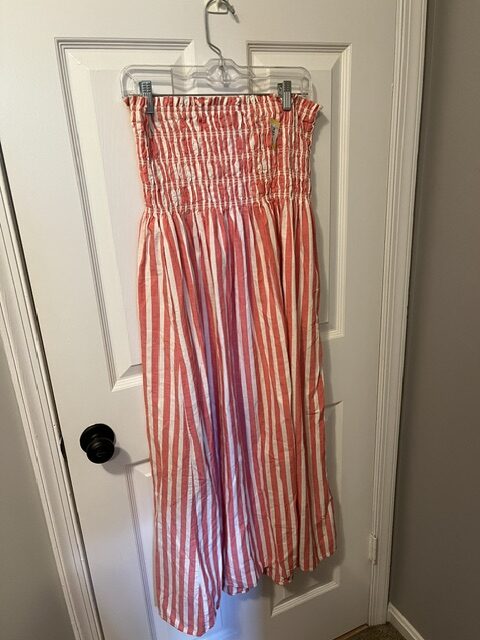
The day I went thrifting, I wore a similar convertible dress/skirt with the same type of runched top. So, I was thinking that this one could potentially be styled the same way. Once I got this dress home, washed and tried it on… it doesn’t really work to fold over the top (it’s too lumpy). So, I’m going to try this one as a dress first and then if that’s not getting enough wear, I may chop it into a skirt. It needs to marinate in my closet for a bit though, so I’m sticking it with my summer dresses, and I’ll revisit it next spring.
Cotton Tiered Dress, $6
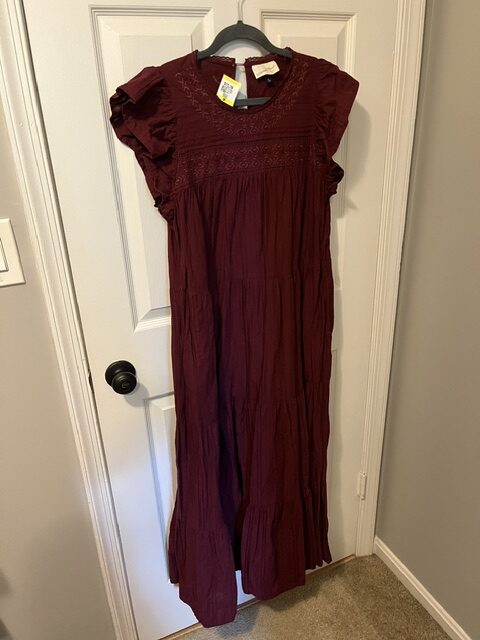
I’m OBSESSED with this dress (I swear it looks better on… check out the video at the end). It’s a really thick feeling cotton and there is sparkly thread woven through the layers of the skirt. I was hoping that the top fit my bust and if it didn’t I was going to turn this into a skirt. Thankfully, it fits great! I love the flutter sleeves and it looks super cute alone, styled with a belt or topped with a cardigan. I can’t wait to wear this in the fall and winter.
Orvis Linen Blouse, $4.50
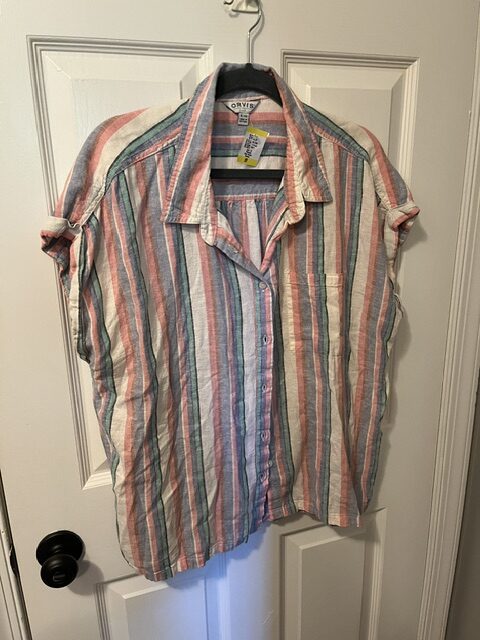
I like the oversized cut and the stripes on this linen blend top. I tried it on over my tee at the store to check that it could button over my bust without pulling and it had plenty of room. SCORE! I styled this with the black jeans below, but due to human error didn’t record it. However, I threw it on with some denim shorts over the weekend and it’s super breezy and cool.
Cotton Tee, $2.50
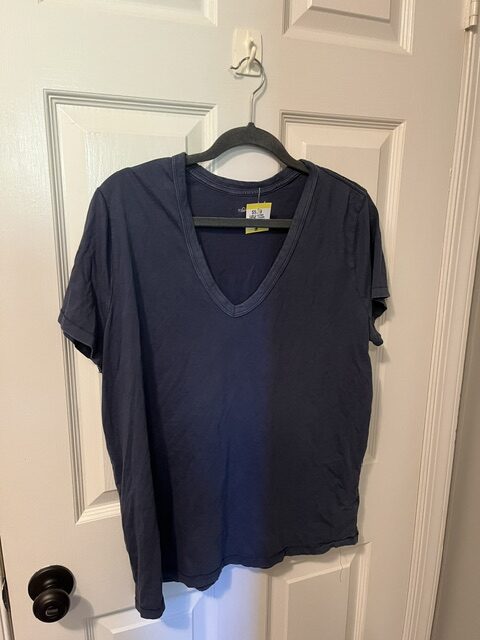
A perfect oversized-but-still-slim v-neck cotton tee shirt for $2.50. Yes, please. I’ve been wearing this nonstop since I got it – it’s basically a cycle of wear, throw in laundry, wash, fold, wear again.
Men’s Levi’s 505 Jeans, $8.50
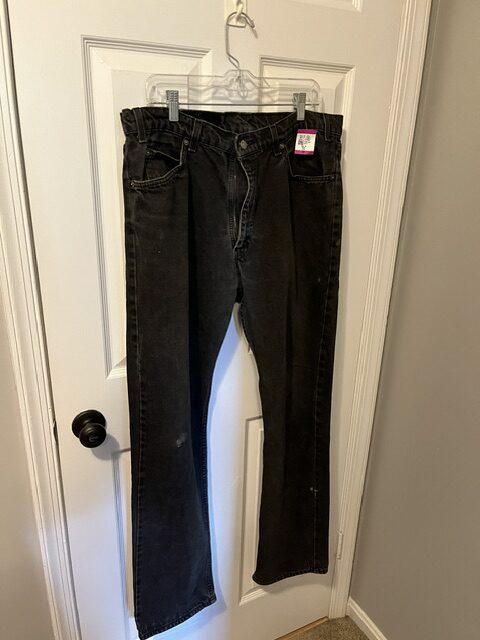
I follow a couple style influencer-type people on Instagram and they always look so dang cute in oversized men’s jeans. I was curious if this could work on my body type or if it was just for skinny people with no hips, so I figured I’d give it a try with some thrifted jeans. I was looking for a pair in a washed out black and this pair of Levi’s 505 jeans were EXACTLY what I imagined inside my head.
The pockets are ginormous and the cotton is nice and thick. I tried them rolled up and they do give a fun ‘boyfriend fit’ on me. I’m excited to try styling these a few different ways once the weather cools down. I think they will look great with a fitted tee and Chucks, or a nice flowy v-neck sweater and Doc Marten’s.
Men’s Lee Jeans, $7.50
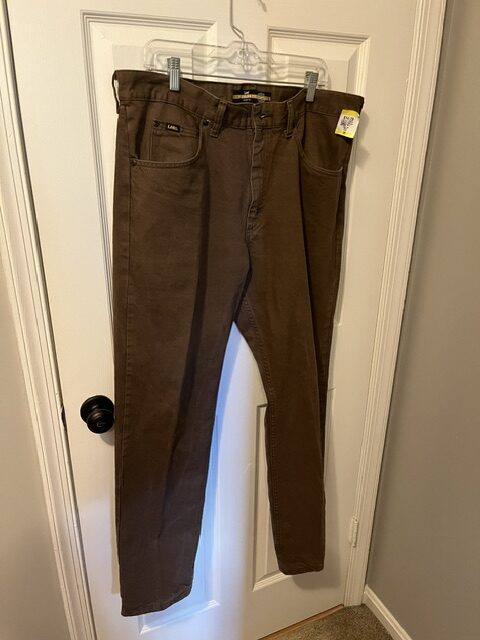
When I was in the men’s jeans section, I also found this pair of brown jeans that I like. The color is a nice neutral and once again, they look awfully cute with the bottoms rolled up. I did try this in a couple different outfits in the video below, so let me know your thoughts.
Oh and fun fact – even though I’m a size 10/12ish and 5’7”… if either pair of these jeans don’t work for me, I can pass them off to my 6’4” husband to wear. I have no idea how that math works.
Peloton Sweatshirt, $2.75
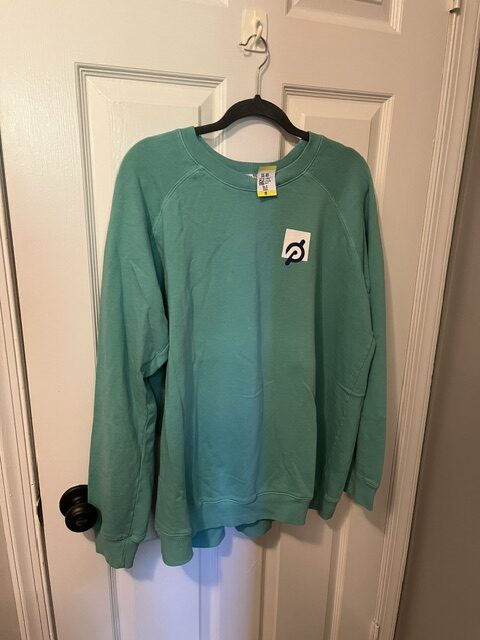
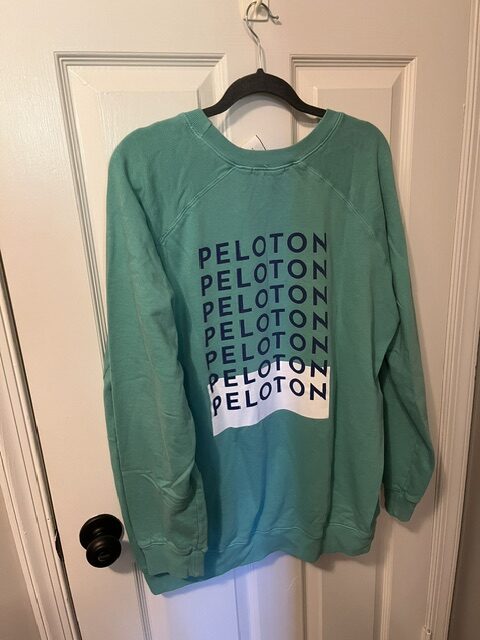
I love Peloton workout wear and have a few pieces from when they have sales on their website. This sweatshirt is fantastic and I’m happy to have found it for less than $3.
Flowerpot, $5.50
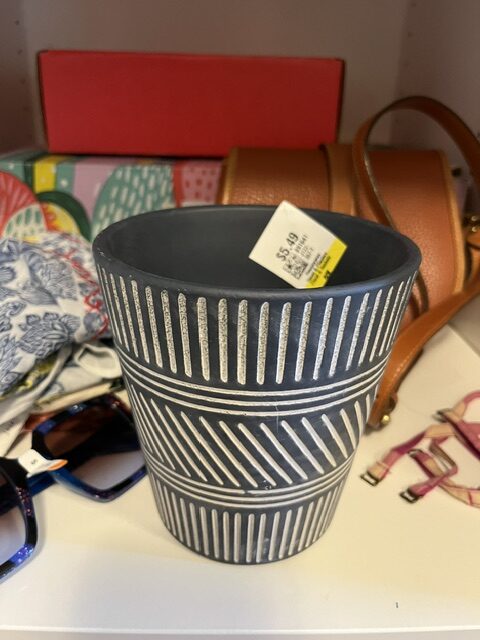
Such a cute flowerpot, right?! I immediately washed it and re-homed my money tree into this when I got home.
Nanette Lapore Sunglasses, $3
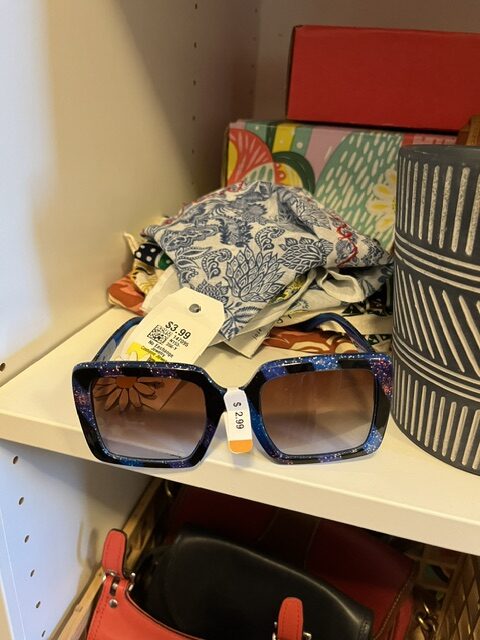
I usually don’t even check the sunglasses section, but I was right there looking at pins and this pair caught my eye. They’re sparkly and big and adorable, so why not?
If you’d like to see my quick try-on video, you can find it here.