It is a baby boom up in here with first my brother and wife’s baby (now 1), then my sister Katie and her husband’s baby (born over the summer) and now my sister Kelsey and her husband’s baby (December due date). I shared the Adorable Personalized M&M Favors I did for Katie’s baby shower back in June. Well, now it’s baby shower favor time for Kelsey’s jungle animal themed shower!
I’m pretty sure Kelsey isn’t a regular blog reader, but if so… LOOK AWAY from this post!
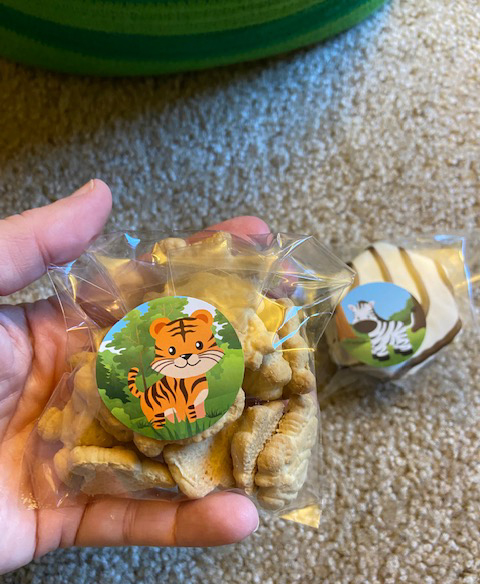
I wanted to do something edible and also tie in the jungle animal theme, which brought me to animal crackers. I mean, they’re perfect! I got a gigantic tub of animal crackers at Costco and also ordered cellphone baggies and some animal themed stickers off Amazon.
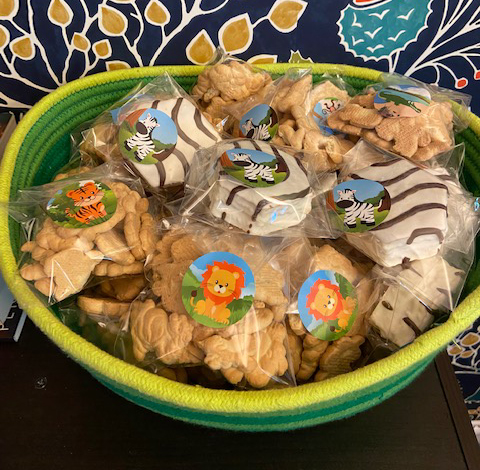
I made about 30 baggies of crackers and also mixed in a box of Zebra cakes, just for funsies. I mean, LOOK how cute they turned out:
I was going to use the same basket that I had thrifted for Katie’s shower favors, but needed a bit more space. So, I repurposed this green rope basket that I bought when Jack was a little baby to hold all the treats. The fun green colors also tie in well with the jungle theme.
And with that, I think I’m DONE on baby showers for a while. However, I’m just getting started with all the baby snuggling!
Disclaimer: This post contains an Amazon affiliate link. This means that clicking on a link may help me earn a small commission at no cost to you.
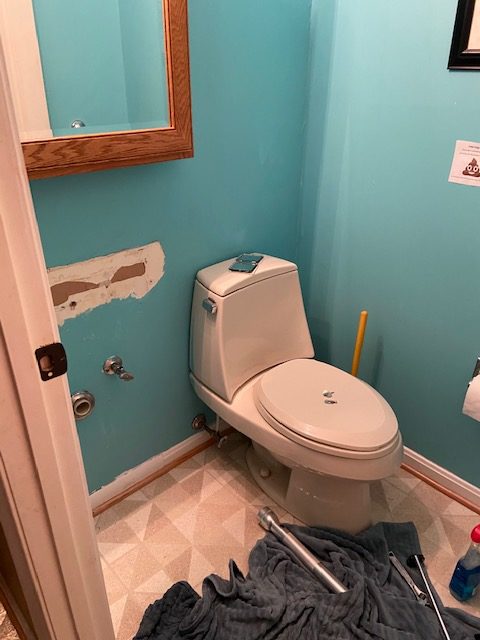
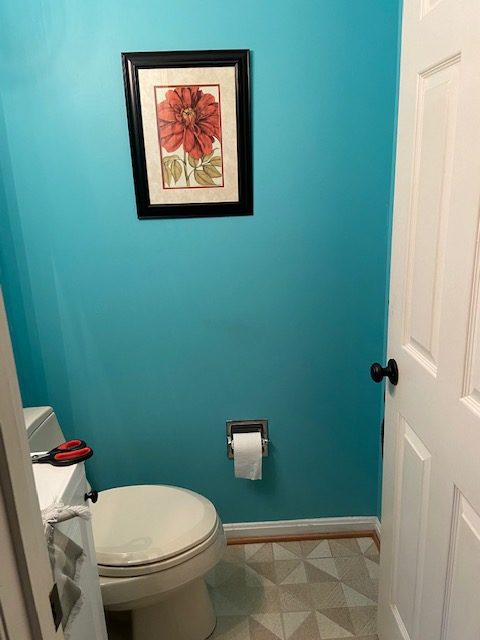
Our downstairs bathroom has seemed like one of those that will always be a work in progress. It is super tiny, but it is the only bathroom on the first floor of our house, so it gets lots of use.
In January, we ended up tearing out the pedestal sink that took up a ton of space with NO storage, and replacing it with a small 18” vanity. I also painted the existing wood mirror/light combo white to match the new sink base and called it a day.
And yes, I know the sink and mirror are white but the toilet is almond colored. I thought it would bother me a lot more, but when your sink is ripped out of your wall and Home Depot only has a white sink option, you get over it real quick!
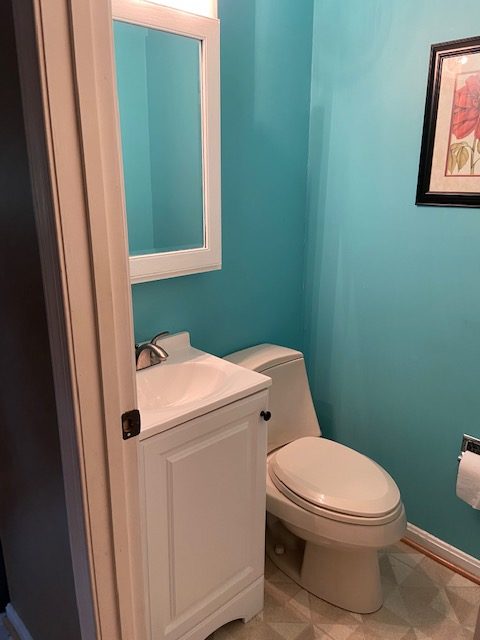
Lately, I’ve been thinking about changing the color of the bathroom. The turquoise was just seeming too aggressive lately and I was thinking of switching it to something a bit more muted. A few months ago, I brought home paint chips, stuck them to the wall, stared at them awhile and then pulled them all down because they were all pretty much the same color as what we had. Then, a couple weekends ago, I brought home another stack of paint chips and started all over again. I had narrowed it down to two ‘maybe’ colors when Jack and I needed to run out to Target.
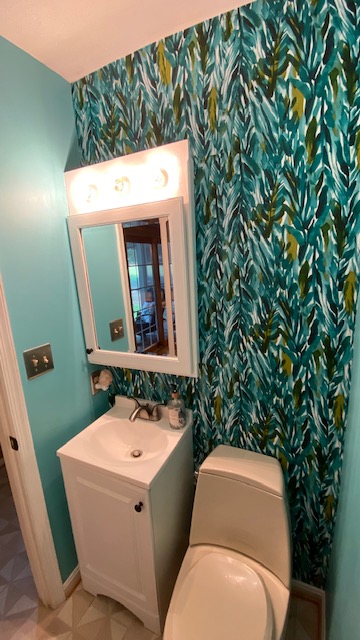
And in Target, I somehow ended up in the wallpaper aisle. And then, my cart suddenly filled with a roll of wallpaper, a turquoise towel with tassels, and a wooden sign.
I decided it would be a fun afternoon project though, so when I got home I grabbed my wallpaper supplies from my office wallpaper project and got to work.
I have to say, the Opalhouse wallpaper was absolute junk compared to the wallpaper I used for my office project. It was thinner, kept sticking to itself, and you can see everywhere that there is a seam. If I had started using this wallpaper, I probably would not have done another wallpaper project until the memory faded in like 10 years. It. Was. Awful.
However, with that being said… I’m so in love with my updated bathroom. I even made a cute little video for Instagram that I watched probably 20 times:
Also, the letter sign makes me laugh every time I walk by that room.
Disclaimer: This post contains an Amazon affiliate link and ShopStyle links. This means that clicking on a link may help me earn a small commission at no cost to you.
It’s time for the full reveal! Last month, I shared Office Updates: The Before & My Plans and as happens often in life… some of my plans went great and one did not. Just as a quick refresher, I was planning to: add wallpaper, upgrade my cube organizer with new bins and legs, and organize my sewing area with a folding table and storage cart.
Here is the before:
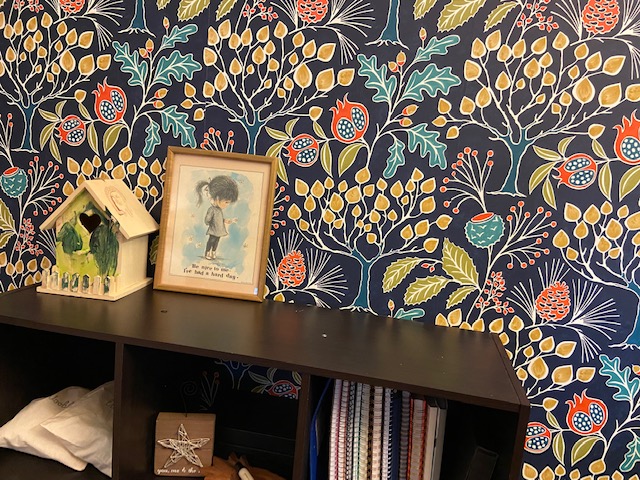
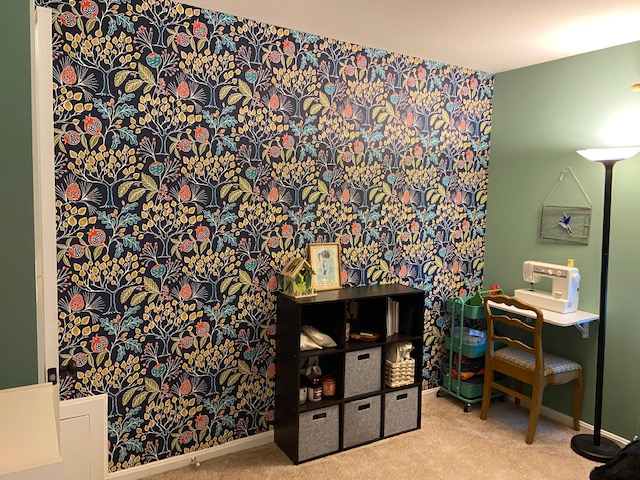
First off, the wallpapering plan went spectacularly! I wrote a full Office Updates: Peel & Stick Wallpaper post that outlines the entire wallpapering process. It was much easier than I expected and I absolutely LOVE the look of the new wallpaper:
Here are the quick links to what I bought for my wallpaper project:
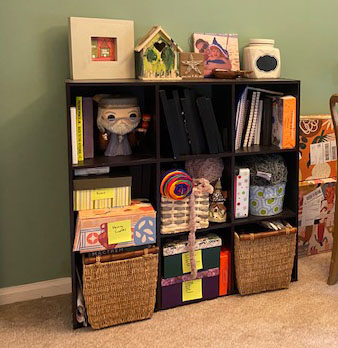
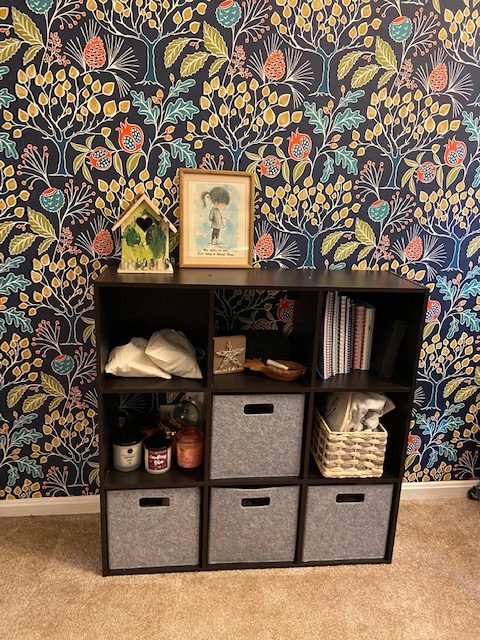
Next up, upgrading my cube organizer. I had organized it previously with a bunch of random boxes and it just looked super messy. Especially because it was right in view on my Zoom calls.
I went through and reorganized my cubes again, donated a bunch of stuff I wasn’t really using, and put other stuff into the nice new felt bins I purchased.
Unfortunately, although I ordered the gorgeous legs to screw into the bottom of my cube organizer, once I looked closely at the crappy laminate “wood”, I realized it wasn’t going to work at all without fully destroying the whole thing. I returned them and plan to be happy with the current state of things. Unless I come across something else that will work better when out thrifting.
Last stop: the sewing corner! I had a table that I had thrifted probably 20+ years ago as my sewing table. Because the table was so large, it also became a catch-all place for crap that needed to go elsewhere. I wanted something much skinner that would fit just my sewing machine. I also wanted some open storage so that my sewing stuff was nearby.
I ended up going with a folding table that screws right into the wall. It is the perfect size for my sewing machine and can even collapse to the wall if I’m not planning to use it. Most of my sewing consists of hemming the length of skirts or making easy pillows… so I don’t really need much space. However, if I do need a larger sewing space for a gigantic project, I can always set my sewing machine up on my desk, which is right across the room.
As for the cart – I LOVE it! It went together super easily and has wheels, so I can roll it around if I’d like. It’s perfect storage for my extra fabric, pins, scissors, thread and miscellaneous sewing stuff. Now it’s right within my reach, takes up less room, and is super organized.
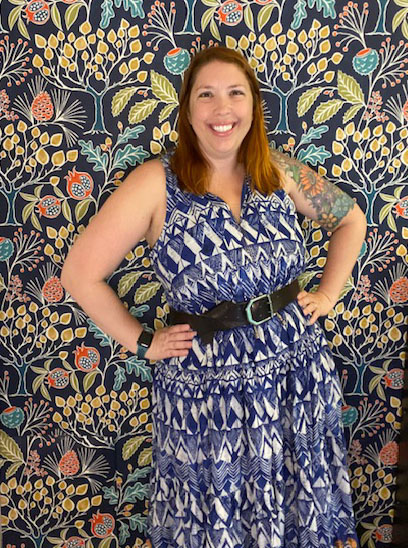
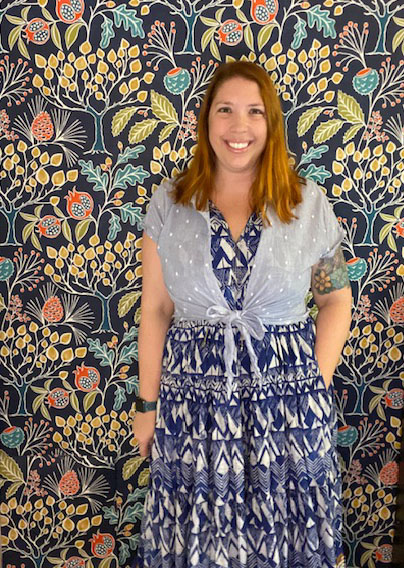
As an added bonus, that little area to the left of my organizer is a perfect background for outfit photos!
If you add up the cost of everything I purchased for my Office refresh, the total is: $191. I’m super thrilled at the new look of my office. Especially because I spend a lot of time there on my telework days. I wish I had done this a year ago!
Disclaimer: This post contains ShopStyle affiliate links. This means that clicking on a link may help me earn a small commission at no cost to you.