Our downstairs bathroom has seemed like one of those that will always be a work in progress. It is super tiny, but it is the only bathroom on the first floor of our house, so it gets lots of use.
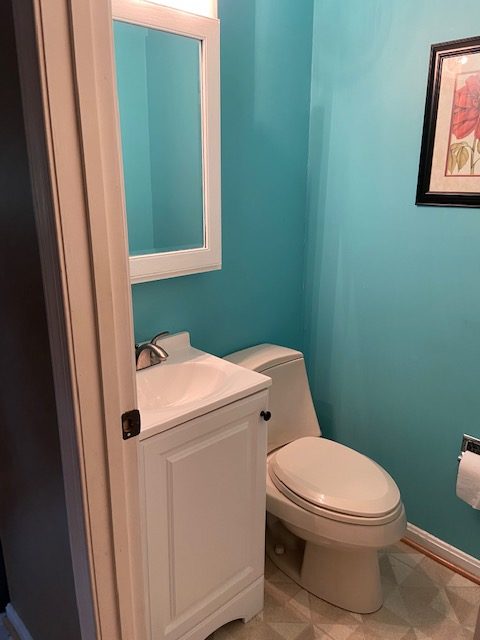
In January, we ended up tearing out the pedestal sink that took up a ton of space with NO storage, and replacing it with a small 18” vanity. I also painted the existing wood mirror/light combo white to match the new sink base and called it a day.
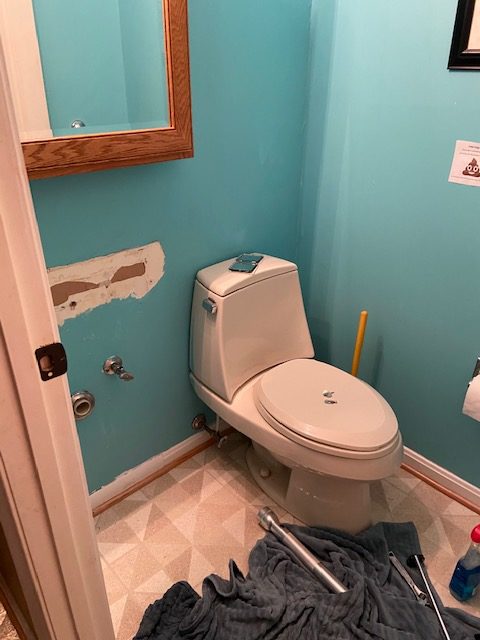

And yes, I know the sink and mirror are white but the toilet is almond colored. I thought it would bother me a lot more, but when your sink is ripped out of your wall and Home Depot only has a white sink option, you get over it real quick!
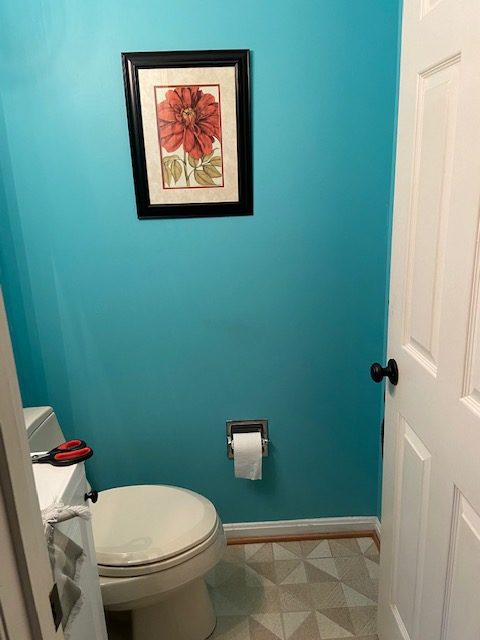
Lately, I’ve been thinking about changing the color of the bathroom. The turquoise was just seeming too aggressive lately and I was thinking of switching it to something a bit more muted. A few months ago, I brought home paint chips, stuck them to the wall, stared at them awhile and then pulled them all down because they were all pretty much the same color as what we had. Then, a couple weekends ago, I brought home another stack of paint chips and started all over again. I had narrowed it down to two ‘maybe’ colors when Jack and I needed to run out to Target.
And in Target, I somehow ended up in the wallpaper aisle. And then, my cart suddenly filled with a roll of wallpaper, a turquoise towel with tassels, and a wooden sign.
Oops.
NONE of that was planned.
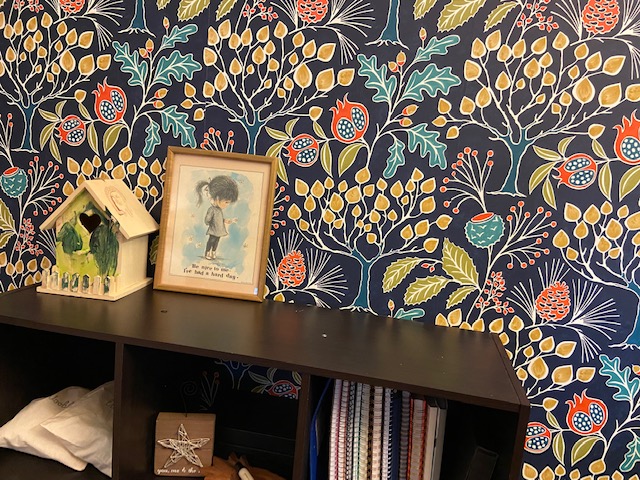
I decided it would be a fun afternoon project though, so when I got home I grabbed my wallpaper supplies from my office wallpaper project and got to work.
Here’s what I had for this project:
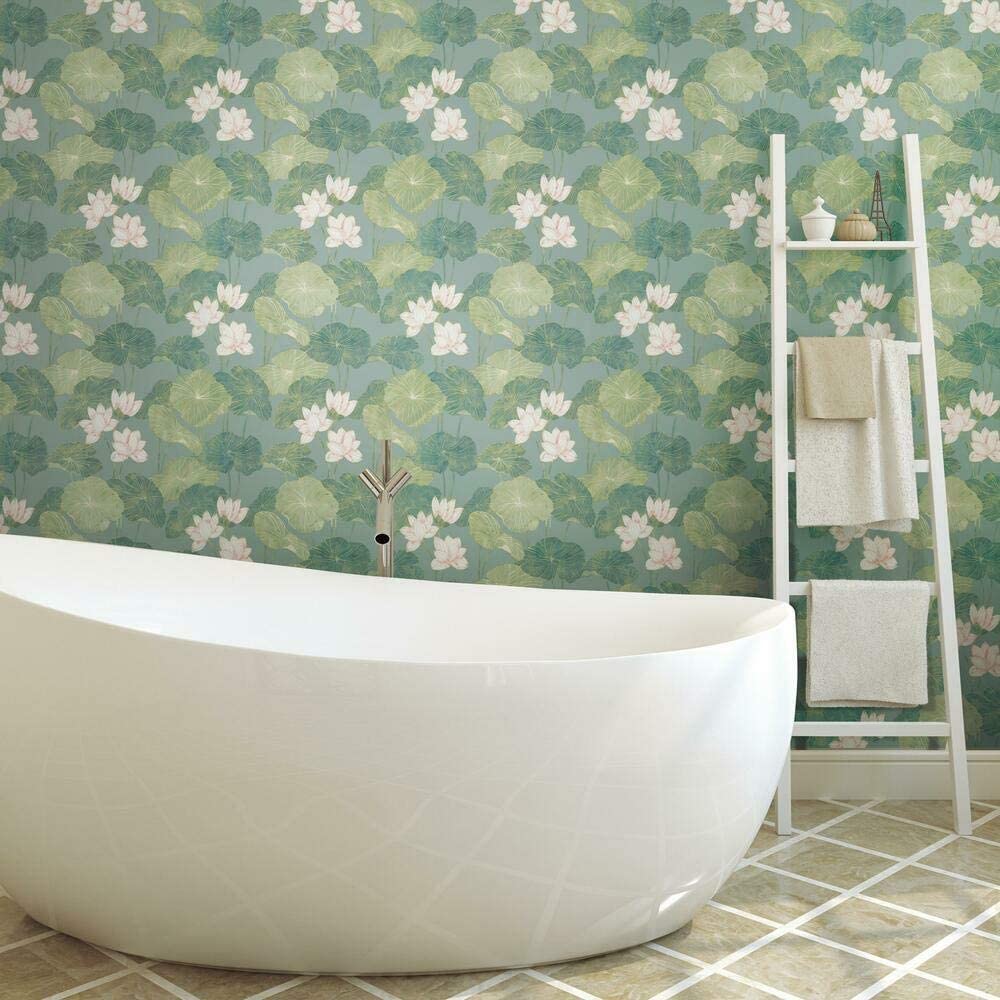
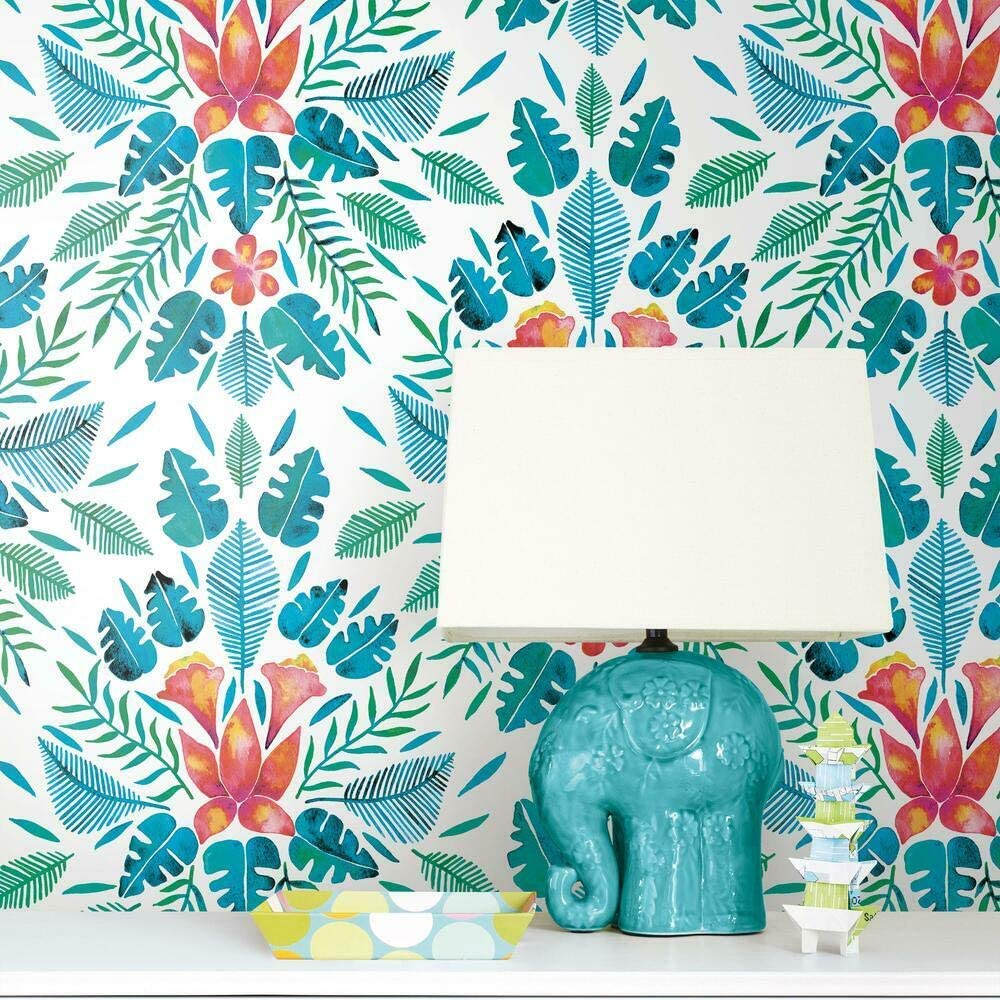
- Opalhouse Leaves – 1 roll – $34
- My wallpaper tool set – $6
- This wooden letter sign – $23
- Bath Towel with Tassels – $12
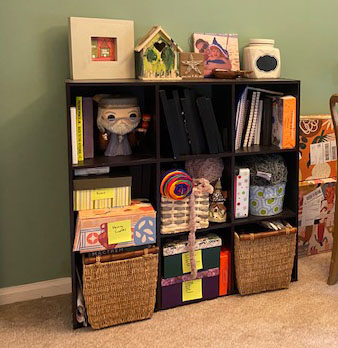
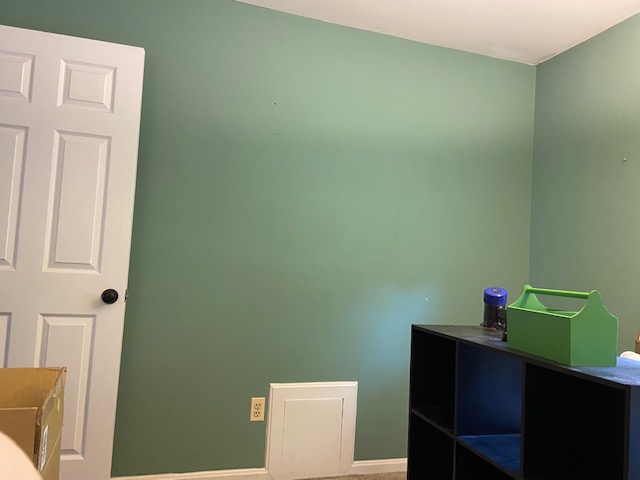
Here is the before:
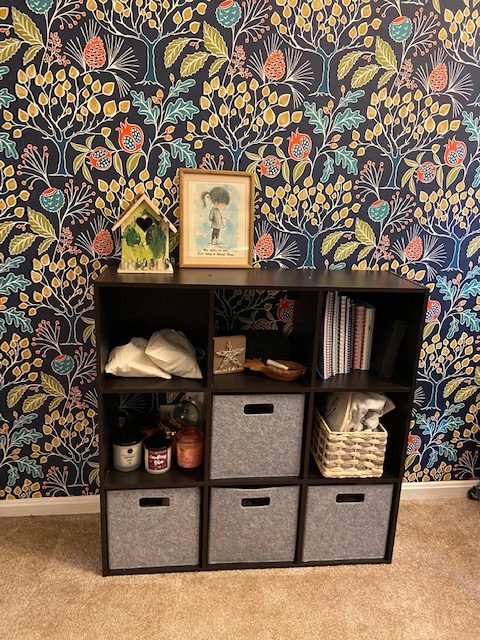
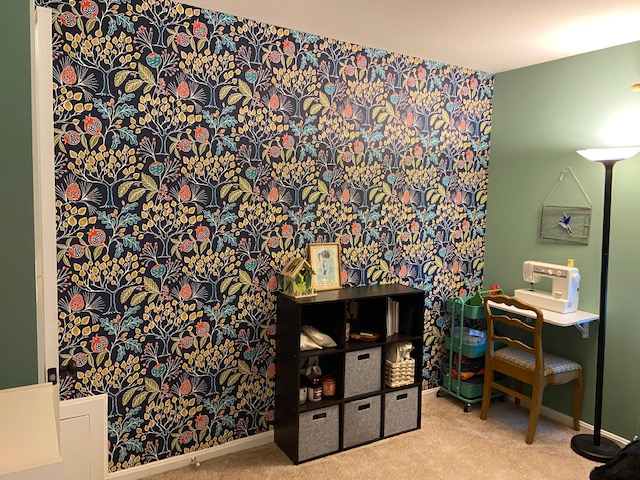
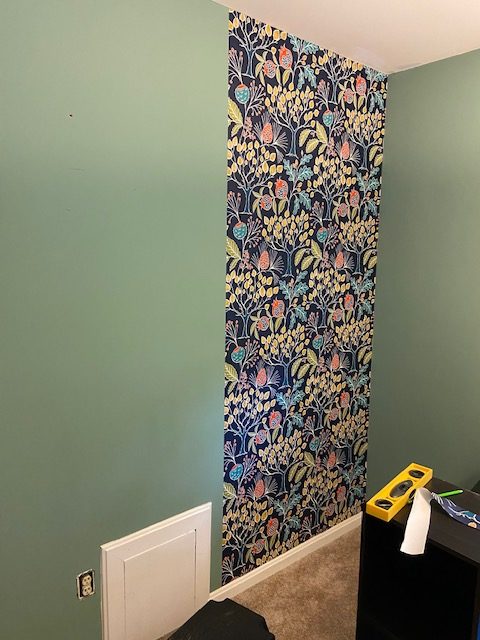
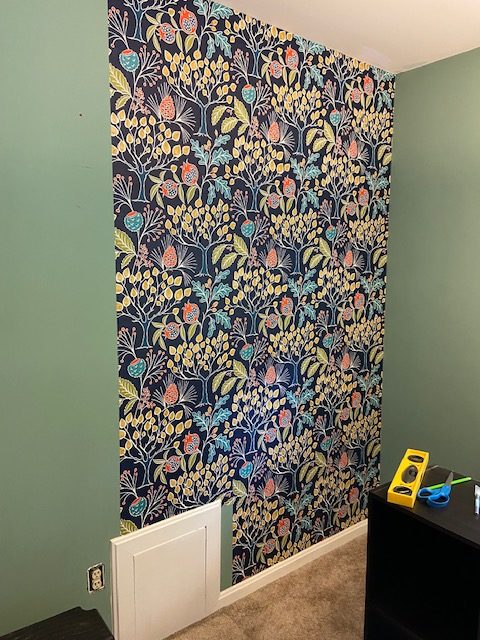
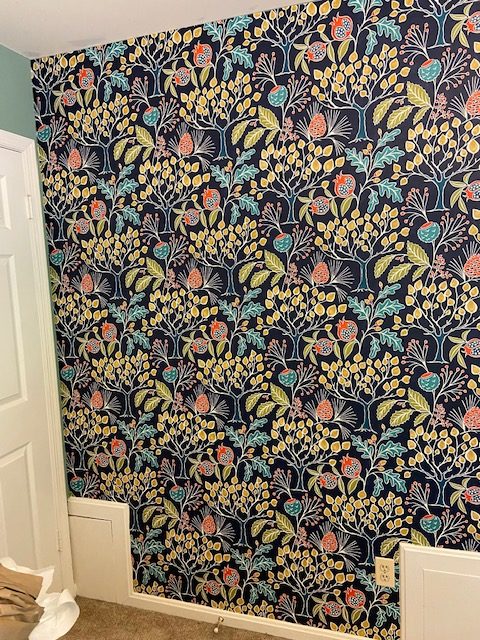
Here is the after!

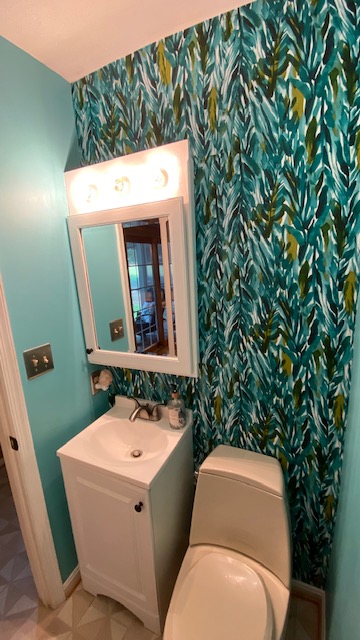
I have to say, the Opalhouse wallpaper was absolute junk compared to the wallpaper I used for my office project. It was thinner, kept sticking to itself, and you can see everywhere that there is a seam. If I had started using this wallpaper, I probably would not have done another wallpaper project until the memory faded in like 10 years. It. Was. Awful.
However, with that being said… I’m so in love with my updated bathroom. I even made a cute little video for Instagram that I watched probably 20 times:
Also, the letter sign makes me laugh every time I walk by that room.
Disclaimer: This post contains an Amazon affiliate link and ShopStyle links. This means that clicking on a link may help me earn a small commission at no cost to you.