AR Workshops: Feeling Crafty… Again and Again

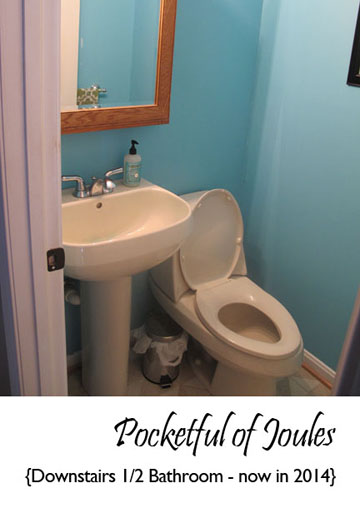
I’ve blogged about the AR workshops before, where I’ve made a plank sign, a chunky knit blanket, and then an advent calendar. Each time I go to a workshop I have the BEST time, which means when a friend and/or family member mentions that they’d like to try it out… I end up signing up for another workshop!

{Pssst, this isn’t a sponsored post, but if you want to find an AR Workshop you can find them here: https://www.arworkshop.com/}

Well, I did TWO more workshops in December that I wanted to share with you all!
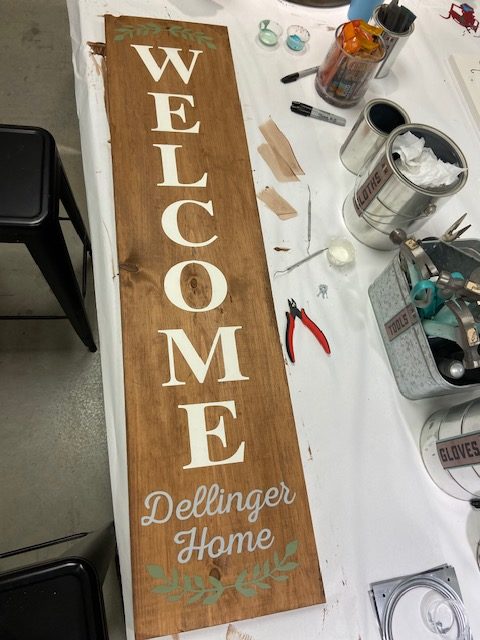
Welcome Sign

I saw that they had some holiday themed front porch signs and almost chose one of them… but then I thought I’d rather have something I could use year-round. I stained the wood a darker brown and then used off white, gray and moss green for the stenciled accents. Even though my intentions were to lean this against the brick wall on my front porch, I still went ahead and attached the hanging screws and wire to the back of it to give me some options. I also attached a cute little gingham ribbon, which you can see in the last picture.

In progress:

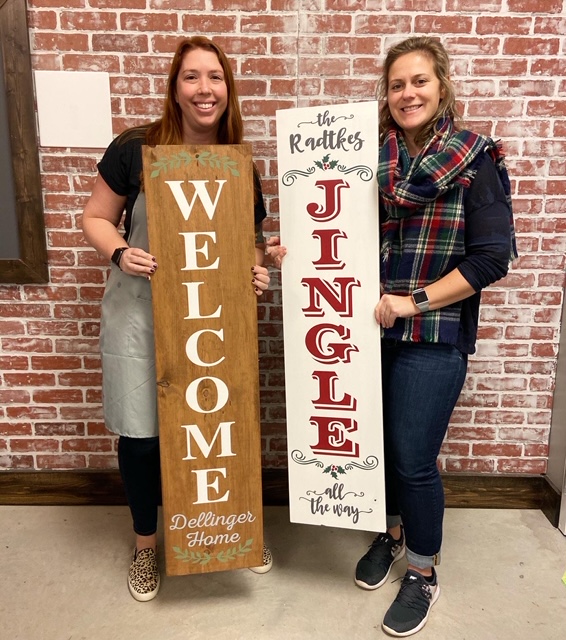
Here I am with Lindsey and her adorable holiday themed sign:

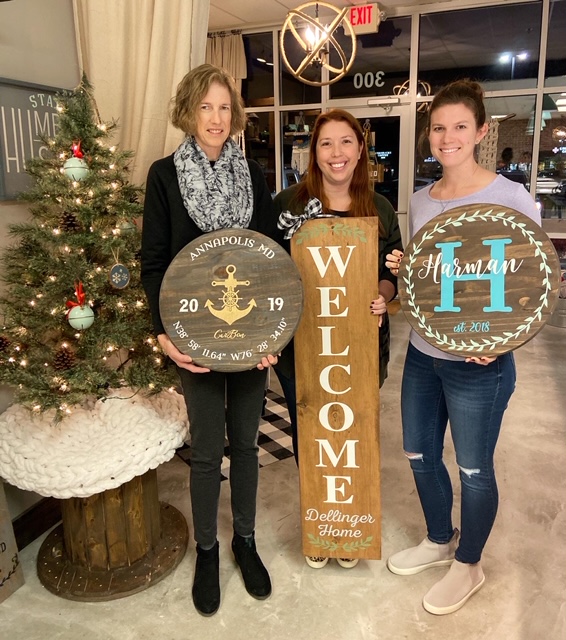
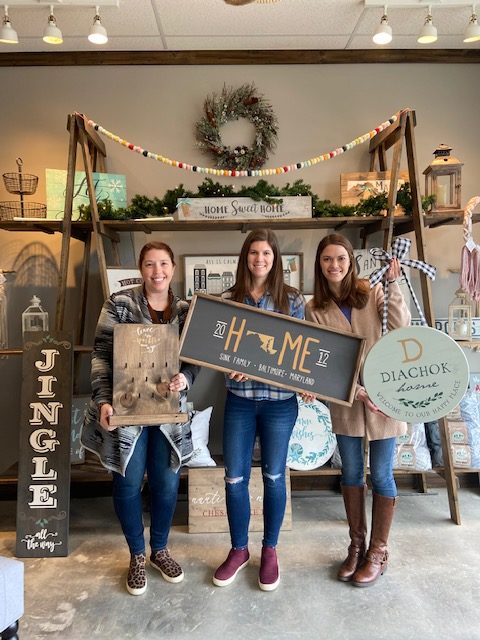
And here are the signs made by my sister (in law), Jaclyn, and her mother:

I initially leaned this in our front entrance area to let it fully cure before I paint it with a coat of polyurethane. But then I decided that I liked it there! So now I’m not sure if this will eventually work its way outside or not.
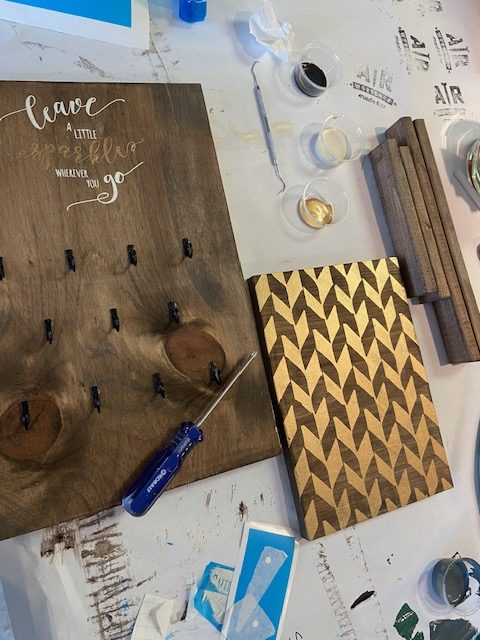
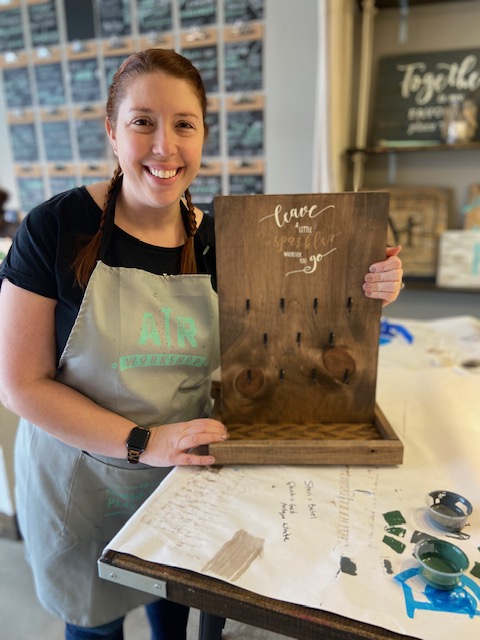
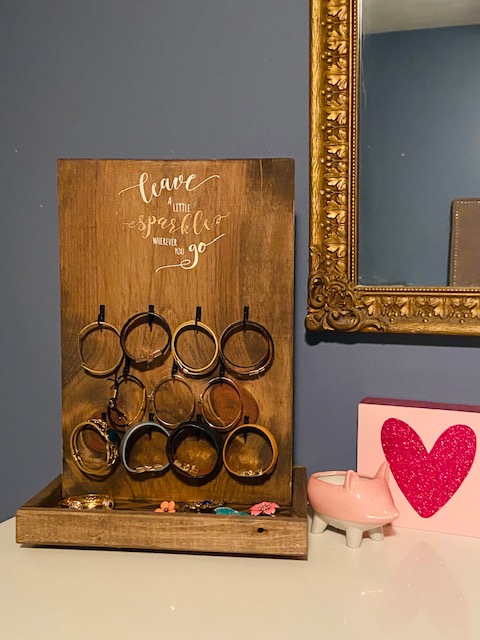
Jewelry Display

My sister Kelsey came into town for the holidays and she also wanted to visit the AR Workshop (she also realized there is one just 10 minutes from her house in Richmond!). I wasn’t sure what other projects I really *needed* to make, but then this jewelry display caught my eye. I have a collection of bracelets that were just living in a box on my dresser… which leads to me forgetting what I actually own. I thought this display could be perfect for displaying them!

I went with the phrase “Leave a little sparkle wherever you go” and stained the wood dark. Then I chose off white and gold for the stenciled text, as well as the tray accents and around the sides of the display.

In progress:

When everything was dry, I added the jewelry hooks  to both sides and then used the nail gun to put all the pieces together, including the lazy susan contraption on the bottom which allows the display to spin around.

Here’s the three of us with our projects (me, Jaclyn, and Kelsey):

And here is the jewelry display at home all loaded up:

Once again, I had a wonderful time hanging out with everyone at the workshop. And now that I’ve attended FIVE workshops I have enough stamps to do a free project. I have my eye on one for February, so I’ll keep you posted!

An Unplanned Bathroom Refresh

Our kitchen faucet was pretty much shot with terrible water pressure, so we decided to replace it with a new one. As it happens, my dad happened to have exactly the faucet we needed in his truck. He’s much like Mary Poppins and her carpet bag… but it’s home improvement supplies and his work truck.

My dad ended up stopping by our house on Christmas Eve to help us switch out the kitchen faucet. It turned out that the job was so easy-peasy, he decided to started poking around our leaking bathroom sink.

And then he ripped the whole pedestal sink out of the wall.

I mean, there was a little more leading up to it. But basically, the sink was a pain in the butt so I told him to just feel free to rip it out. And he did.

Here’s the before from an old blog post:

And here’s the during:

I’d always hated that stupid sink. The bathroom is soooo tiny and the sink was weirdly HUGE… while also providing no storage at all. The only reason we hadn’t ripped it out before is that the toilet is an almond color and all the small vanities/sinks at Home Depot and Lowes are white.

Welp, once you have a hole in the wall where your sink previously was… you get a lot less picky about matching toilets!

When it comes to tiny 18” vanities you don’t have a ton of choices. As it turns out when Travis and my dad ran up to the good ol’ Home Depot there was one 18” vanity in stock. SOLD.

It cost $79 and once we bought all the other plumbing crap we needed it was around $100 total. My dad shimmied it into place and hooked up the faucets before he left that night. A few days later, I sanded the walls, touch-up painted, repainted all the trim, and used silicone caulk to affix the sink to the wall. I also painted a few coats of white paint on our wood medicine cabinet/light combo. I would have preferred a whole new mirror and light, but I figured I’d give the cheap option a try first.

Here’s how it all turned out:

It’s an awfully tight space, so here’s another angle:

As it is, I’m super happy with our $100 bathroom update. With the vanity and the medicine cabinet matching in white, it makes the whole room look so much cleaner and brighter. Sure, the toilet is still the almond color, but I don’t mind it as much as I thought I would.

Oh, and our original project of our kitchen sink turned out great too!

Have you ever started a project which steamrolled into a whole different project?

Addicted to Hand Knitting

Remember back in October when I first learned how to hand knit a blanket (you can find it here)? Well, that experience totally kicked off an addiction and I. Can. Not. STOP. I looooove hand knitting. It’s soft and quick and the blankets are just so snuggly when you are done.

I was initially frustrated because I couldn’t find yarn as big and fluffy as the kind I got from the AR Workshop. After lots of trial and error (and online orders), I finally found Bernat Blanket Big Stitch and Win Yarn. It is typically $9.99 at Michaels, but it goes on sale often. I’ve gotten it marked down to $6.49 per ball and also on a buy-one-get-one-half-off special.

Source: Michaels.com

I was super curious how the yarn with the different colors would look once the blanket was knit, and I looooove how it turned out. This blanket was made with 5 balls of yarn and took me about 90 minutes:

I was actually knitting this one for my friend for Christmas, but Jack loved it so much I let him have it and I’ll be making another one.

I also picked up a few balls of navy colored yarn so I could try my hand at making my own tree skirt. It’s basically the same as the blanket, but I only started with 15 stitches across (rather than 30) and made it 3 balls long. This one took me about 45 minutes to make:

This could either be a cute runner for the bottom of your bedding, a lap blanket or a tree skirt like I made:

Here’s a close up:

Like I said… totally addicted! My sister wants to make a blanket too, so I had her order yarn and will be teaching her to make one soon (while making one as a gift to give). But then I don’t know what I’m going to do with myself because I’m out of people who want blankets!