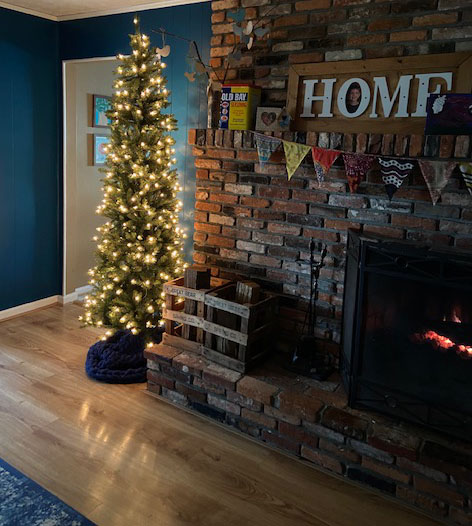
This isn’t a renovation or reveal post. It’s more like a reminder of an easy way to give your house a little refresh. I often forget that I can just do a little purge, move some things around and repurpose items I already own to result in something a little more delightful.
Which brings us to my little coffee nook. Or, Coffee Bar if you’re fancy.
Recently, I decided to upgrade my coffee experience by adding a Nespresso machine to the mix. I’ll do a full review once I’ve used it a bit longer, but long story short… it’s awesome. However, before I added a second machine to my little caffeine smorgasbord area on our countertop, I felt like it needed an update.
So, obviously I googled “Coffee Bar” and was immediately overwhelmed and intimidated by the sheer number of amazing coffee set-ups people have in their homes.
I already had a good space that made sense though. So rather than doing an overhaul… I really just needed to do a little spruce up on what I already had.
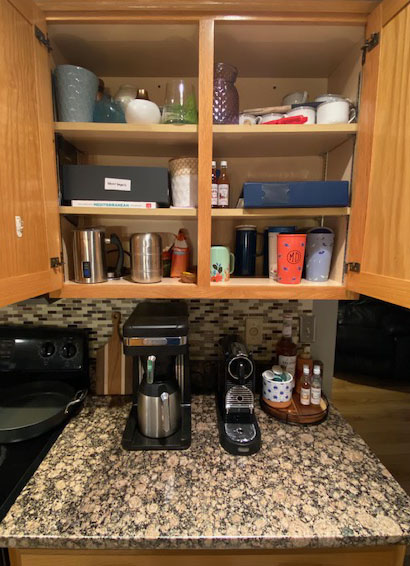
There was certainly room for improvement:
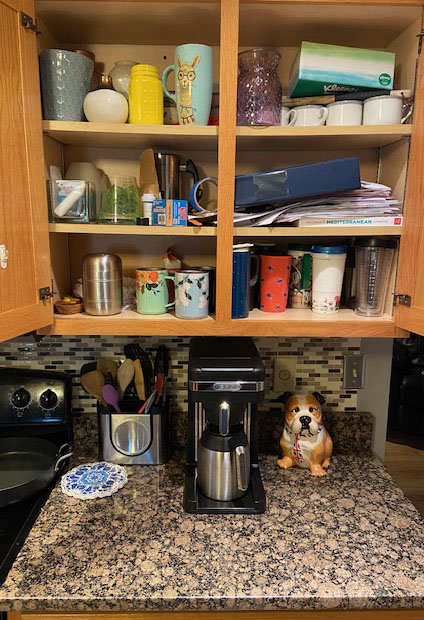
The cupboard above the space holds a jar of coffee grounds, mugs, and travel mugs. It also has vases, random school papers from this quarter, a binder of recipes, and all-around junk. So, I started by sorting through there and giving it a little purge.
I learned back when I was obsessed with that Marie Kondo show on Netflix that I should repurpose boxes to keep my space organized. Luckily I found an abandoned shoe box that was the perfect size for all those school papers precariously balanced on the second shelf. I also re-homed random items that didn’t belong in the kitchen.
As for the countertop area, when I picked up the trivet to clean it, I realized it was actually cracked in half. So, into the trash it went. The container of spatulas and wooden spoons were organized into the drawer below. My dog cookie jar found a new home. And most importantly, I added our new Nespresso machine and a cute lazy susan with pods and flavor syrups.
Much neater, and super functional. The only new thing I bought for the area is the lazy susan, which was less than $20 ( It’s this one from Amazon). I mean, I technically also bought the Nespresso machine and syrups, but I’m calling them a Christmas gift for myself.

The cute blue dotted jar once held a plant that I inevitably murdered. I bought the caramel at the grocery store and it has already gone into heavy rotation with my coffee creations.
We’ve had the new caffeine situation for a few weeks now and it’s super functional. Sure, it’s not as fancy as some of those Coffee Bar set-ups I found when I googled for inspiration. But I’m really happy with it!
Pssst: I also have another kitchen update to share soon… which you may have seen on my Instagram Stories (for those who missed it, it’s saved under Home DIY on my IG account).
Disclaimer: This post contains an Amazon affiliate link. This means that clicking on the link may help me earn a small commission at no cost to you