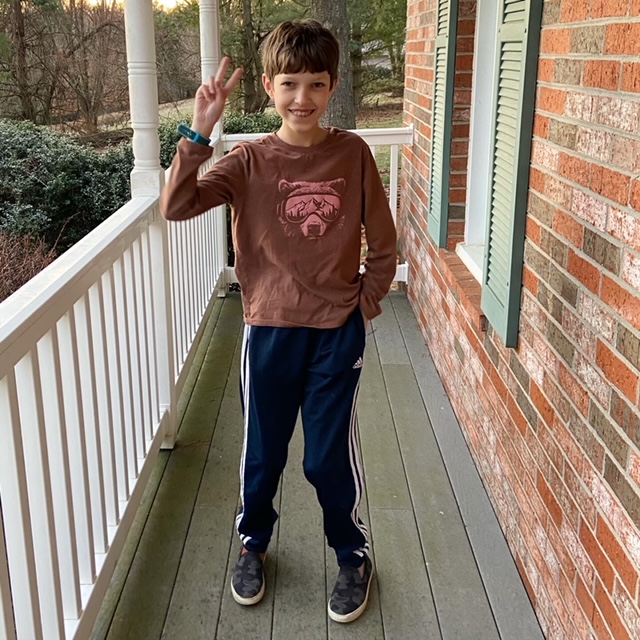
I’ve written about my quickly growing kid and how he likes to sprout right out of his pants pretty much as soon as I buy them a few times over the years, including here and here. Once again, we had an early fall growth spurt that left all of Jack’s small sized Adidas track pants looking like capris. So, we upgraded to the same exact pants in a size medium and they fit wonderfully in the length… but the waist is huge on him!
These are the ones he likes, the Adidas Iconic Tricot Jogger pants. They are made a bit slimmer than the other athletic brands, and we usually buy them in a couple colors (navy with white stripes, black with white stripes, and black with red stripes).
The joggers have elastic in the waist and a drawstring, but they are still way too big on my kiddo. Sure, we can tie the drawstring as tight as possible, but then he can’t push them down and up for the bathroom. And when he tries to tie them on himself, he just can’t get them tight enough that they stay around his waist (and don’t fall around his ankles). Because this is a problem that every preteen wants when he is going to middle school. Obviously.
So, this year, I had the big idea to tailor his track pants so that they fit him better. And I took photos of each step, so that hopefully this can help some other person out there with a tall and slim kid who needs the length but not the width in their track pants, sweatpants, or joggers!
Here’s what you need:
- Pants that fit in the length. Actually, if they’re a little too long, that’s even better because maybe the kid can actually wear these pants for more than 6 months!
- Braided elastic. I got Loops & Threads braided elastic in ½ inch width from my local Michaels store (they were $2.49 each) I bought 6 because I had 6 pairs of pants to do and I had some left over from each for future projects. However, this roll from Amazon is a much better deal for price. (If you’d prefer to go the elastic + buttonhole route, this roll and pack of buttons would be great).
- Either a sewing machine or a needle and thread.
Note: The reason I chose this specific braided elastic is that I took Jack’s pants to the store and then picked the elastic that would be the same width as the drawstring so that I could utilize that exact space in the waistband. It’s a work SMARTER, not HARDER type of situation over here!
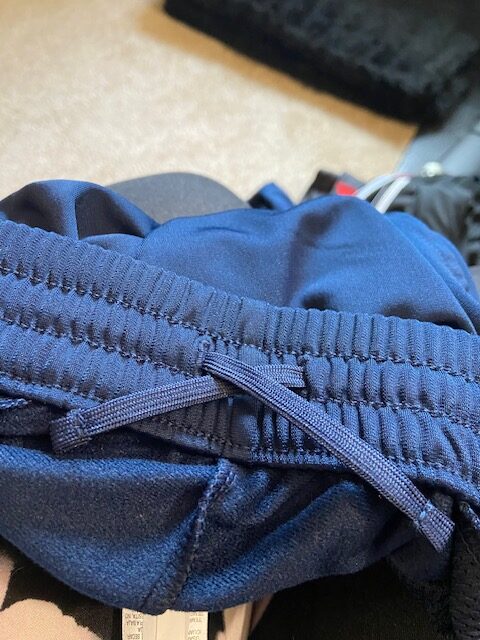
Here’s what the drawstring looks like before I start:
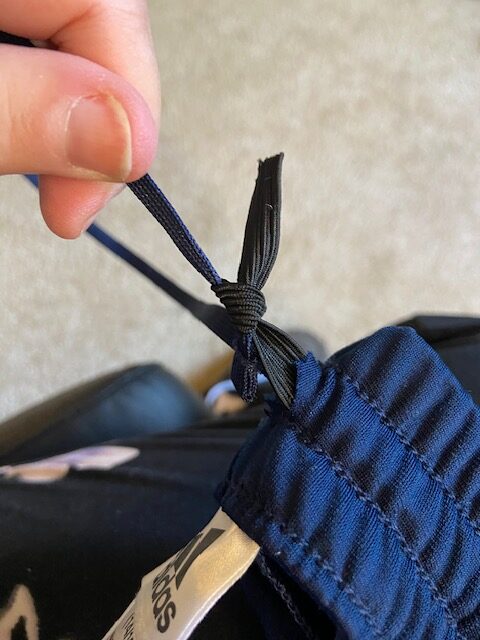
Step 1: Tie the elastic to one side of the drawstring and cut a little flap on each side so that you can shove the knot into the hole.
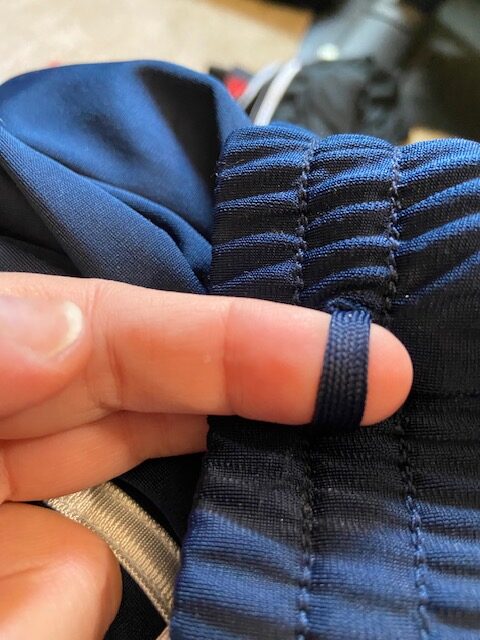
Step 2: Cut a little slit and a flap (you can see the flap better on step 5) on the back side of the waistband where the drawstring is sewn into the pants. I wish that one piece of string went all the way around (because they would have made this so much quicker!), but there are two pieces of string in each pair of pants. Once you cut the slit, yank out a loop of the string.
Step 3: Pull the drawstring OUT of the pants, which threads the elastic through in its place.
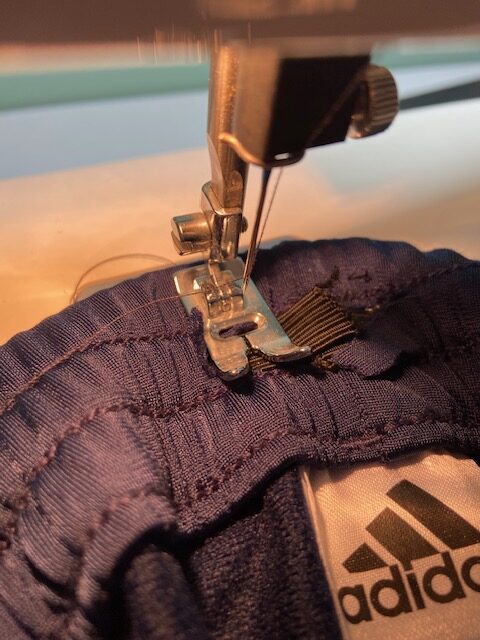
Step 4: Sew a line over the elastic in the back of the pants. I got a little nuts with this and went forward and then backward to make sure the stitches stayed in place through an apocalypse. Or a preteen, whichever is harder on clothes.
Step 5: Trim the extra elastic and then shove it into the seam, replacing the flap of fabric over the elastic. This will keep it from being itchy for your kiddo. I didn’t sew the flap into place or anything, it just stayed where it was supposed to be with no additional effort.
Repeat steps 4 and 5 for the other side too. So now you have both sides of the drawstring replaced with elastic.
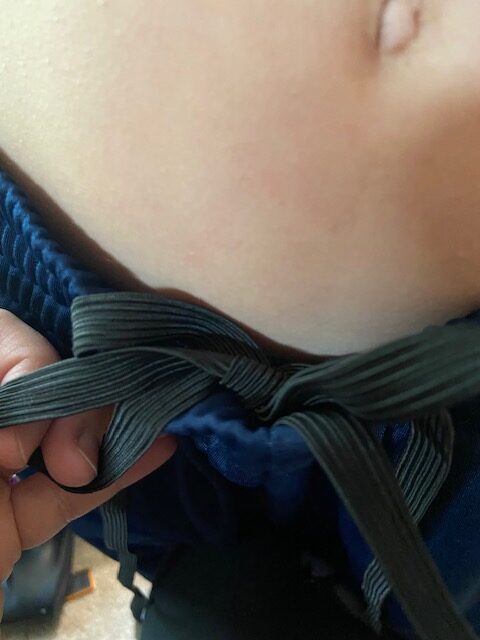
Step 6: Call your kid into the room. There will be lots of moaning and groaning because you interrupted their tv shows and/or video game playing. Make them put on the pants. Then, yank the waistband tight on both sides and tie a very tight bow.
While the elastic is tied, have your kid try to put the pants up and down over their hips to make sure that once they are sewn into place, they can easily tug them up and down. Then, have them carefully take off the pants without untying the bow.
Step 7: Sew either side of the bow (exactly the same as you did Step 4) and then cut off the extra elastic and flip the flap of fabric back over the elastic.
Step 8: NOW you have a pair of pants that actually fit your kid!
The best part is that when you need a little extra room in the waist, you can add elastic as needed, or just snip the threads and completely yank out the elastic you put in there.
I’m hoping this little fix gets me through at least a few months of growth spurts!
Disclaimer: This post contains Amazon affiliate links. This means that clicking on a link may help me earn a small commission at no cost to you.