
It’s FINALLY the day where I can say our Master Bathroom project is 100% done! Done. There is NOTHING left on the ‘to do’ list other than post a gigantic blog update of the whole project. So, let’s get into it!
And as a warning, this may be the most photo-heavy post I’ve ever done. I’ve included ALL THE PHOTOS. So, you’ve been warned.
Even though I’ve written about this project a bunch of times as we’ve been going through it all (you can click over on my Home Reno & DIY link if you want to read through all the posts), I’m going to give you all a quickie recap.
We had an extra bedroom that over the years had served as a playroom and an exercise room, but had the ultimate goal of it one day becoming a Master Bathroom and a Walk-In closet.
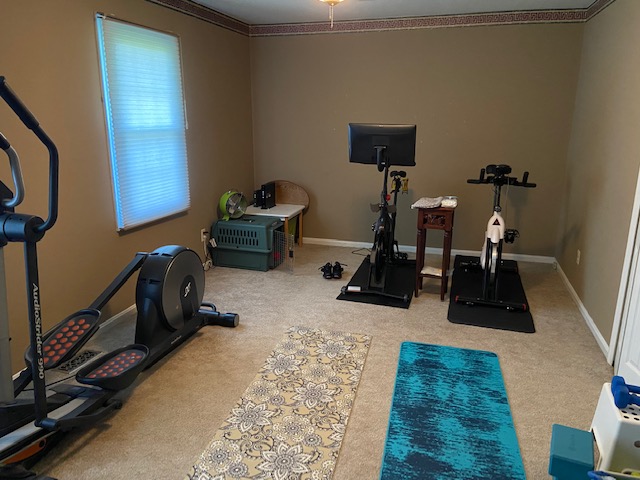
However, since it was a regular old room and NOT a bathroom, the project was very involved and snowballed to include pretty much the entire house.
What we wanted:
- A new master bathroom
- A finished walk-in closet
What we got:
- A new master bathroom.
- A finished walk-in closet.
- New heat ducting running from the basement to the new bathroom.
- New plumbing running from the basement to the new bathroom. Resulting in tearing down about half the ceiling in our living room and then putting a new one up so all the pipes and ducts can fit in there.
- Our cased opening between the kitchen and living room reducing by 1 foot on one side, for the new heat ducting and plumbing. Resulting in: new drywall, trim, re-painting the kitchen, re-painting the living room and entrance.
- Gaining 2 feet in space in our bedroom due to a wall moving. Resulting in us having to re-paint the bedroom and re-carpet the bedroom.
- Taking the old ‘master bathroom’ down to the studs and capping off the old plumbing to make a ‘his’ closet for Travis. Resulting in: new drywall, trim, lighting, paint, carpet and closet accessories.
And yes, there’s blog posts every step of the way: my Home Reno & DIY.
We started our project on April 24, 2022 and I put the last bit of silicone in the shower on September 24, 2022. Which means the entire project took us 5 months.
Sure, it could have been done quicker if I had hired it out to a huge team. However, we utilized my dad (he’s a ‘mostly retired’ custom home builder) to do most of the work and he had other responsibilities as well, so he’d come over once or twice a week. We also hired a subcontractor sporadically, a plumber (who was in high demand and took a bit to get to our house) and a tiling guy who was even higher in demand and pushed our project back a month or two. Travis and I did all the demo ourselves, all the clean-up, I repainted everything (basically the entire house), and we assisted everywhere when needed.
Here were my initial thoughts for what I wanted:

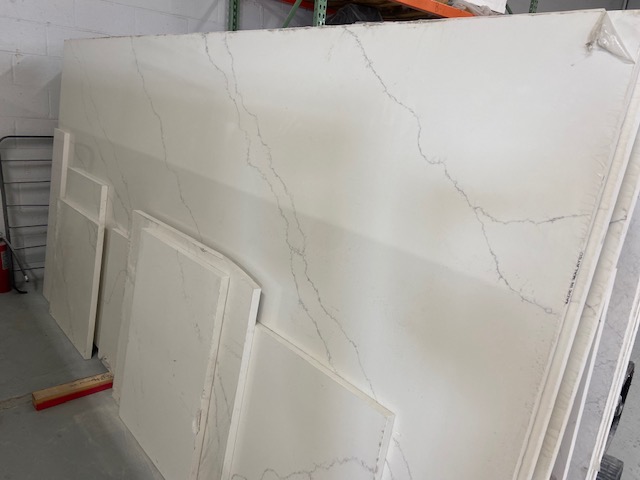
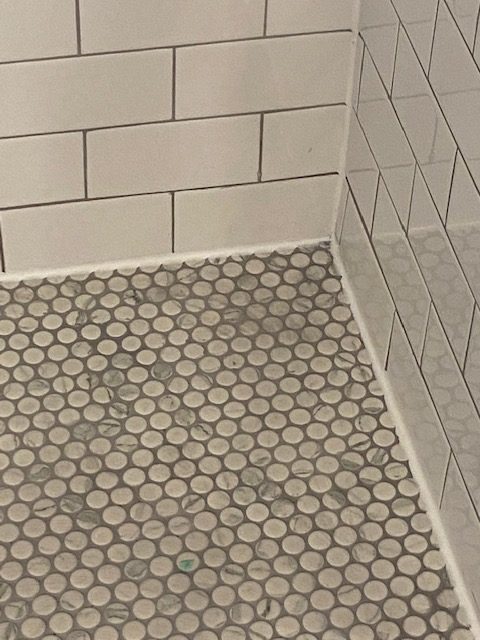
None of these were the actual exact things we were using, as I just grabbed some inspiration images off the Home Depot website to give you an idea what we were going for. We already owned the cabinets (sourced from an old job by my dad), which I was planning to refinish and paint dark blue. I was planning on white subway tile for the shower walls, gray penny tile for the shower floor, a gigantic glass door and a gray plank vinyl floor.
And here was my completely thrown together (not using any actual measurements) plan of where things will go:
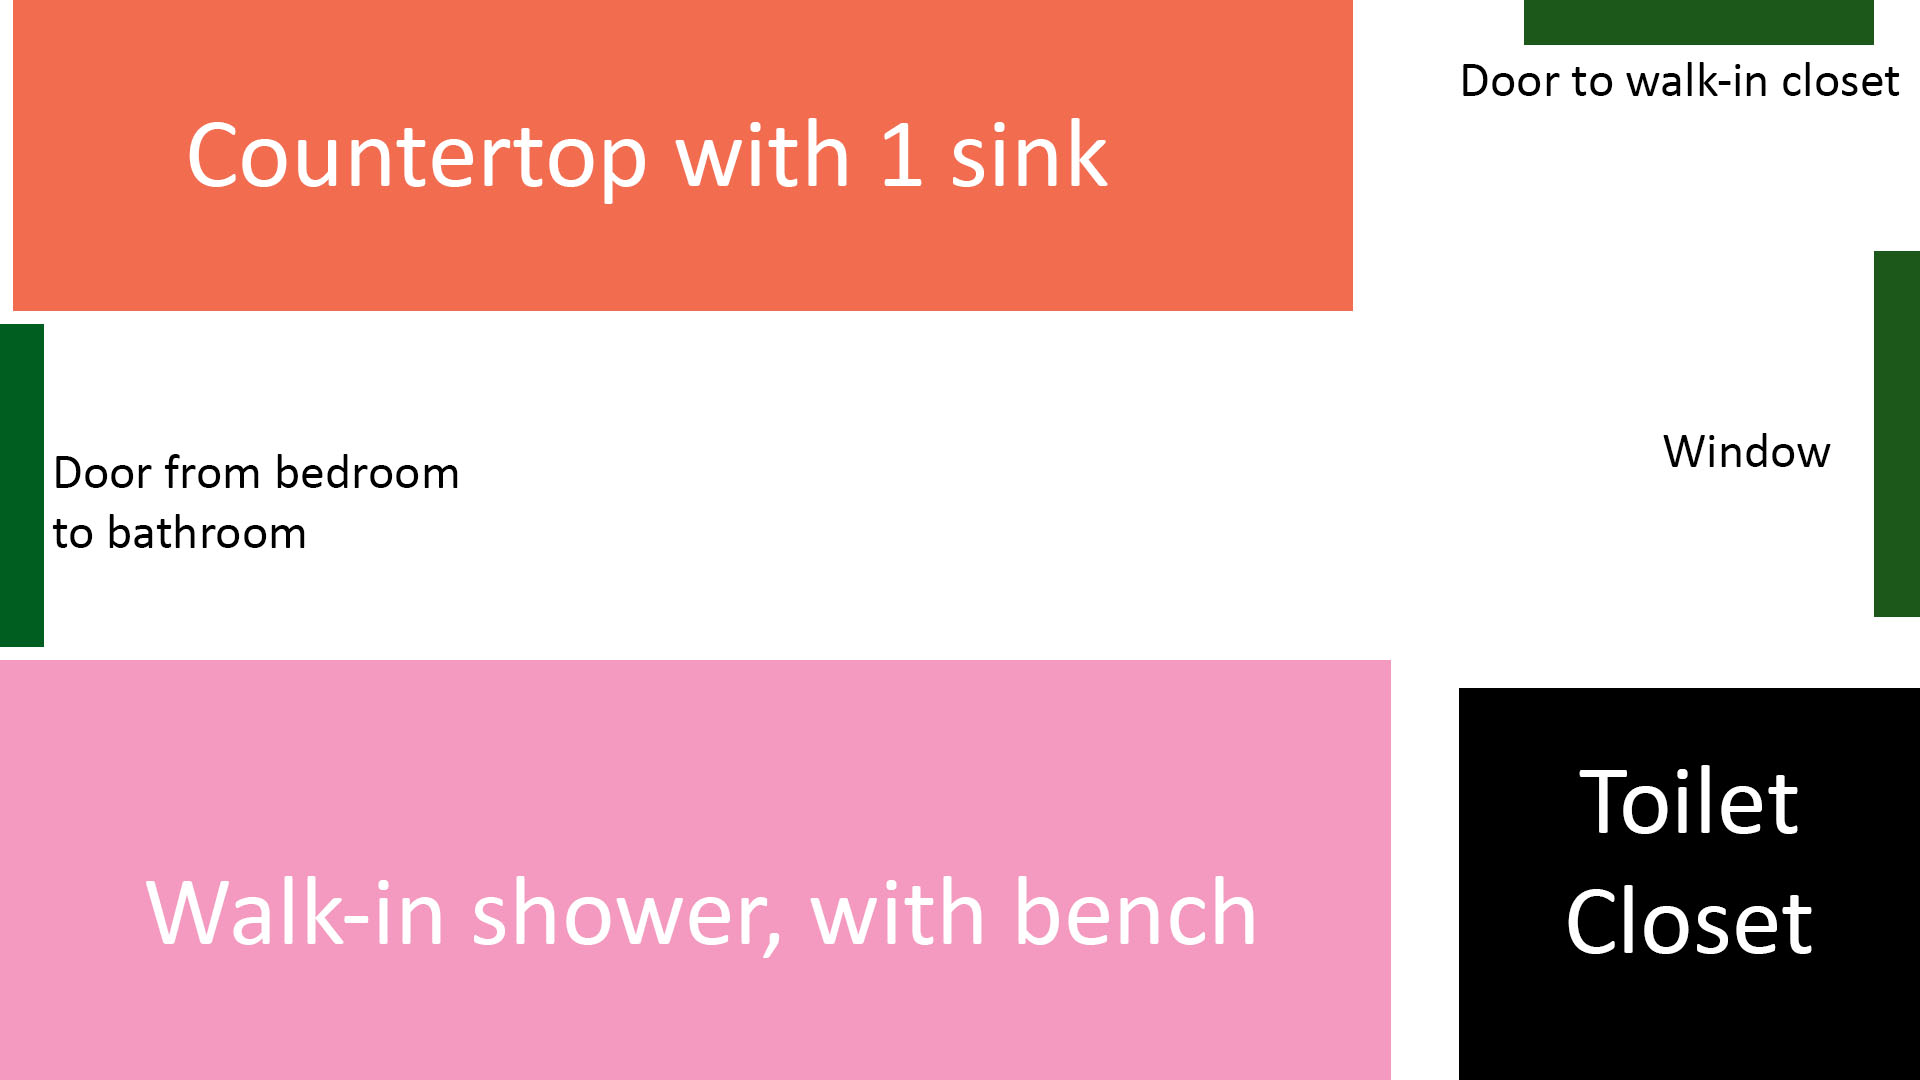
So, did it end up like I imagined? VERY, VERY CLOSE!
Before we get into the oooh and aaaaahhh photos of the ‘after’ reveal, let’s first talk about what changed in my plan. Basically, just one thing: the cabinets.
As I mentioned, we were planning to use cabinets sourced from an old job by my dad. They had been living in my basement for 10+ years and to be honest, I wasn’t sure how good of shape they were in, so I figured I’d have to refinish and paint them.
Well, once we set them in place and cleaned them up… they looked fantastic. I did switch out the icky gold knobs with some nice black metal knobs I bought from Home Depot. The wood was still in perfect condition and I figured I’d live with them until we finish the project to make up my mind about painting.
It’s been a few months and I still love them, so no painting is required! However, it’s always an option down the road.
Okay, let’s do it. We’ll do “the before”, “the middle” and “the after”!
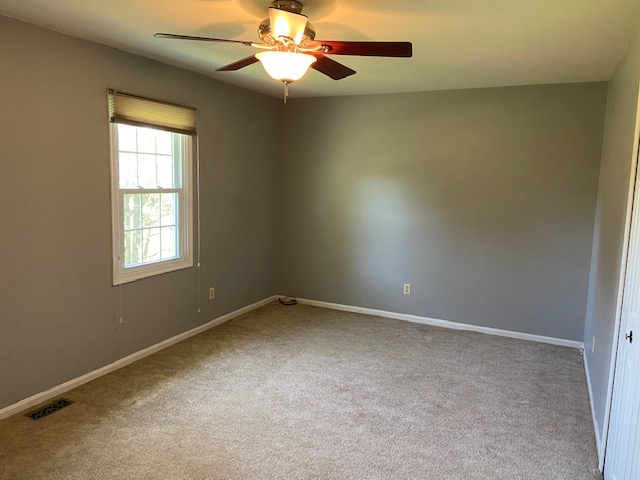
The Before
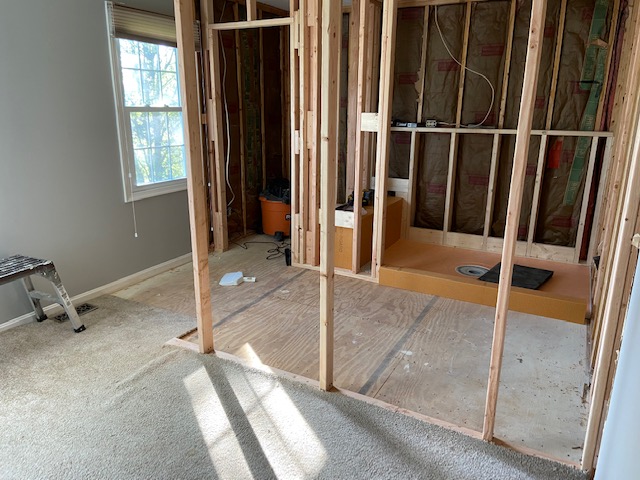
The Middle


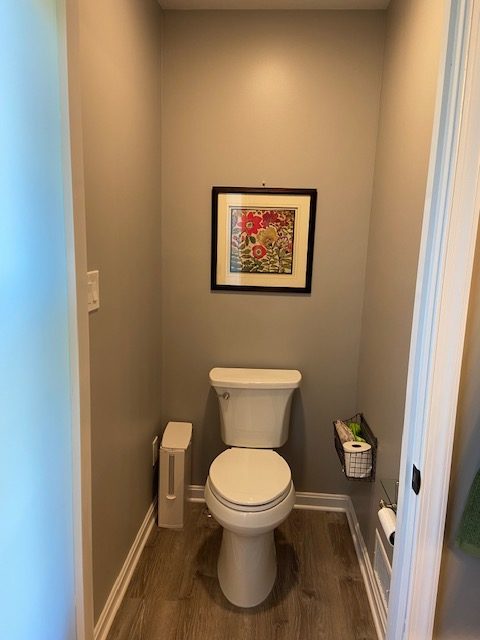
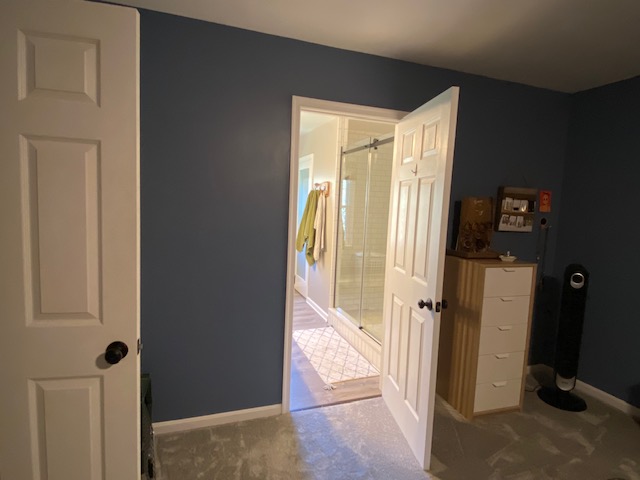
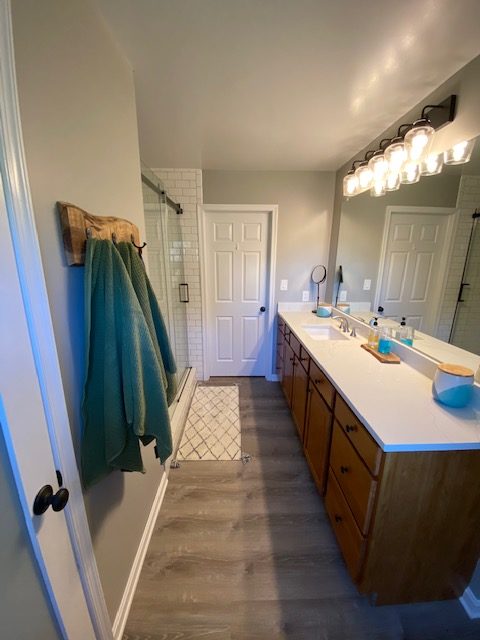
The After
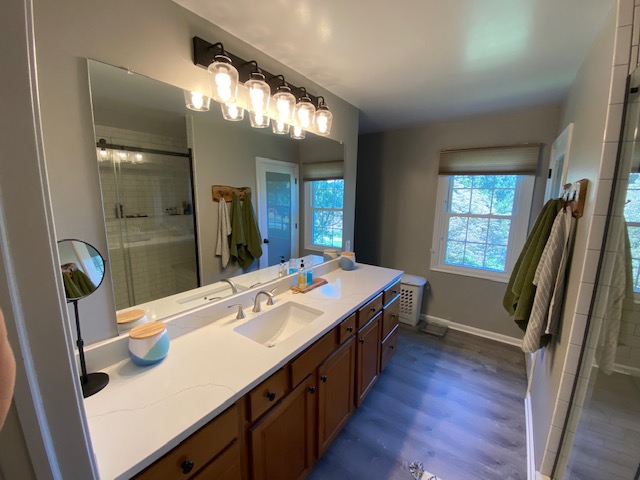
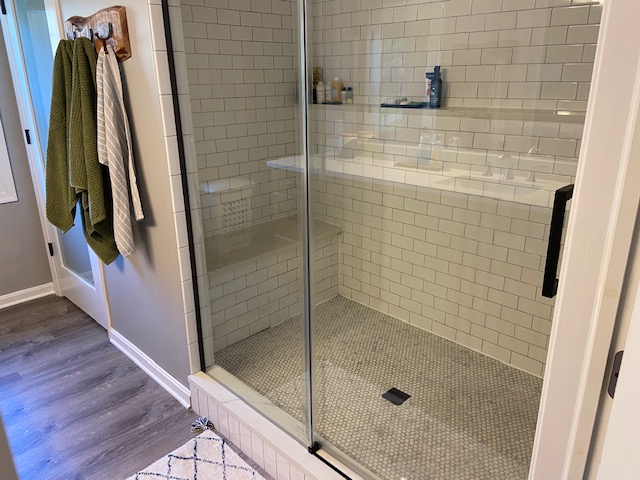

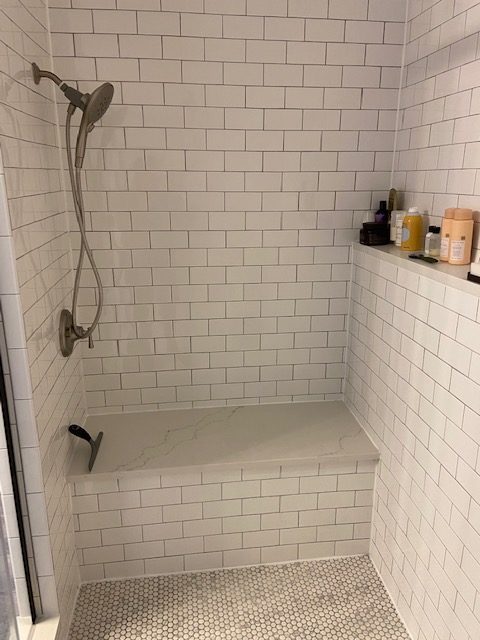
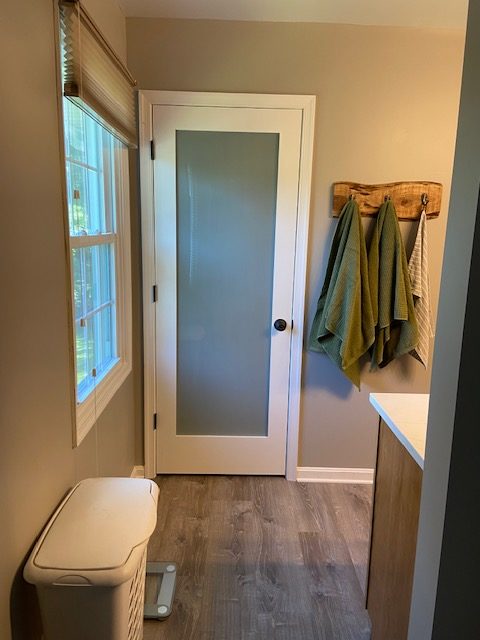
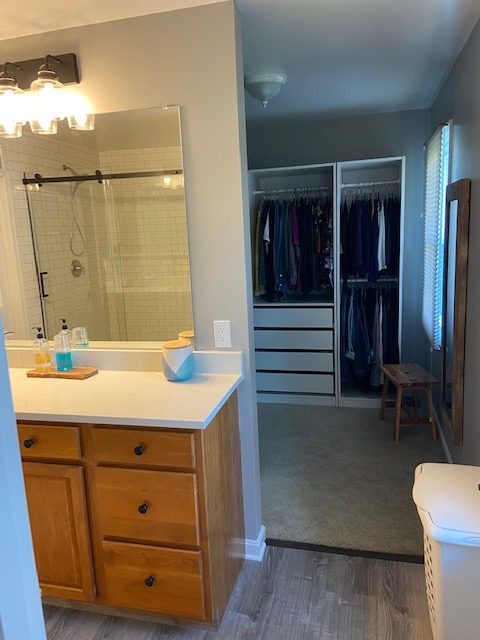
Yes, the shower is gigantic. We are aware. But part of the reason we wanted to design a new space is the fact that my 6’4” husband couldn’t bend over in our previous shower to wash his feet without bumping his head and elbows on the walls. Also, I found out recently that every other mirror in the house only shows him his chest… not his face. So, he may be loving our new bathroom even more than I am!
As it is, we held off on doing the project until we were mentally ready to deal with the house being a mess for months on end. AND until we had saved up enough money to pay for it. It took us 10 years of living in this house to get there, but we are both very, very glad that we finally did it.
So much counter space! I would love that. Great job. Enjoy it!
Thank you! I love being able to spread out all my stuff in the morning!