This month, I had two opportunities to go to my favorite thrift store. On the first try, Travis and I went together and walked away with just one item each. I visited again late in the month because I had a coupon for $15 off a $40 purchase and had much more luck!
Here’s what I found this month:
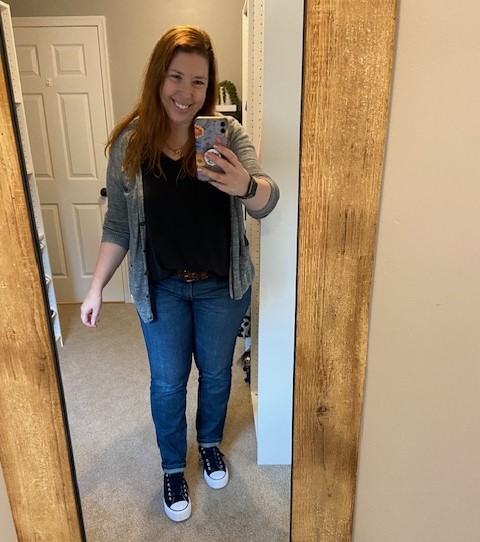
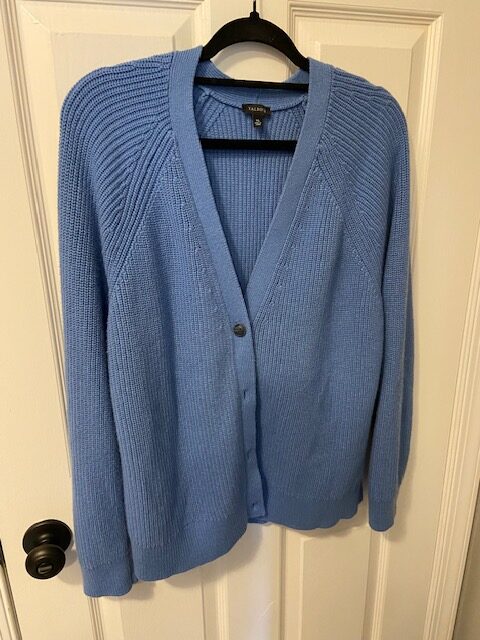
Talbots Shaker Stitch cardigan, $2.50
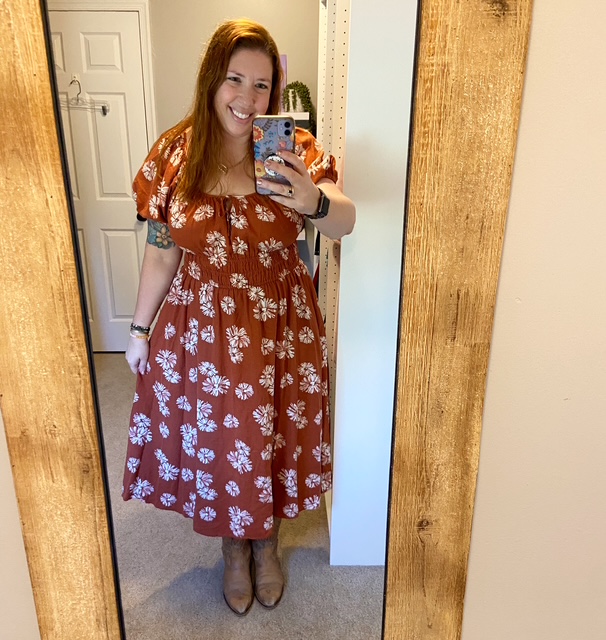
Travis and I hit up my favorite thrift store on 50% off day and holy guacamole was it crowded! We each ended up throwing a few items into the cart and then narrowing it down to just one item for each of us. I ended up with this shaker stitch cardigan from Talbots, tagged at $4.99… so it ended up being just $2.50. I LOVE the thick cotton knit and the fit of this sweater. At first, I didn’t love the blue (and was thinking about dying it green), but it’s growing on me. This particular cardigan was sold at Talbots for $99, so I’m very happy to add it to my comfy cardigan rotation at such a low price!
As for styling, this will absolutely be one that I throw over top of a t-shirt and joggers for telework days or with jeans for leaving the house.
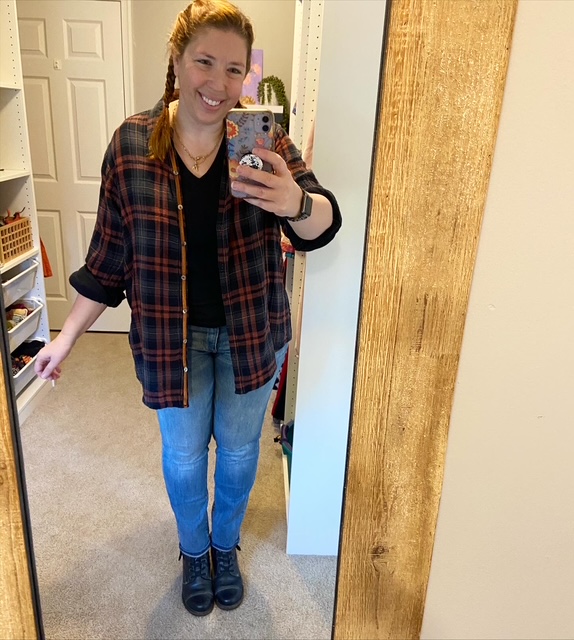
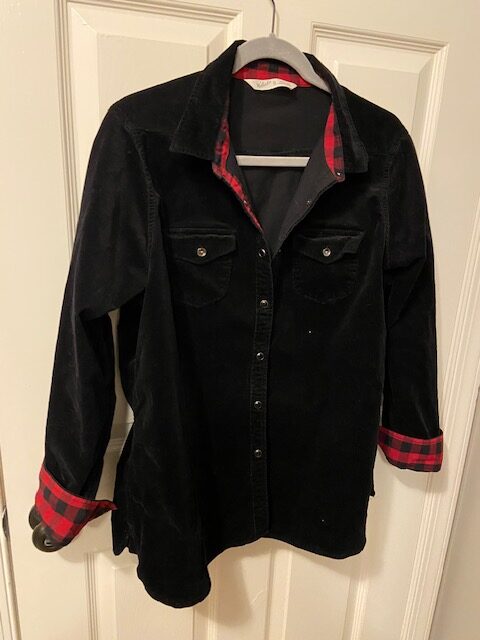
Woolrich Corduroy shirt, $8
Not my typical style, but I really liked the heavy corduroy feel of this shirt. It’s a classic black with little pops of plaid inside the collar and if you roll up the sleeves. I’m planning to try this as a layering piece over a solid v-neck tee, or graphic tee and jeans. It seems like a good ‘in between’ sweater and coat piece, so I’m curious if it will work in my closet.
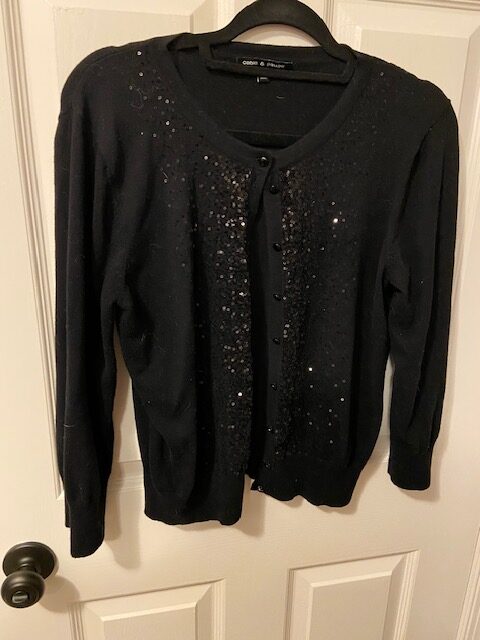
Cardigan with sequins, $9
This may look familiar, because I own multiple sequined cardigans. However, they really get so much wear and I’ve had a few in rotation since before Jack was born! I love the Cable & Gauge brand cardigans (you can find them at Nordstrom Rack) and this sequined version has black sequins on a black knit, which is a bit different than the ones I currently own.
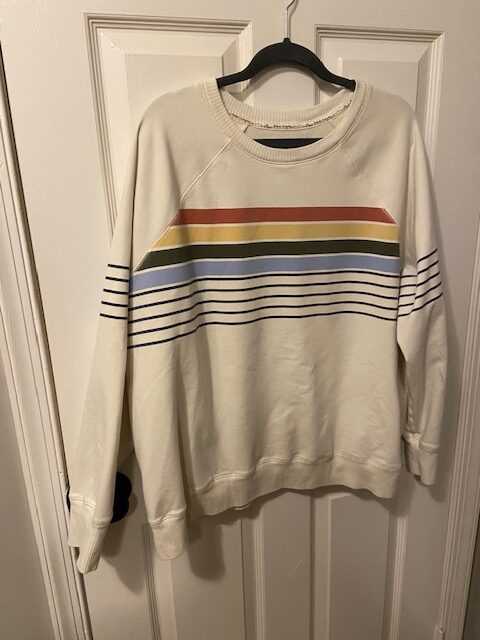
LL Bean sweatshirt, $11
I really liked the color combo on this sweatshirt and it’s nice and oversized too! It is a bit of a thinner sweatshirt material, which I love for year-round wear. This one will get lots of wear with joggers and leggings.
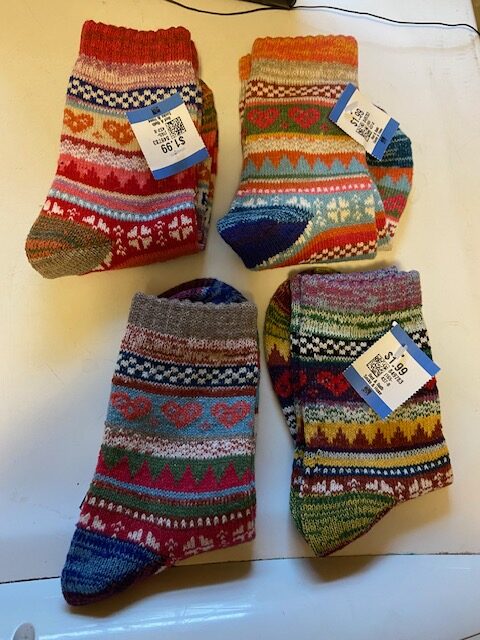
Hygge socks, $6 for all
I don’t normally shop the socks section, but I was checking out the men’s belts and these jumped off the rack at me. They are nice and thick, obviously never worn, and super cute designs. I figured I’d give them a try!
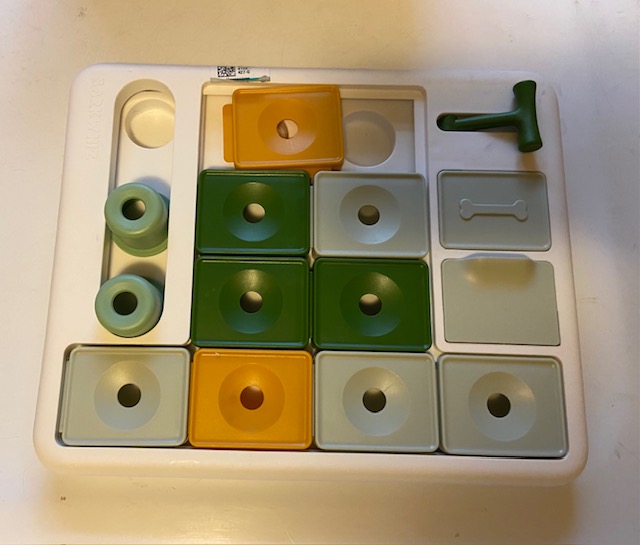
Dog Treat puzzle, $2
This is one of the items that was on my thrift list, so I was thrilled to find it! I bought Cooper (our new rescue dog) an easy version of a dog puzzle a couple months ago and he solved it within a few minutes. However, I didn’t want to spend $20+ to buy him another version if he was just going to solve it immediately. I’ve been checking the kid’s toys sections for my last few visits, assuming that the thrift people would think a dog puzzle was a kid’s toy… and I was right!!! I got this puzzle (which I had been eyeing on Amazon) for just $2!
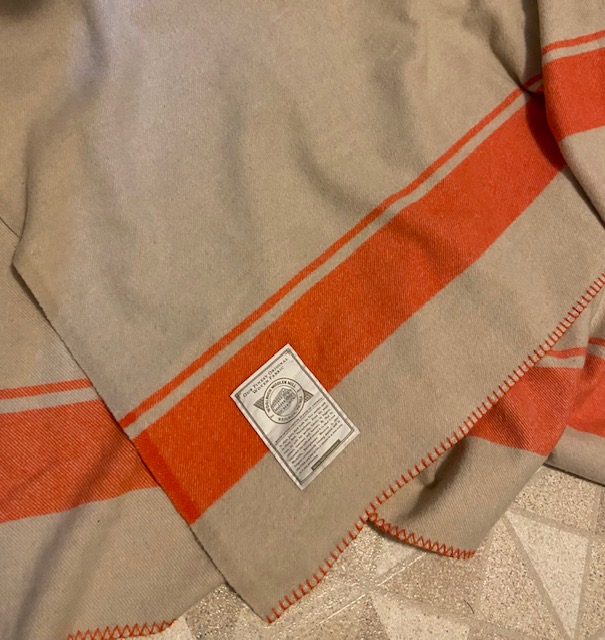
Vintage Woolrich 56×70 wool throw, $19
Also on my ‘thrift list’ is that I’ve been low-key looking for a Pendelton throw blanket forever. They are so gorgeously made and I love the designs, so I hold out hope that one day I’ll find one for cheaper than the current Poshmark prices. Well, in my latest search, I found this vintage Woolrich wool throw! It’s not Pendelton, but it is Pendelton-adjacent.
Orange is my favorite color, so I had no problem paying a bit ‘up’ for this purchase. As I do with all thrifted items, I threw it in the washer. And then realized that wool blankets were dry clean only or hand wash… but luckily it turned out fine and was not felted at all. I did realize my mistake before sticking it in the dryer, and I let it lay flat to dry. I did some research and I think this is a Woolrich heritage wool throw from around 2000 which sold for anywhere from $180-250. Resale values range from $150 – 250, especially because it was made in the US. As it is, I’m not planning to resell it, but to enjoy it for many years to come.