The last two weeks have flown by since I announced the DIY Challenge!
For those of you who missed the original DIY Challenge post, I challenged myself and three of my blogger friends to do a DIY project that we’ve wanted to do for a while. It could be inspired by something we saw on Pinterest, someone else’s blog, a HGTV show, a magazine, or wherever else.
Now the two weeks are up and it’s time to see how we all did!
I went into the challenge with the best intentions to complete THREE mini projects in a trifecta of holiday goodness:
Mini project #1: Paint Dipped Pinecones
Mini project #2: Paper Punch Snowflake Garland
Mini project #3: Glittered Candlesticks
Project #2: Fail
I started with searching for the supplies for project number two, the paper punch snowflake garland. I searched high and low through Joann Fabrics and Michaels and could not find a large snowflake punch. The closest thing I found was a star-like thingie, but the hole-punch was over $20 and so small that it wasn’t giving me as much bang as I wanted for my buck. I made the executive decision to pass on this project and focus on the other two.
Project #3: Success
While I was wandering the aisles at Joann’s, I was sucked forward into the Martha Stewart section. I remember in the past that I was entranced by Martha’s glitter because it was brighter and smaller chunks than ‘normal’ glitter – I swear that woman probably has unicorns farting out the magical glitter in her factories – which MIGHT explain why each bottle was $12.99.
You know that I’m not paying $13 for a bottle of glitter, even if it came from a unicorn’s butt… so I quickly googled on my phone and pulled up a 50% off coupon. I also grabbed a jar of Martha’s glitter glue for $4.99 which is basically a thin, super sticky glue with an application brush in the top.
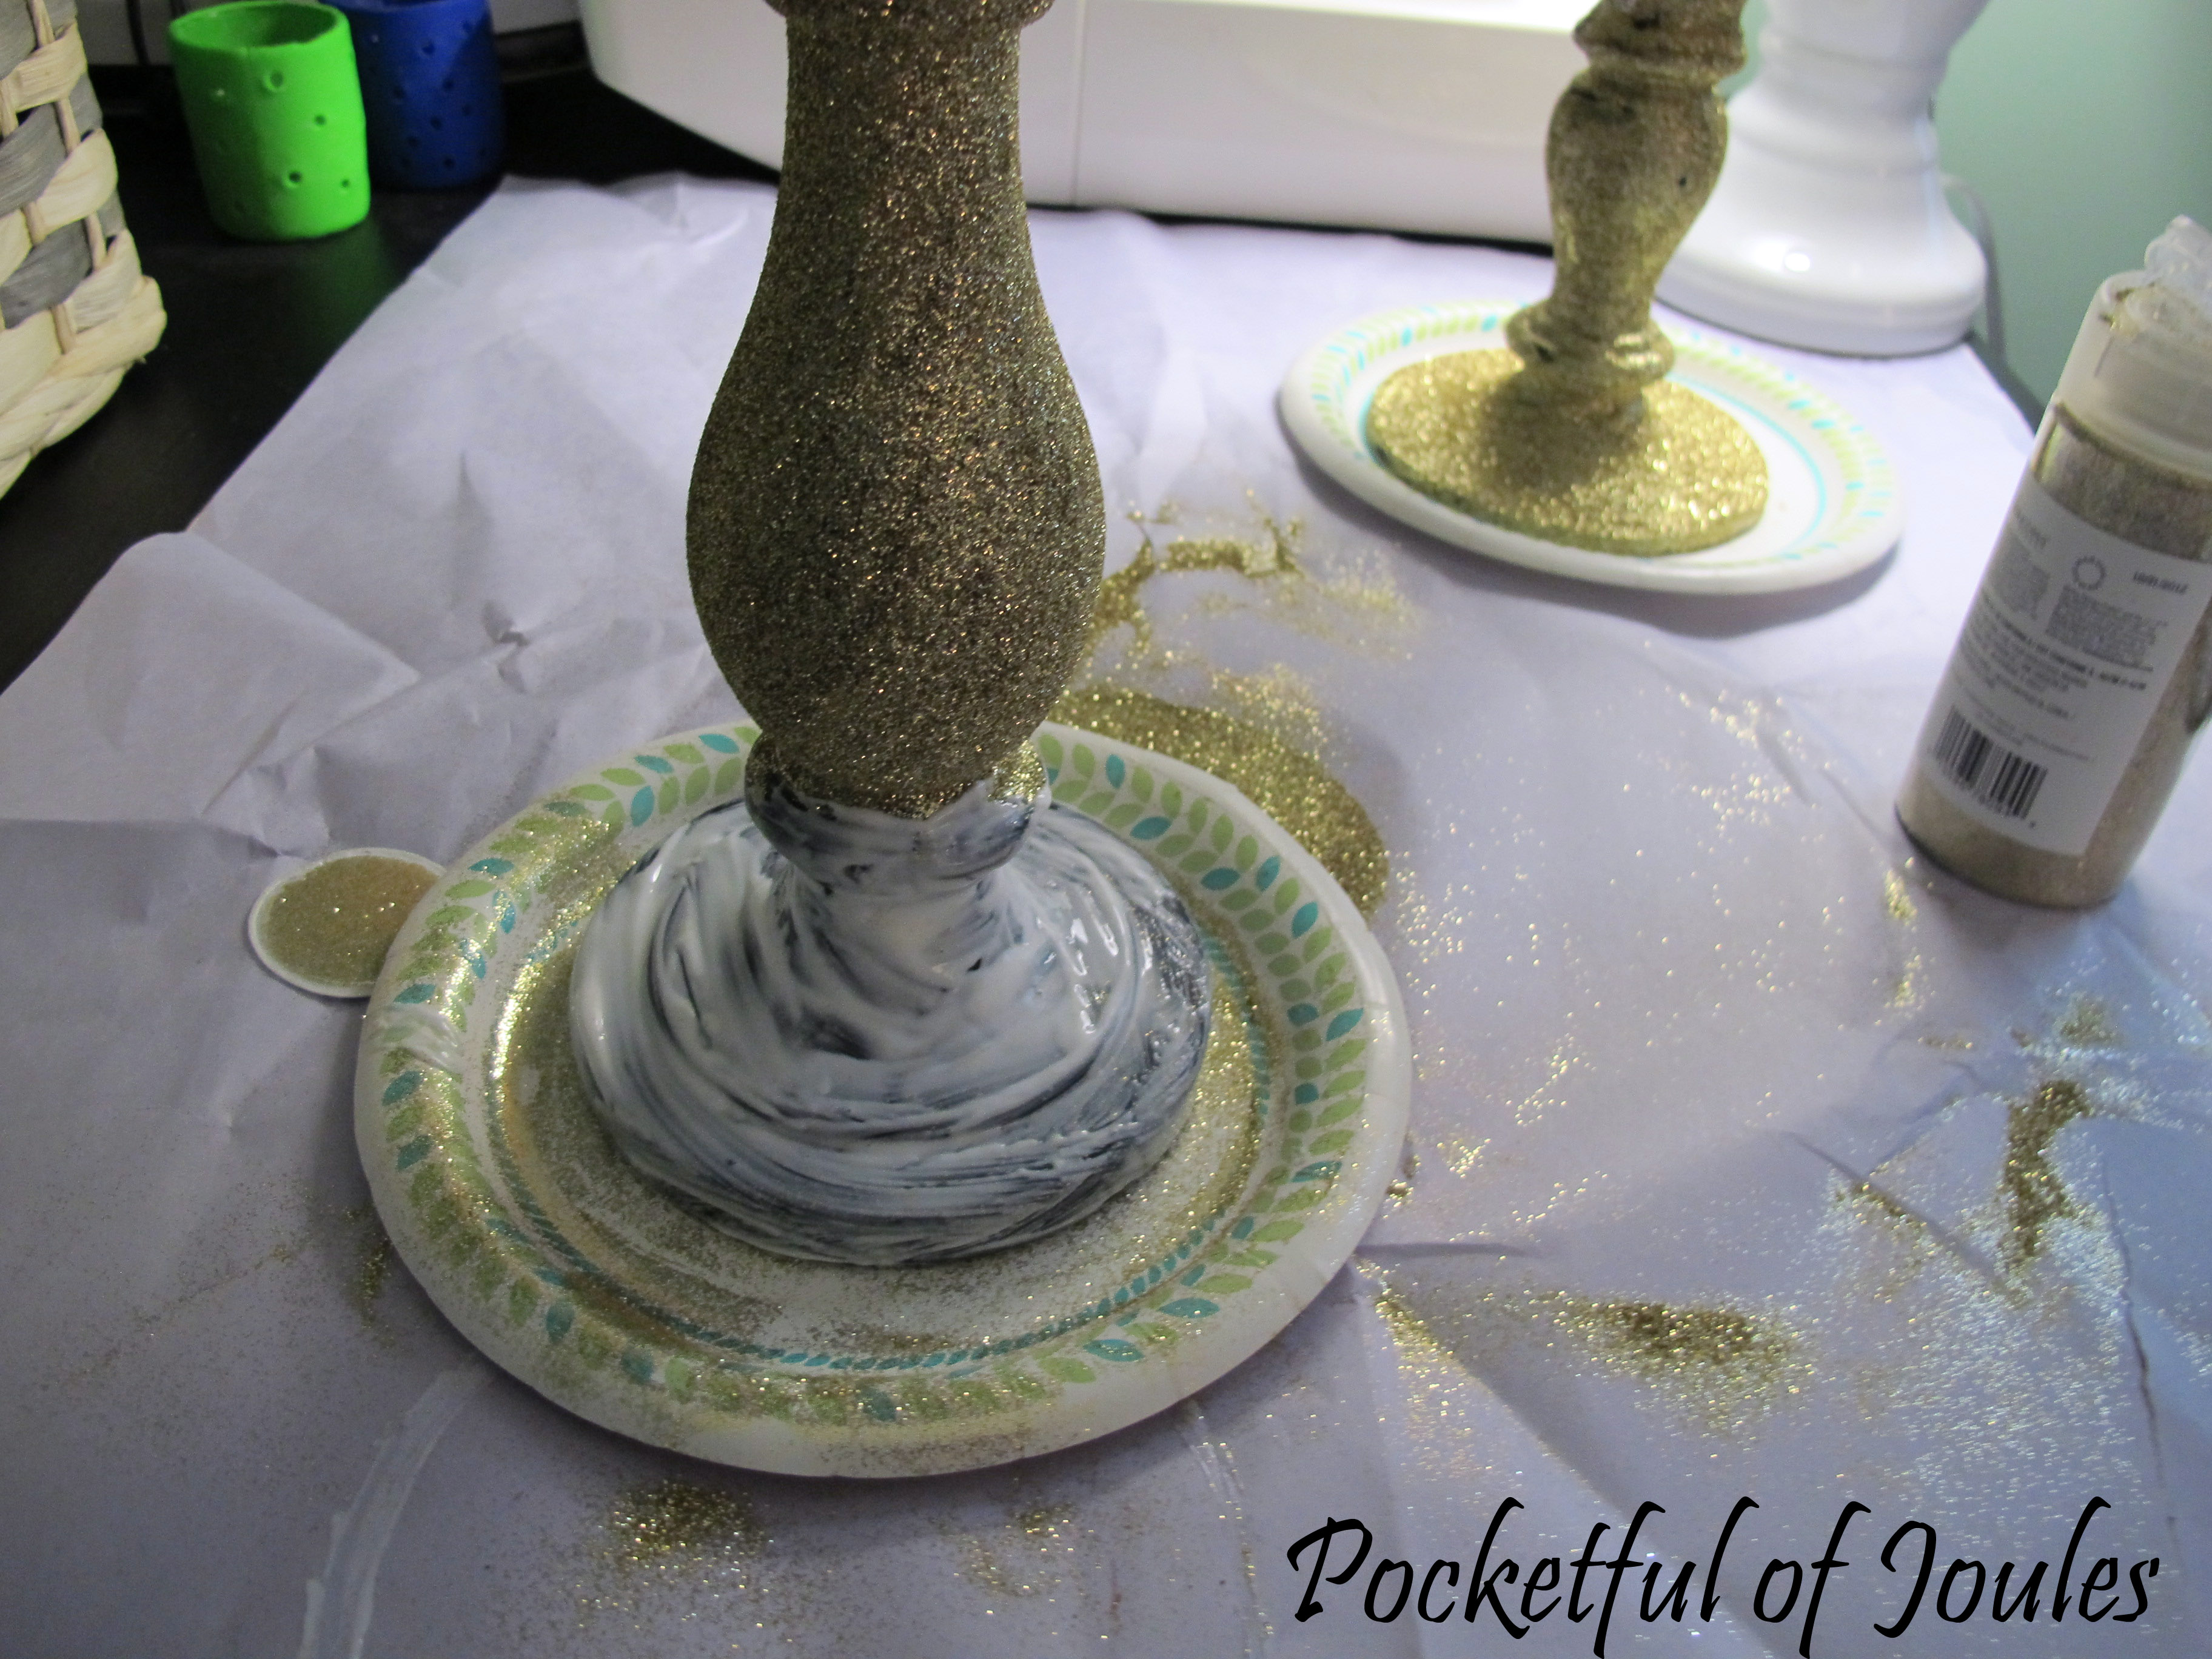
At home, I pulled out two Home Interiors candlesticks that I’ve had for years (they came in the interior consultant beginner kit I purchased when I sold the stuff). After dusting them off on the front of my shirt, I brushed on a layer of glue and then carefully shook the glitter onto the sticky candlestick. For the shorter candlestick I left the very top clear to give me something to hold on to and did the opposite for the taller candlestick. After each candlestick was covered in glitter, I tapped it on the table so that all the excess would fall off onto the plate. I was able to fold the plate in half and dump the glitter back into the container pretty easily.
I let them both dry for a few hours and then painted some more glue on the bare areas and repeated the glitter-shaking process. I’m really glad I went with the expensive glitter, because it definitely makes the project look much more professional and expensive than normal chunks of glitter.
Here it is in pictures:


Project #1: Total Change
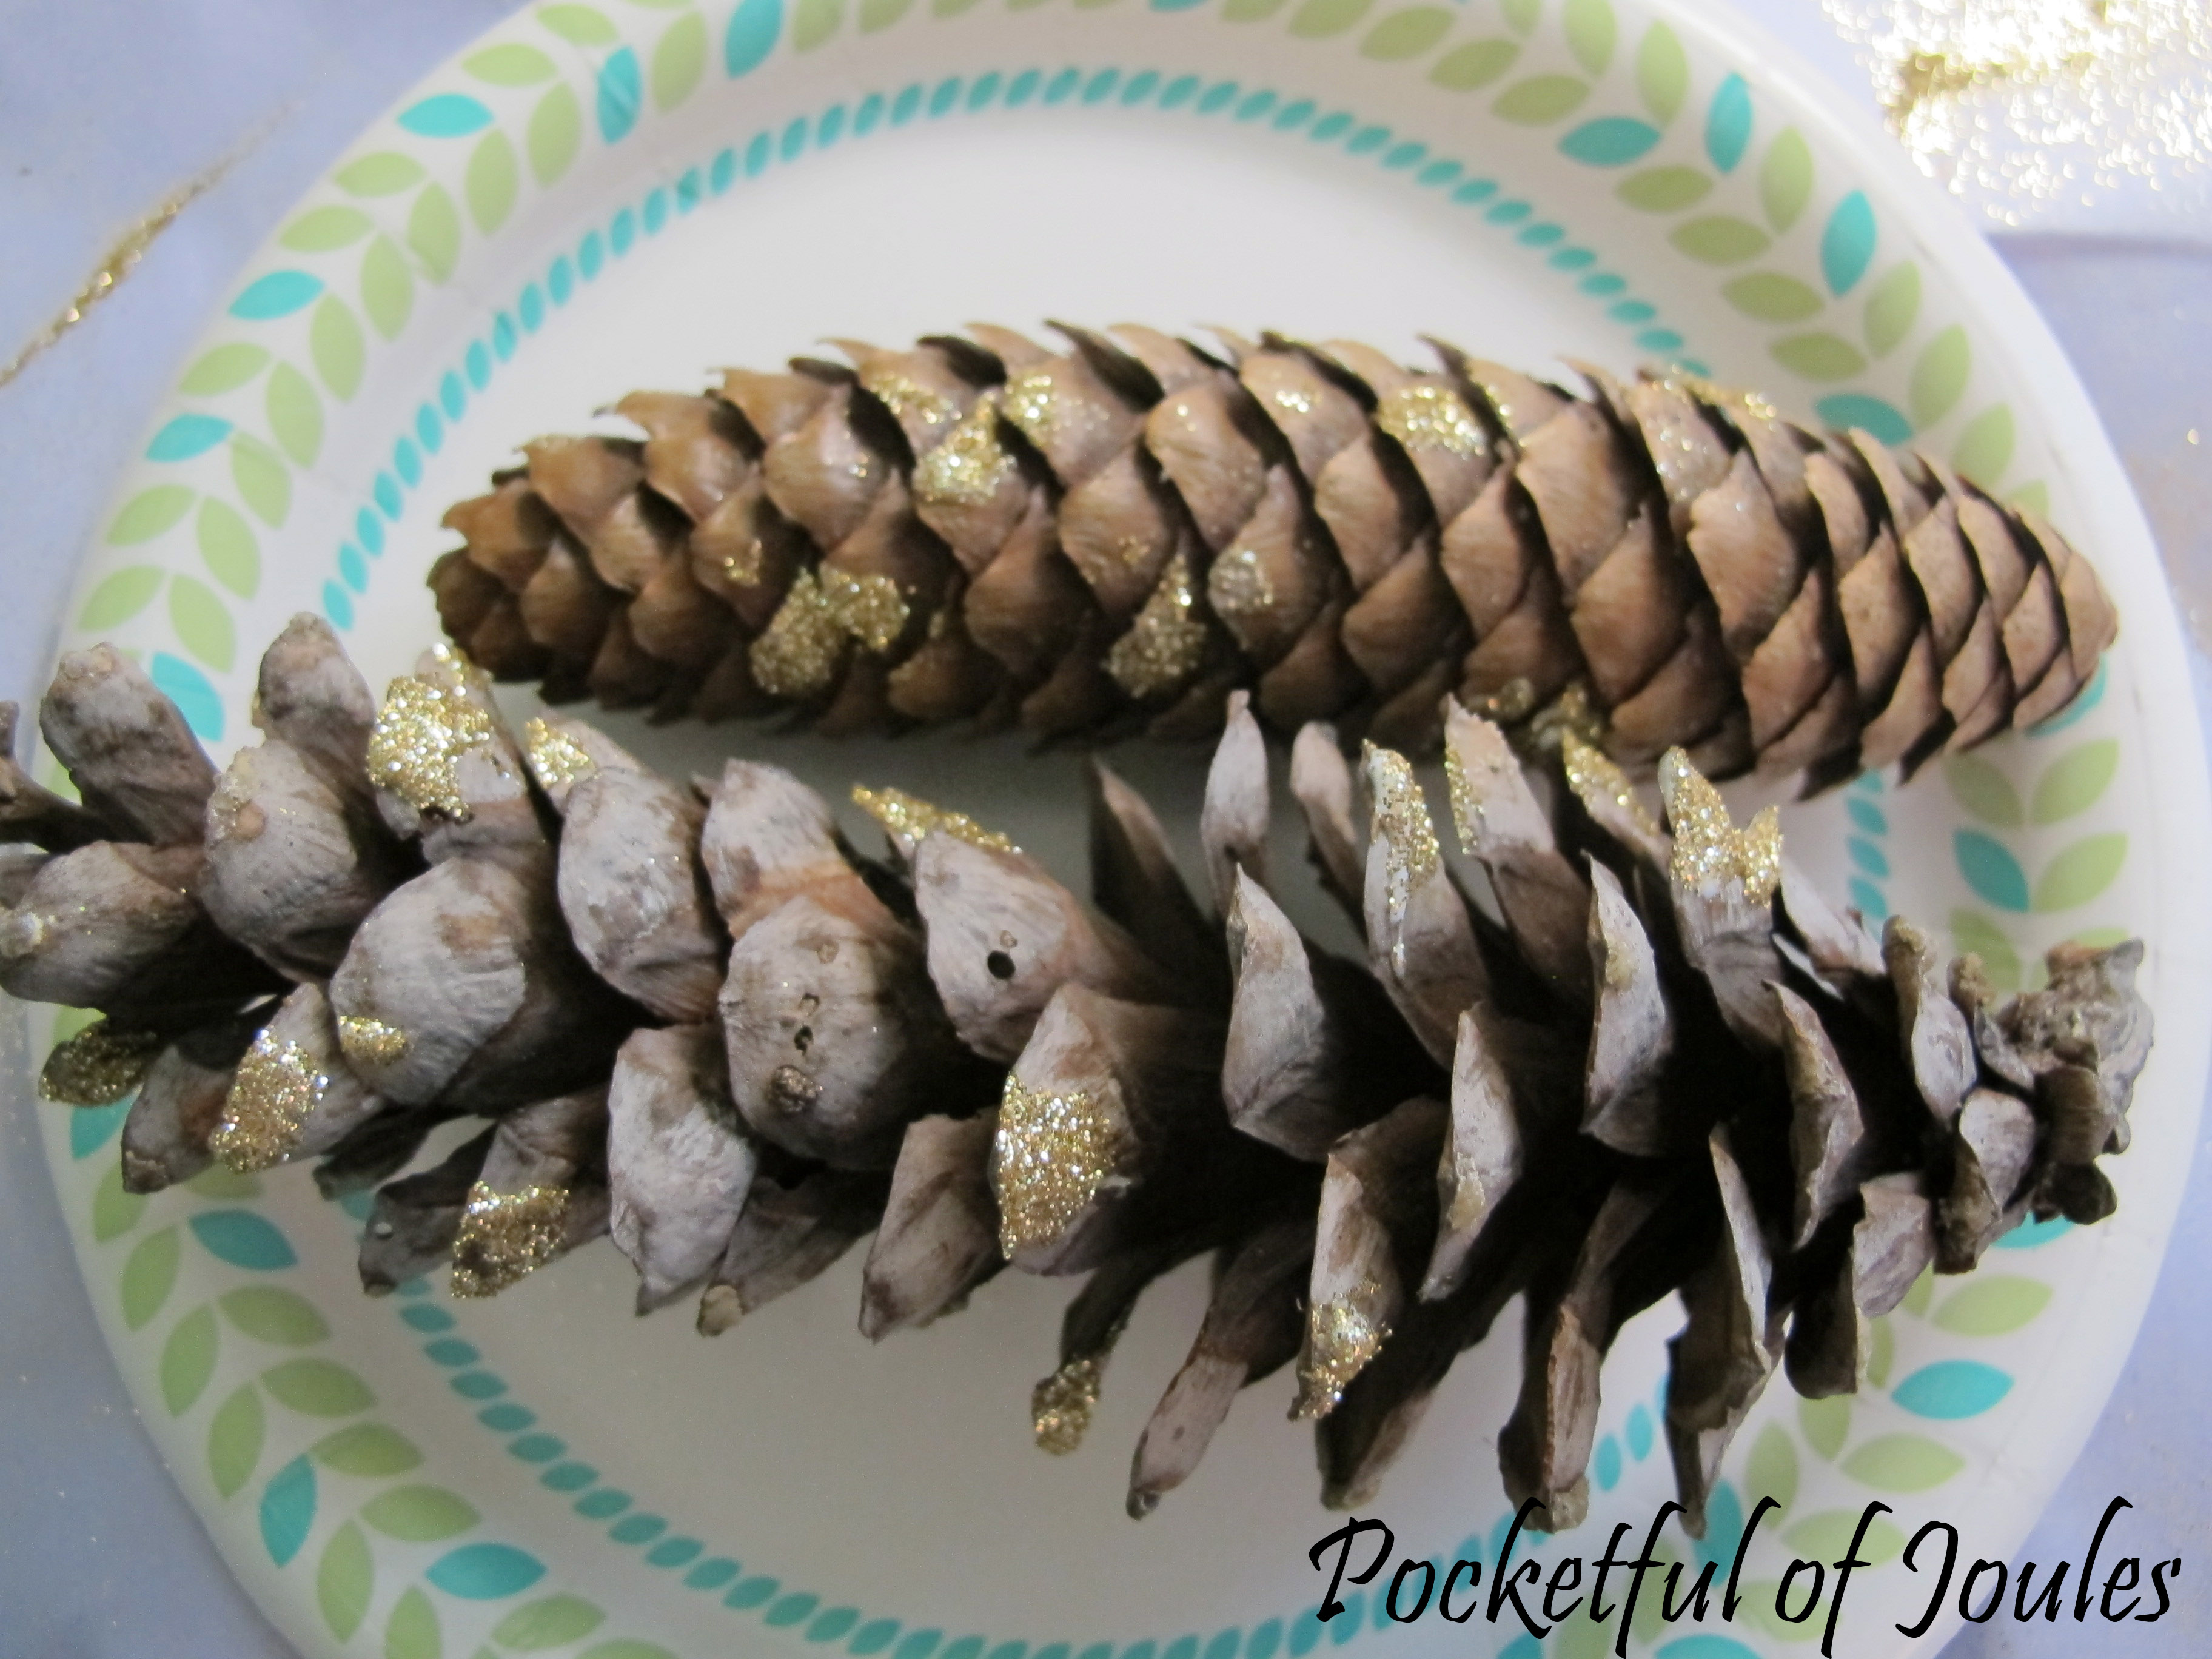
This project started out easy-peasy and I finally saw the benefit of having over a dozen pine trees dropping their darn needles all over my land. I gathered a few pretty pinecones just steps from my door and figured that checked off the first step, so YAY for that.
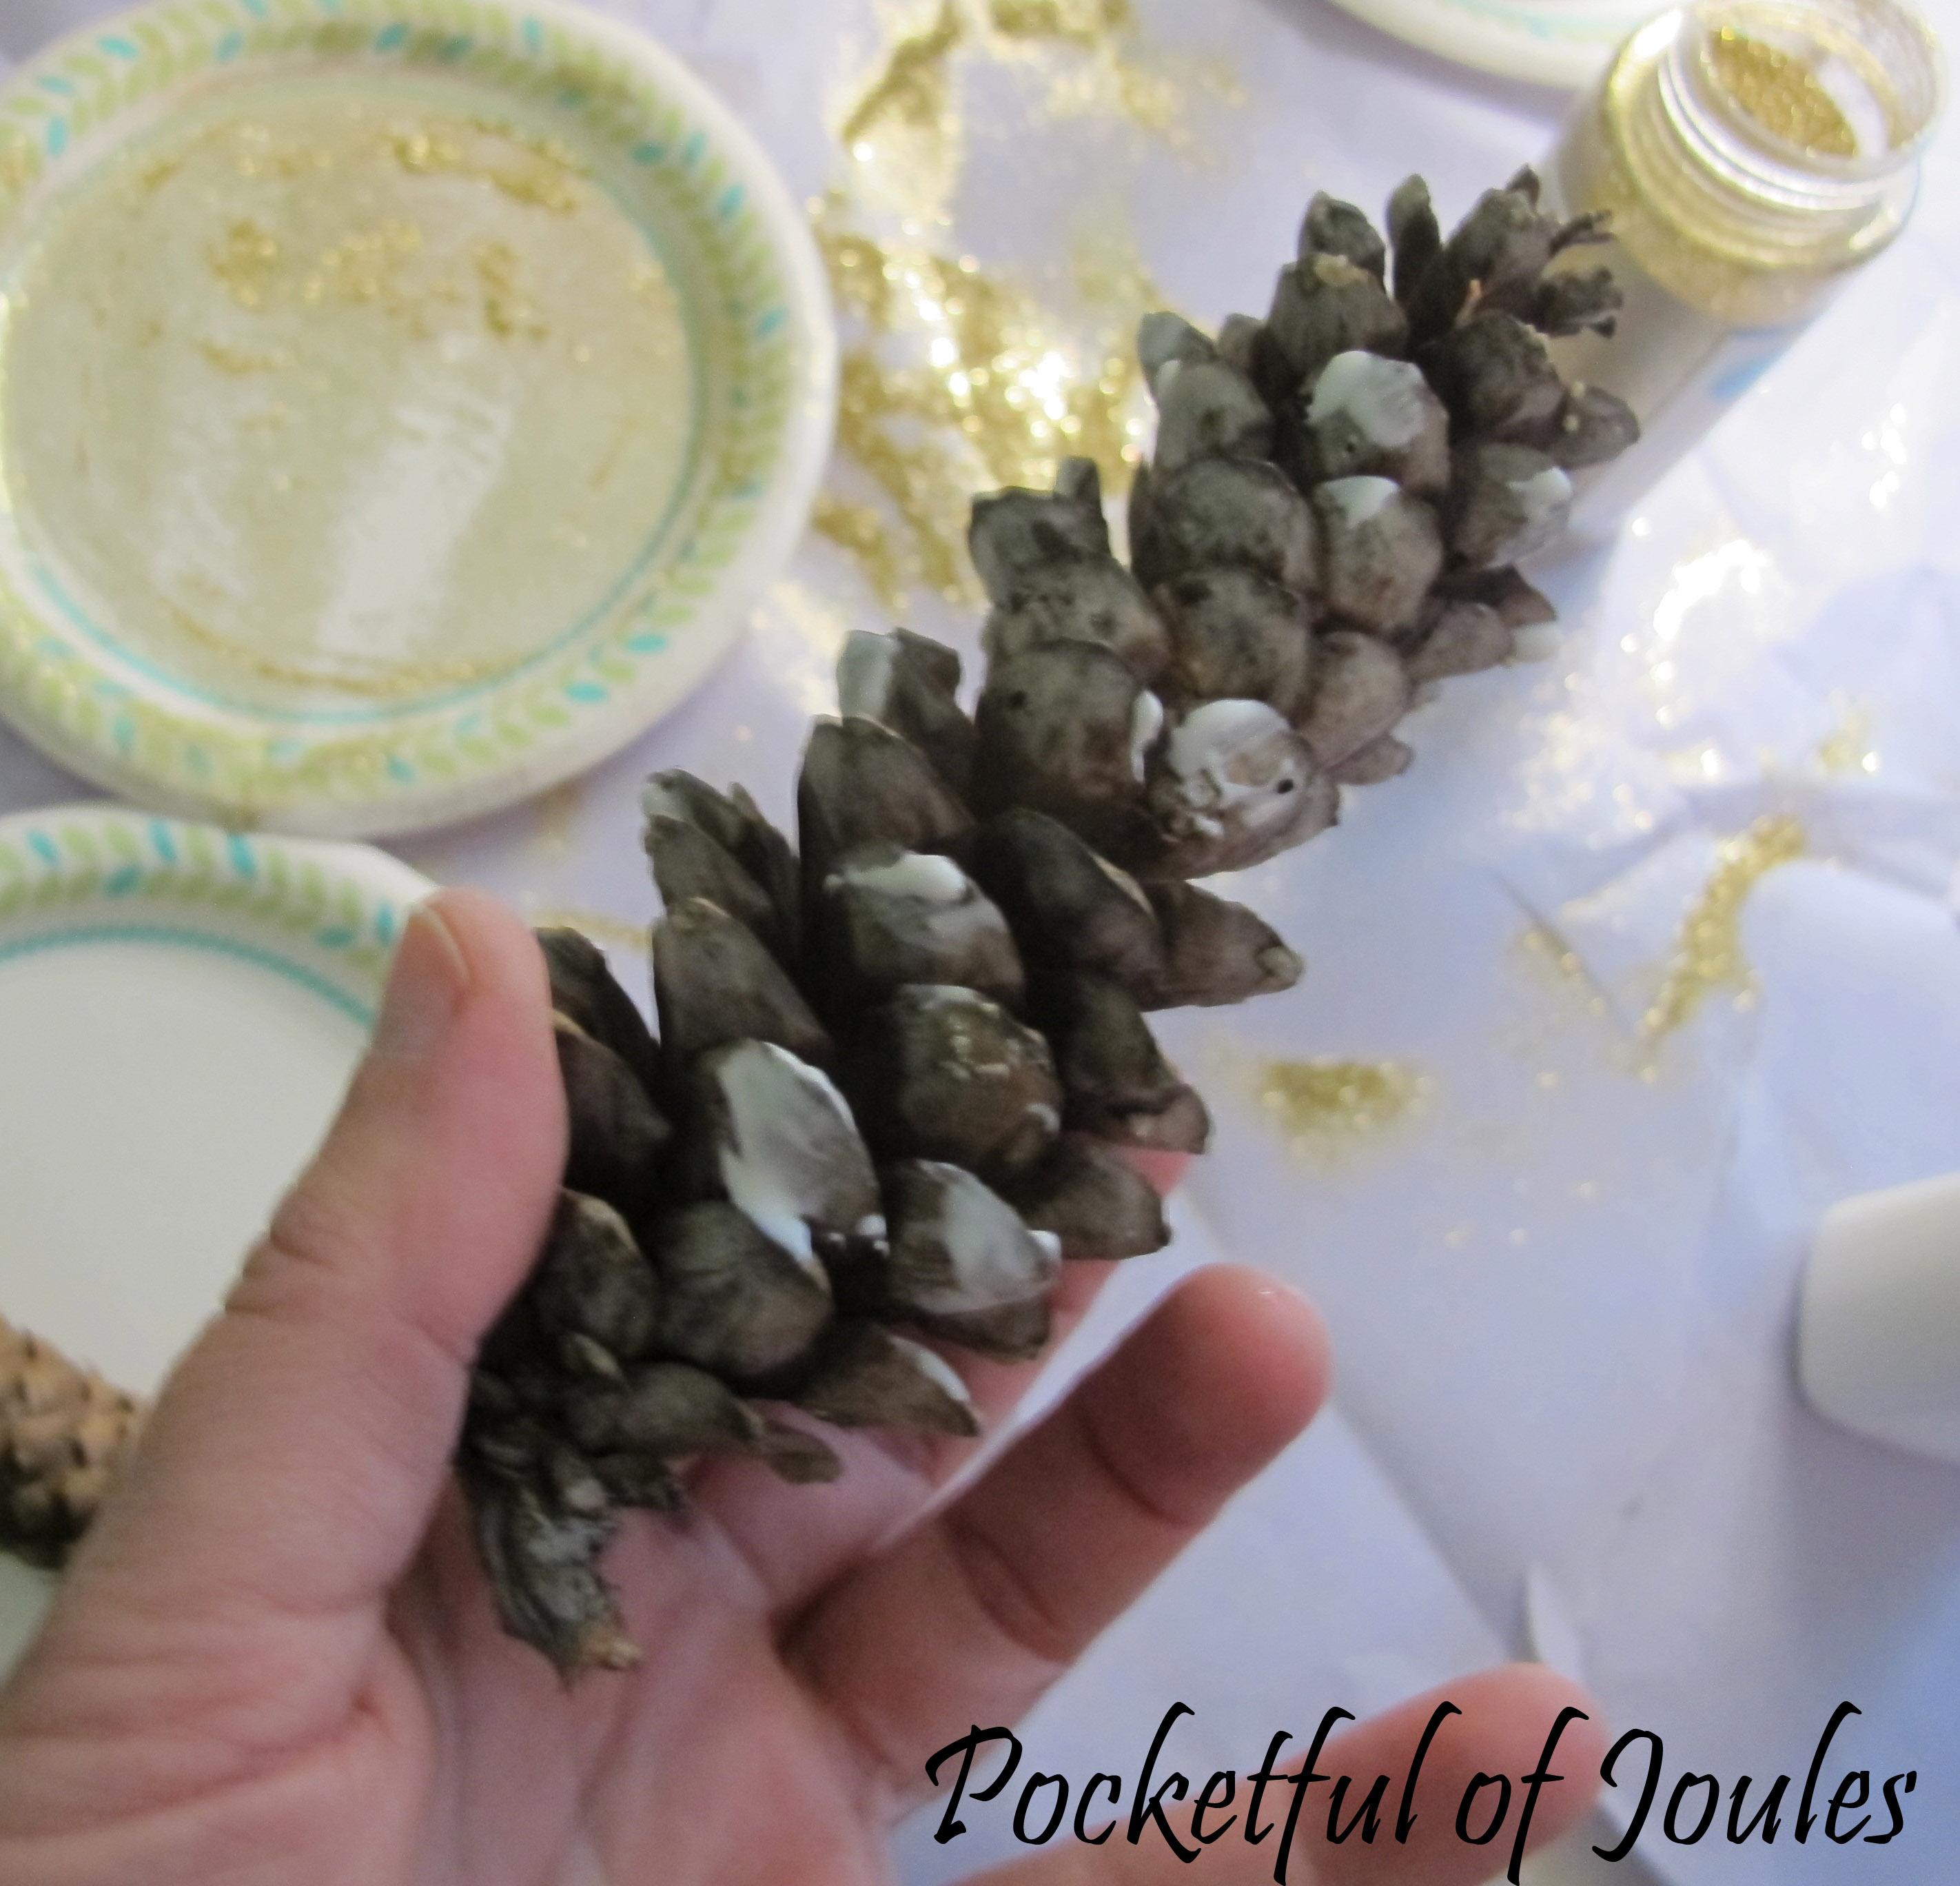
Unfortunately, when I went back in the house and clicked through to the originally pinned project I read the comments and found that most people had issues. Apparently, when you dipped the pinecone in the paint it looked beautiful…until it dried and closed back up. Um… what?! That sounds like a lot of work and mess for something that will look like crap. So then I went to the obvious next step of, “oh, I’ll just spray paint them!” but read further in the comments to see that doesn’t turn out as well. Hmm… well, I have a bunch of glitter sitting around from the candlestick project…
So I decided to change my paint dipped pinecone project into a glitter one instead! I brushed glue on random spots of the piney part of the cone and then shook some glitter on top. I think they look much snazzier than if I had just fully covered them in glitter like a kiddie project.*
I found a pretty brass bowl at the thrift store for $2.90, so I figured I’d put it to use as a kind of holiday display:

Of course, now I’m kind of dying to throw glitter on more stuff…
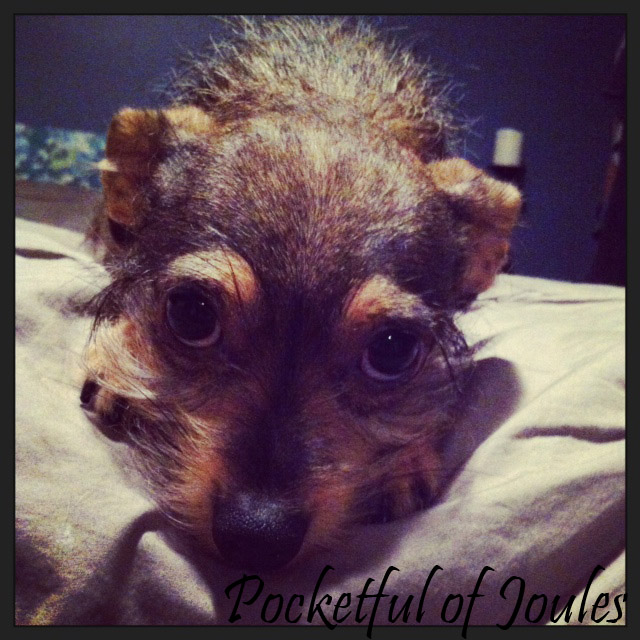
Hmm…that could POSSIBLY be going a bit too far. He’d look awfully pretty though with a glittery mane…
I LOVED doing the DIY Challenge and especially liked checking out what the rest of my Glue Crew did (named by Katie, of course).

Stop by and check them out:
Words for Worms: Pinterest & Peer Pressure
A Grace Full Life: DIY Challenge for the DIY Challenged: The Aftermath
Quirky Chrissy: What do a Glue Gun, Exacto Knife and Pain Have in Common?
Did you play along at home? If so, email me your pictures by Friday, November 29th and I’ll dedicate a blog post to showcase your awesome projects!
*Oh my GOSH I cannot WAIT until Jack starts bringing me home art projects from school!

 The first thing I noticed was that the quality of the kit was quite impressive. The chain, bracelet cuff and all the details were quite heavy and well-made. I was initially disappointed that the instructions were online (and not provided in the kit), but once I visited the link I found the instruction breakdown and images really helpful.


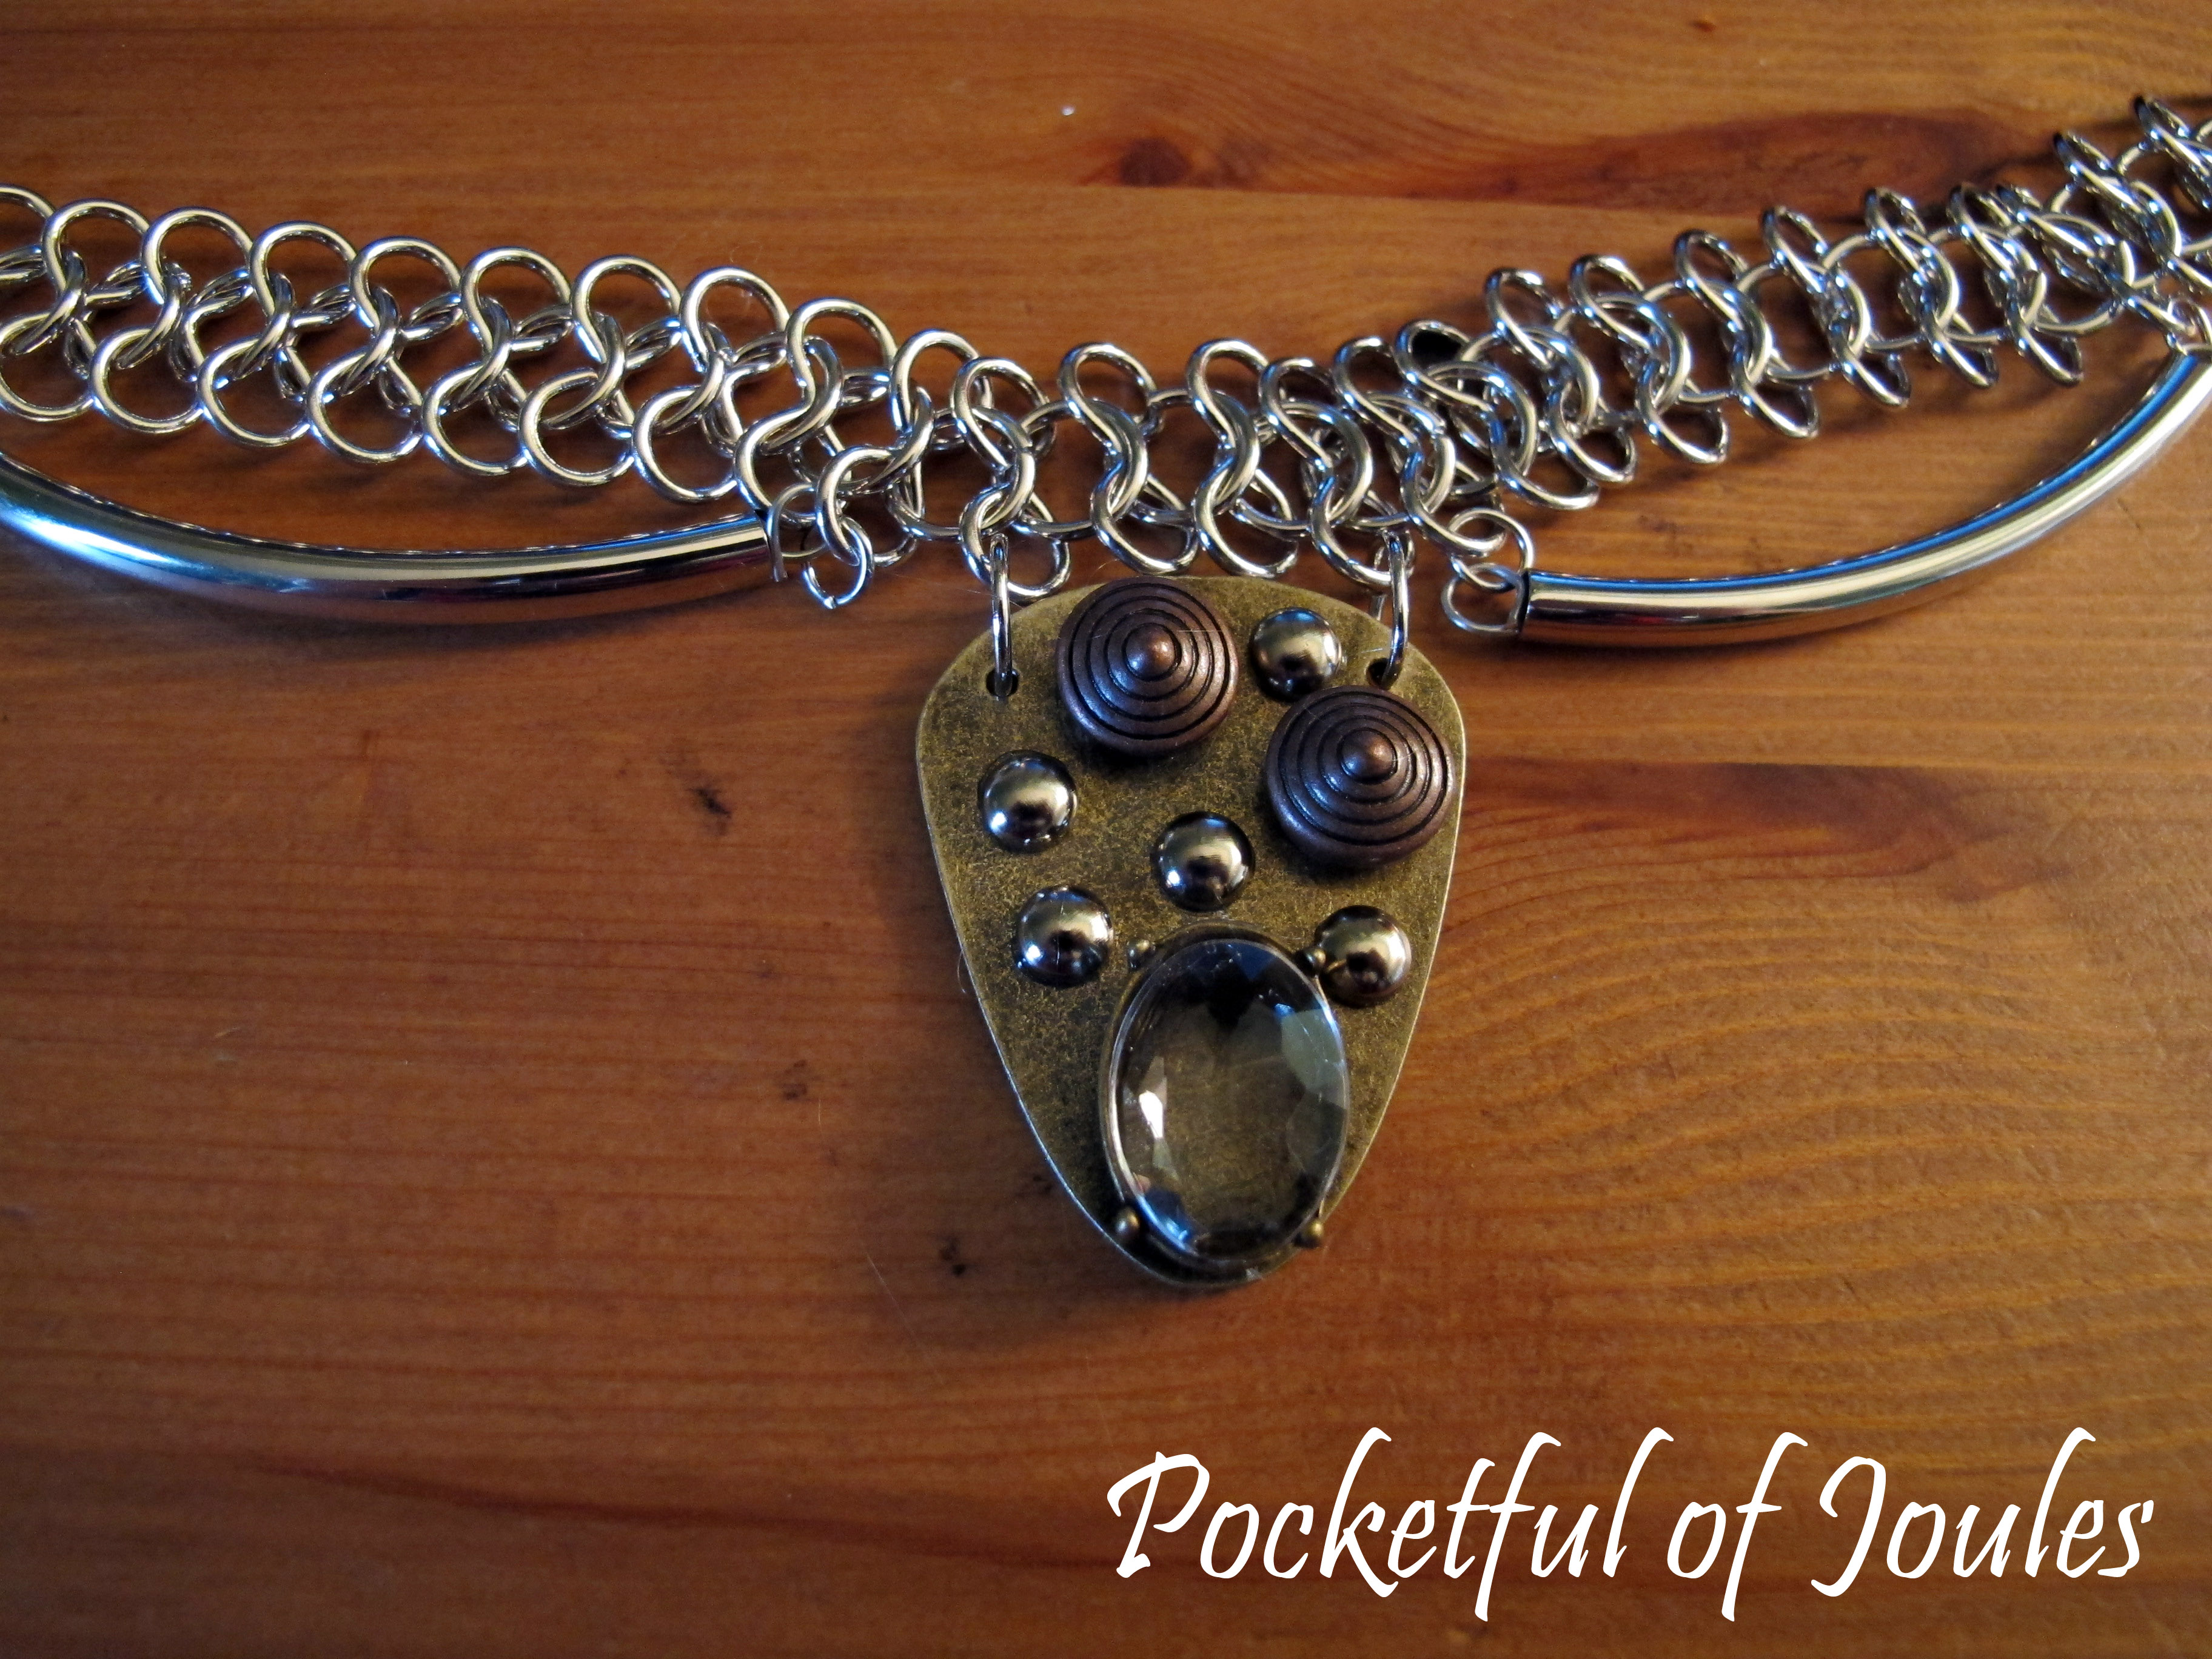


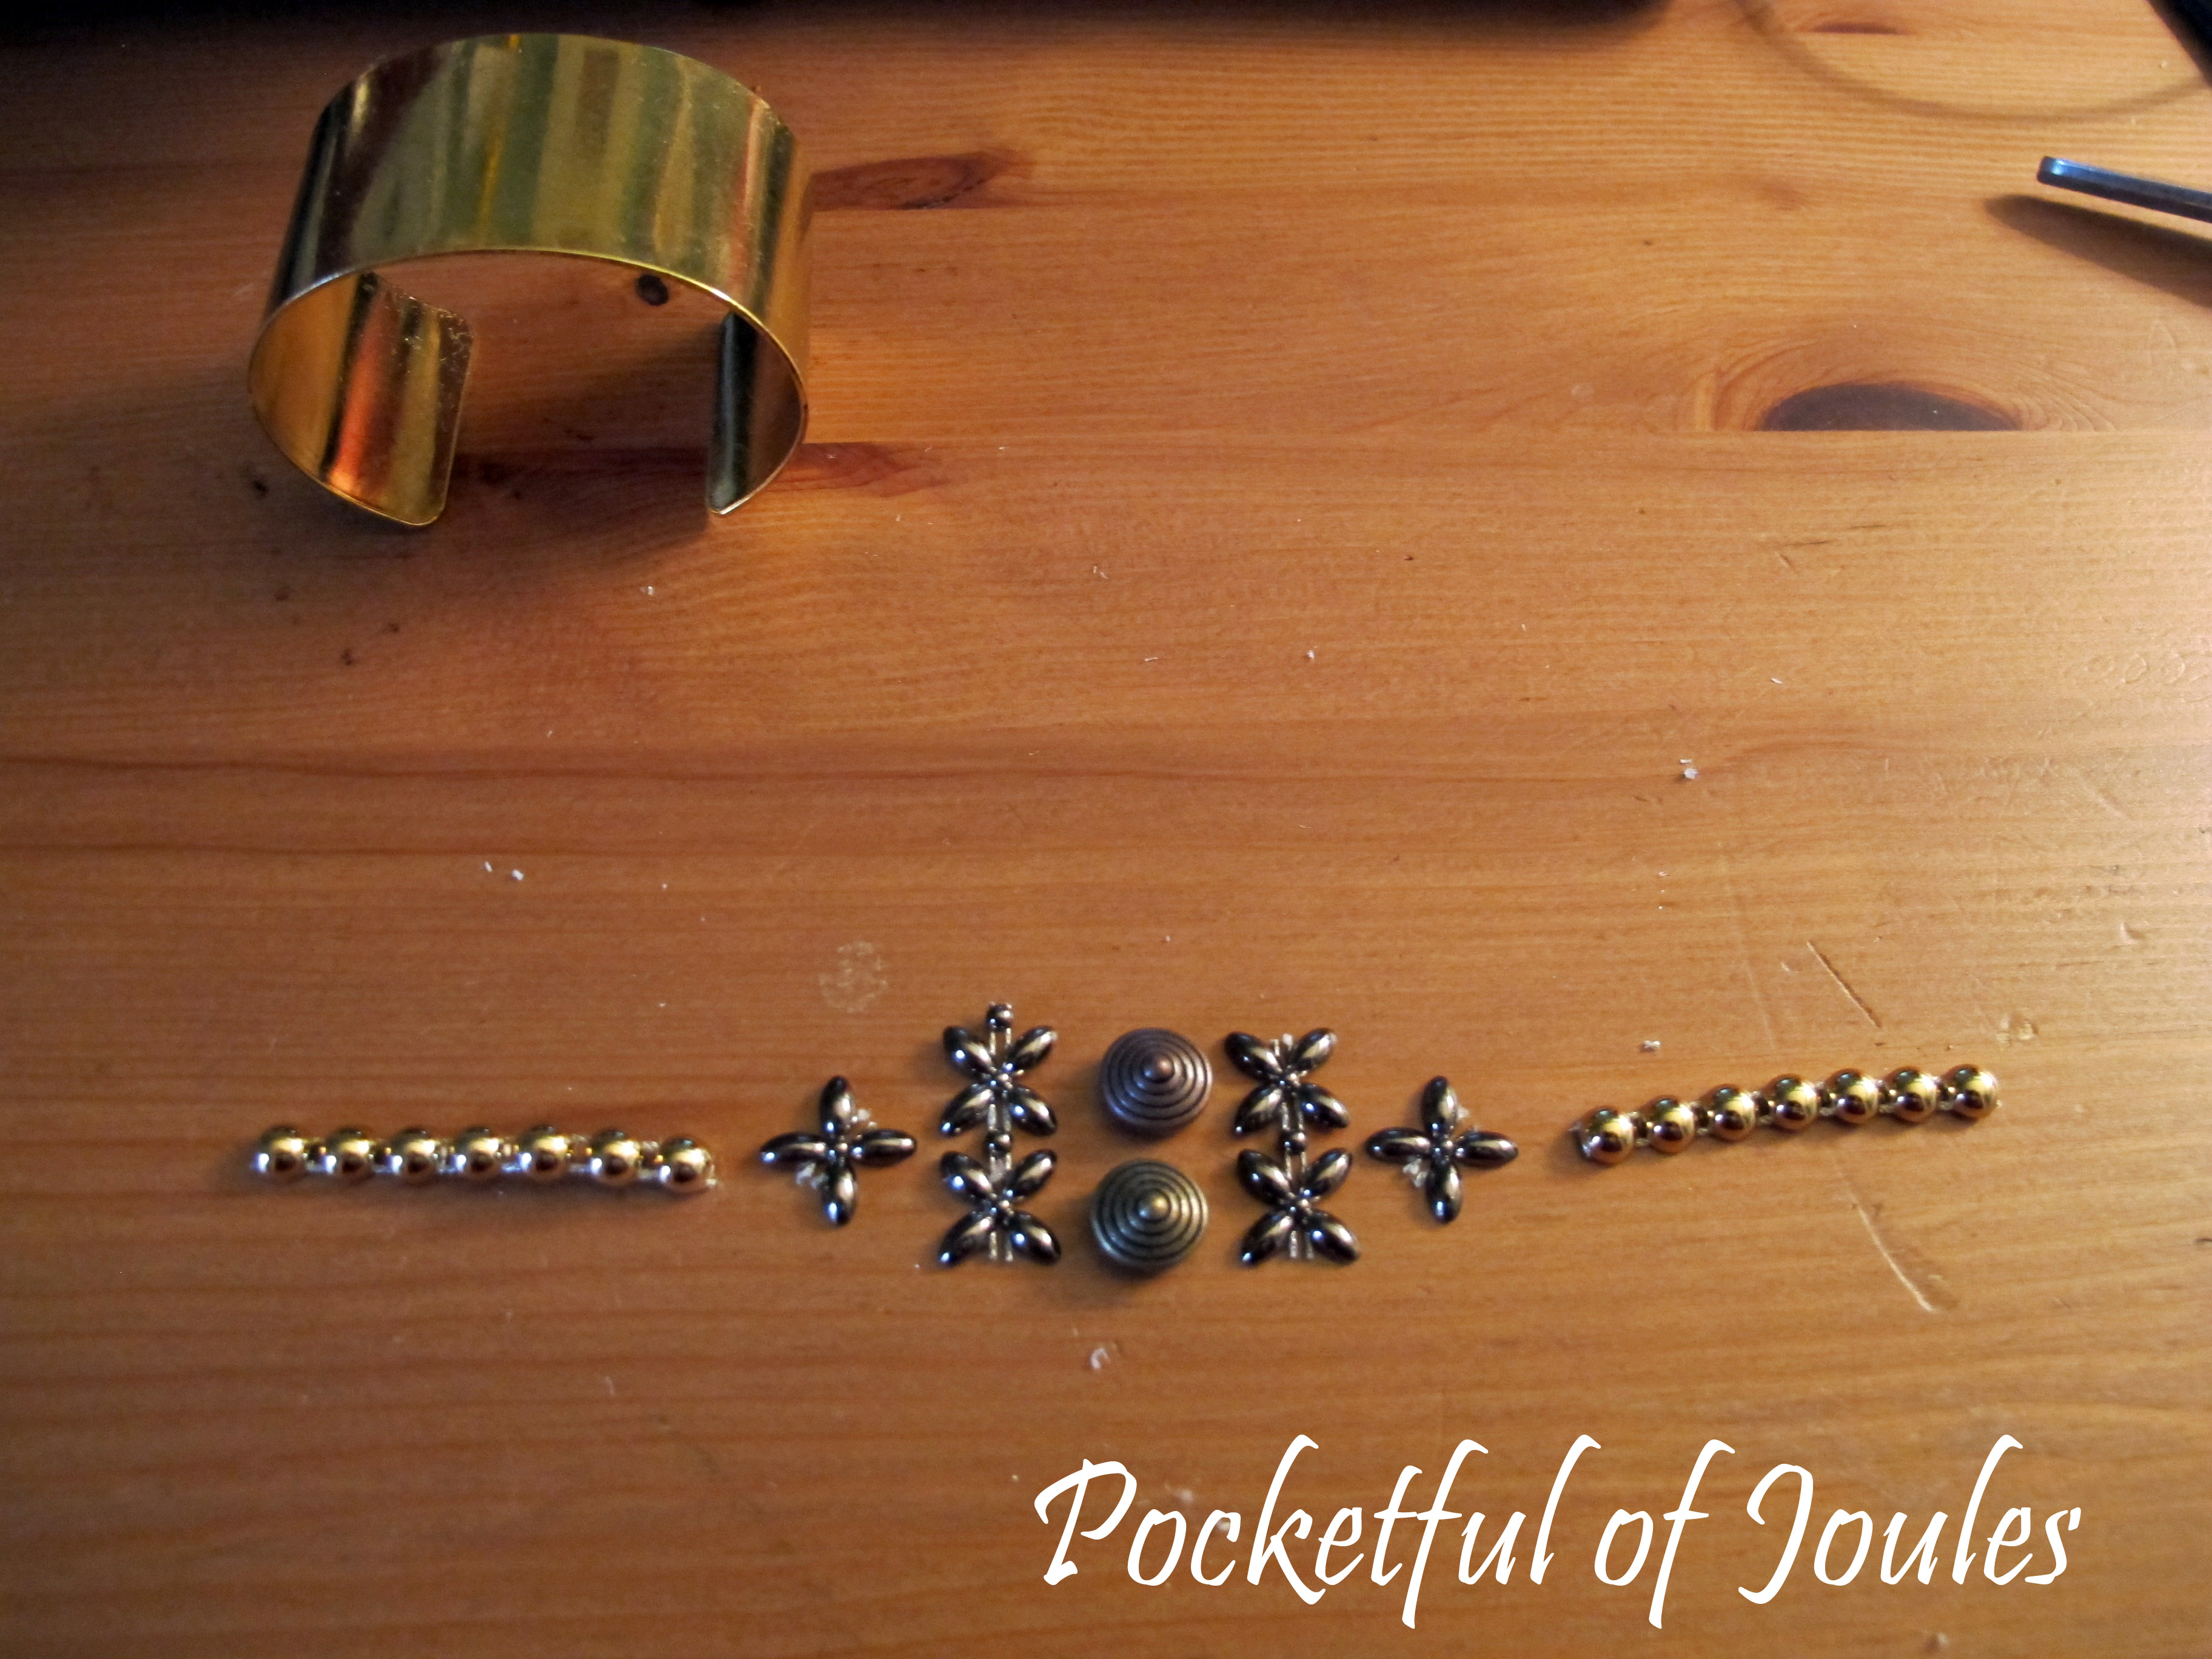

 I also really like that they included a starter kit with needle nose pliers, a wire cutter, chain nose pliers, a jump ring opener, assorted clasps, earring hooks, jump rings and chain extenders. It’s a nice little package of everything you really need to start with this type of jewelry work… and much better than trying to wrap the wire around a pencil or wrench or something.


