Reviewing Kismet Box: DIY Beauty

I’ve written about my love for subscription boxes before and have been thrilled to receive Citrus Lane boxes since Jack was born. There is just something about getting a fun little surprise in the mail that makes me so happy.

I mean, 9 times out of 10 when I open my mailbox it contains bills, junk mail or a rogue spider… so opening it to THIS instead really adds a little wiggle to my walk:

August Kismet box

When the nice people at Kismet Box contacted me about reviewing their very first subscription box, I was intrigued as to WHAT they would include in a DIY Beauty Box. I mean – I totally understand DIY – but DIY Beauty?

I actually used to have a beauty book from years ago where you could make your own beauty projects, but after a try at a ‘natural’ sugar waxing treatment for my legs left me with sticky, hairy legs… I pretty much gave up. So I was super excited that this kit included everything you need to make your own watermelon lip balm!

Inside August Kismet box

Included in the box:
– 2 disposable pipettes
– 1 (incredibly cute) mini whisk
– 1 mini measuring spoon
– 1 spatula
– 6 lip balm tubes
– 2 squeeze tubes
– Lip balm base
– Castor oil
– Watermelon flavor oil
– Coral lip-safe sparkle mica powder

I really loved that the kit included everything I needed to make the lip balm and even gave me ideas for how to decorate the tubes. As an added bonus, their website had some different ideas for how you can store the lip balm if you run out of tubes.

Adding powder

Making Kismet lip balm

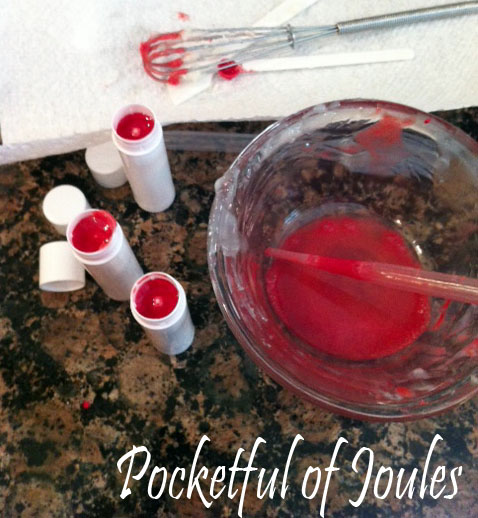
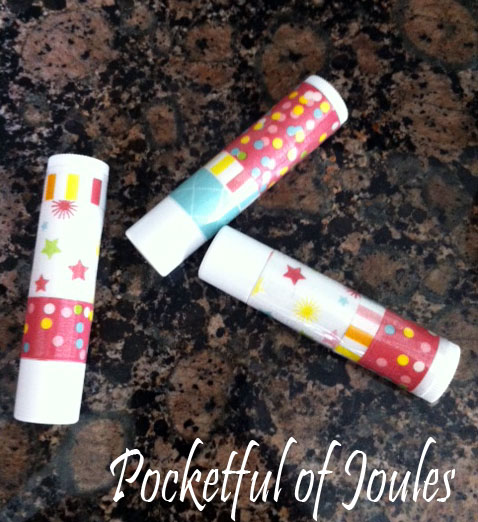
For my first try, I used 1/3 of the ingredients and ended up with three tubes full of pretty lip balm. I had some washi tape sitting around the house, so I wrapped each of the tubes in a few strips of washi and then sealed them into place with some packing tape. Cute, right?

Kismet Box finished tubes

I added enough color to the mix that it shows up as a sheer coral color on the lips, which I love!

image

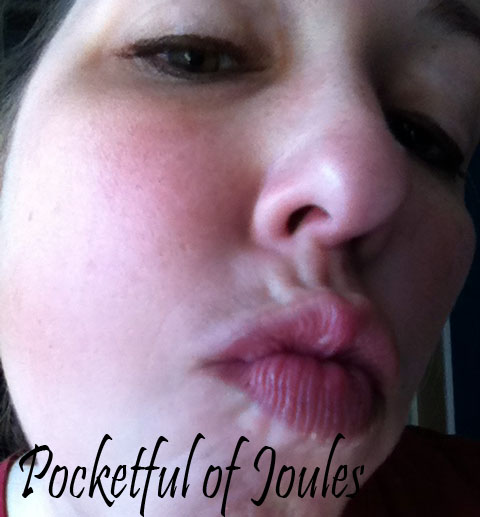
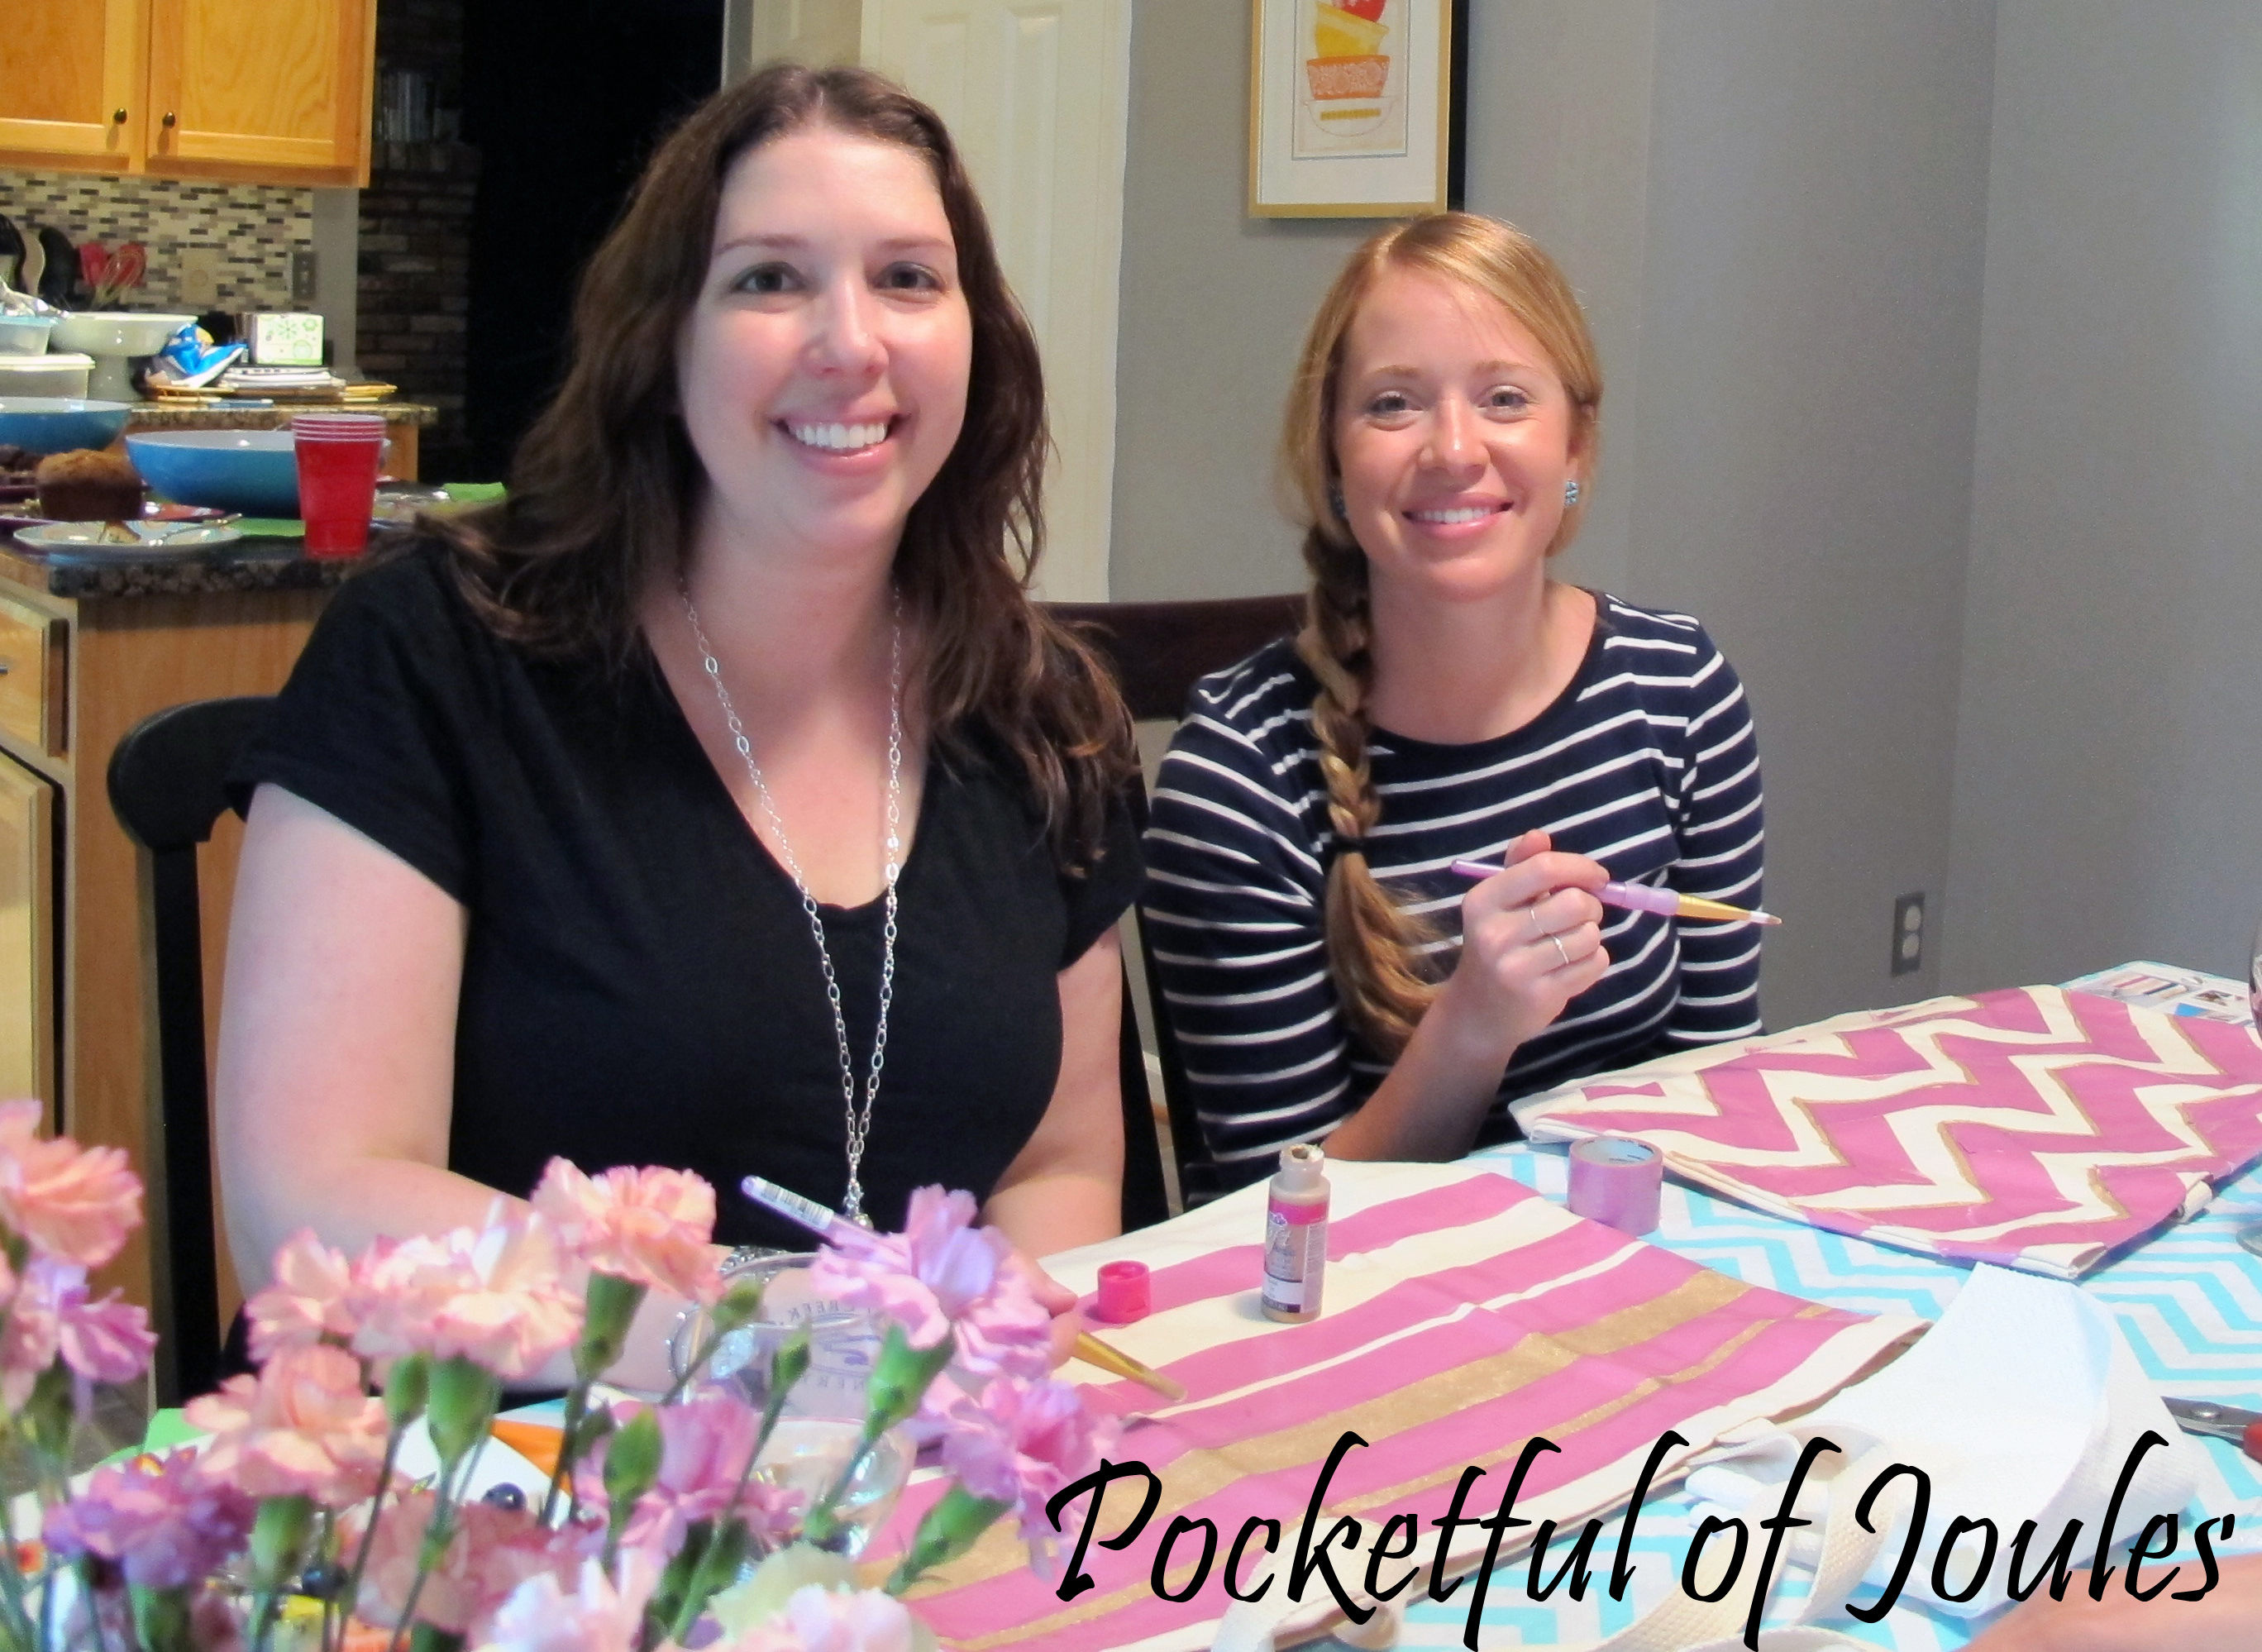
Ok, that picture isn’t the best. I look a bit… odd. I was hoping to get a picture of my sister’s and me all wearing our lip balm (I gave the other two tubes to them), but forgot to do it when we were all at the beach this weekend. You’ll just have to believe me when I say that I apparently rock at making lip balm and the color is super pretty.

So thank you to Kismet Box for sending me this super fun kit to review and I’m really curious what will be in next month’s kit. DIY lotion, make-your-own nail polish or even a sugar waxing kit? Ok, not the waxing kit… I’m still a little scared of that. I did LOVE this kit though and like that I still have enough ingredients to make at least 6 more tubes of lip balm (or I could add a little extra mineral oil and make shiny lip gloss in the squeeze tubes they provided).

If you’re interested in treating yourself to a DIY beauty product box, The Kismet Box is pretty awesome! For a monthly subscription price of $23.95 (with free shipping), you will receive the tools and materials for a seasonally themed beauty project. If you want to get the watermelon lip balm kit that I reviewed, you need to place your order by August 15th.

This would make a really cool gift for the lady in your life who is super hard to buy for. Like me. You know, if you wanted to give me a gift. Or your sister. Or maybe a friend who pretty much has EVERYTHING and you need to figure out something for her birthday ASAP.

So tell me, have you done any DIY beauty products at home? I feel like there is a whole world of DIY that I didn’t even know about!

Disclosure: I was provided with a free Kismet Box to review; however all thoughts and opinions in this review are my own. I am not rewarded or compensated in any way if you click through to purchase a Kismet Box.

Like what you see? Share me with your friends!

What’s Better than a Chick Party? A Chic Par-DIY!

Do you guys remember when I did a review of a Brit Kit a few months ago? I called it Having a Polka Dot Party with Myself because even though I had the makings of an awesome party… I didn’t actually have time for a party.

Well, fast forward to last weekend because I linked up with my friends at Brit + Co again as part of their brand-spanking-new Brit Co-op!

joules - thanks sponsor 1As a member of the Brit Co-op, they provided me with their May Brit Kits so I could have a party (or actually a par-DIY) with my girlfriends. It was the perfect excuse for me to have my friends over AND gave us something to do while we talked, drank wine, talked, munched on snacks, talked and um… talked.

Part of the fun in hosting the party was that I had no idea what the craft would be until a large box arrived at my house a couple weeks before the event. My only hint was in the original invitation — it would be  something beachy. As soon as the package arrived, I ripped that box open like a rabid spider monkey and found a couple of canisters of tea (thank you to the Blackbird Tea Company!) and kits with all the ingredients to make a…

DIY Chic Weekend Tote:

  • Canvas tote bag
  • Three bottles of fabric paint – magenta, navy and gold
  • Gold studs
  • Paintbrush
  • Painters tape

Everyone had such a great time and I was surprised that each person’s tote bag turned out so unique when we all had the same kits to work from. I especially loved that the crafting party gave me a reason to take some time for myself to have friends over. Even better, since everything was included in the kit all I had to do was provide some munchies!

Here are some of my favorite pictures from the par-DIY:

blog 2
Delicious, right? I made up a recipe for the oversized marshmallow “s’mores” that I think I’ll probably post on Friday if you guys are interested.
blog 1
I unintentionally matched the kits with my cheapo tablecloths I picked up to protect my kitchen table. Um, I mean that totally happened on purpose because I am very, very stylish.
blog 3
Bestie Annie and sister Katie getting their tape on!
blog 4
Me and my buddy Jessie. I have no idea why I look like a giant next to her in this picture because we’re basically the same height (check out the last picture if you don’t believe me!)
BLOG 5
Fabulous friends, Kendall and Ilana — I LOVED their bag designs!
blog 6
All of us with our gorgeous totes. Bring on the beach!

I wish I could have invited all of you to join us, because it was like a grown up version of summer camp. However, one of you CAN kind of join us because I have an extra kit that I’m giving away!

All you have to do is leave me a comment on this blog post and tell me your last DIY project (whether it went well, or not). All comments left between now and noon on Tuesday, June 11th will be entered to win a DIY Chic Weekend Tote Brit Kit. In addition to your entry here, you can earn one additional entry by “liking” the status on my Facebook page that says “Like this status for an extra entry!” I will choose one winner by using a random number generator.

Disclosure: Brit + Co provided me with the Brit Kits for free. I was not required to review the kits or even write a blog post about the party. I just wanted to because we had so much fun and I could see this being a cool idea for a bridal shower, baby shower or birthday.

6/11/13 Update – Sara S is the winner of the DIY Chic Weekend Tote from Brit + Co!

Like what you see? Share me with your friends!

The Hunt for the Perfect Yellow Pillow

Be warned, I’ve been on a bit of a home decorating kick the last few days. So I have a few random home décor posts that I will be writing and posting over the next week or so.  The first of which is about my hunt for the perfect yellow pillow.

Some of you may think I’m pretty lame for obsessing about a stupid pillow when there are more important things to talk about, like poverty, world peace and how David Beckham is incredibly hot.

I can’t help it though, something gets in my head and I just get totally fixated. In this case, I decided that my house needed a happy yellow pillow (or two). It couldn’t just be ANY yellow pillow though, it had to be the perfect yellow pillow.

I found a couple options online, but they were either not exactly what I wanted or way too expensive for a stupid pillow.

I was at the point when I thought a trip to the fabric store was in order. But then when I was walking through Target an angel choir started singing (and it wasn’t just the holiday decorations that they put out in early September):

They may be napkins, but they are PERFECT!

Yep, yellow napkins from Target. And the best part was that a four-pack was only $9.99! So I snapped those babies up and skipped down the aisle. No, I didn’t actually skip because I’m a grown up and typically behave well in public. I shook my booty a little, that’s all.

Anyways, since I’m sure you are just dying of curiosity on how I transformed these napkins into the pillows of my dreams I put together this lazy and half-assed tutorial.

How to Sew a Pillow Out of a Pack of Napkins:
Supplies needed: 4 pack of napkins ($10), bag o’ fluff ($8), sewing machine, pins, thread, and needle for hand sewing. Time needed: about an hour-ish, depending on how fast you are with the sewing machine and whether you need to replace the bobbin.*

Admire the pretty fabric. Decide that it’s kind of wrinkly so bust out the iron. Now a real professional gal would totally wash these before sewing them, but I skipped that part so that I could finish this project while Jack was taking a nap.

Flip the fabric so that the wrong side is out and pin it every so often to keep it from scooching around while sewing it. Make sure to put the pins horizontally, otherwise you will stab the crap out of your hand when you’re guiding the fabric through the machine.

Sew baby, sew! Remember to leave an opening big enough for your hand to fit through on one side.

When you finish sewing, take out all the pins and flip the pillows right side out to check out your handiwork. Oooh, empty pillow bags.

Grab your bag o’ stuffing and fill the pillows through your handy little hole you left (you DID leave a space, right?!). Fill them up more than you would think you’d want them to be, because they tend to squish down over time.

Last step, grab a needle and thread and sew up your access hole. You may want to go with a thread that matches the fabric, but I tend to like to finish in a contrasting color for funsies.

Yay, done! And it totally only took about 1/2 of a Jack nap time from start to finish (aka 1 hour or so). I love the finished pillows AND since I had most of the stuff on hand the project only cost me $18 total. So much better than the inspiration pillows I was drooling over.

Here’s the finished look, be prepared to oooh and ahhhh:

Yet another photo bomb by Potter. He kind of matches the couch though, so I’ll allow it.

Love it! Did you do any super quick projects over the long weekend? Have you ever found a pack of napkins that you just couldn’t resist sewing into pillows?

*About replacing the bobbin, I don’t know why but every single time I need to replace it I end up cursing up a storm and throwing stuff around the room. I can put together Ikea furniture in a ridiculous amount of time, but the stupid sewing machine kicks my butt!

Like what you see? Share me with your friends!