I Saw it on Pinterest: Unclogging a Drain

So far in my Pinterest adventures, I’ve tackled a braided bun and made some fire starters. So, when my bathroom drain started emptying slower and slower, I knew exactly where to go to figure out a DIY fix.

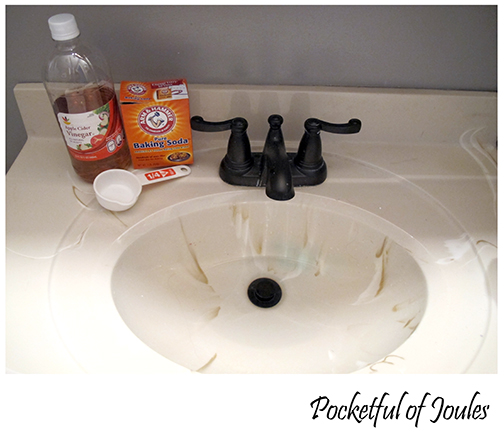
Sure enough, I found pages and pages of pins devoted to clearing a drain using natural products. I decided to use this pin and grabbed some baking soda and vinegar from my pantry. When I started, my sink was still draining but had gotten noticeably slower over the past couple weeks.

Clearing a drain - 1

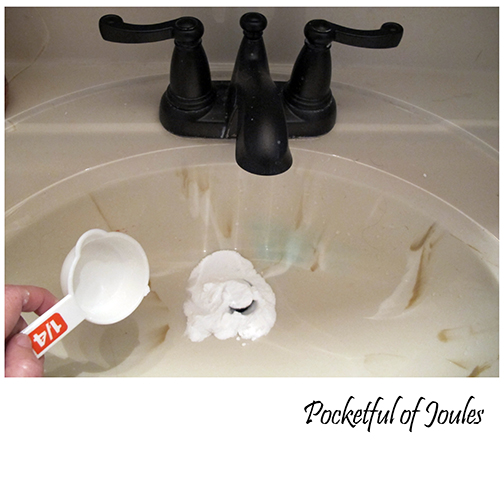
First, I added in about ¼ cup of baking soda. I didn’t bother removing my drain stopper and just kind of shoved the baking soda into the drain with the sides of the cup measure.

Clearing a drain - 2

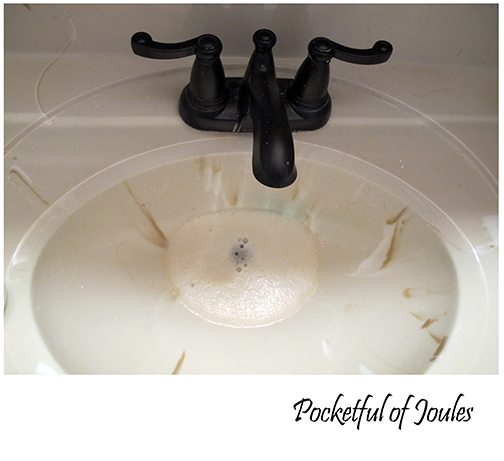
Then, I poured in about a cup of vinegar. The pin calls for white vinegar, but I used apple cider vinegar because that’s what I had on hand. Fun fact: if you have well water that causes a blue stain on your sink, the apple cider vinegar takes the stain off.

Clearing a drain - 3

I left the concoction bubbling and went downstairs to boil some water (and empty the dishwasher… multitasking for the win!).

Clearing a drain - 4

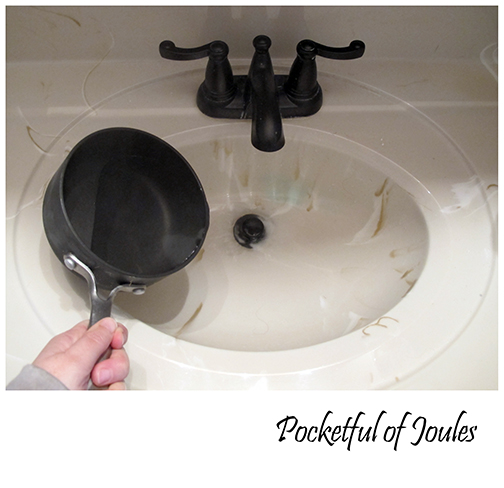
As soon as the pot of water started boiling, I pulled it off the burner, ran up the stairs to my bathroom, and dumped it directly into the sink.

Clearing a drain - 5

So, did it work?
Nope.

At first I thought that the water was draining faster, but within a day of using the sink like normal I realized that it was just as bad as it usually was. I can’t believe that the kind of vinegar would make a difference… what do you think?

You know what DID make a difference? Draino. Yup, cleared that drain right up.

Have you tried clearing a drain clog with vinegar and baking soda? Did it work for you?

I Saw it On Pinterest: Fire Starters

Remember a couple months ago when I tried to re-create a braided bun that I saw on Pinterest? Well, since then I’ve seen a few more ‘great ideas’ that I thought I would try to do on my own. One that has been floating around in my head for a few years is to try and make my own fire starters.

We use our indoor fireplace pretty often when the weather is chilly and as soon as it warms up, we start using our bonfire pit too. A homemade fire starter sounds like a great way for us to save a bit of money and also use up some stuff that would typically be recycled or go in the trash.

There are lots of fire starter pins out there on Pinterest, but I liked this one from The Art of Doing Stuff best.

I spent a couple months gathering the materials:

Firestarters - 1

  • Egg cartons
  • Dryer lint
  • Candle wax

I actually had a whole bag of candle wax pieces leftover from a DIY project, so I saved myself the trouble of melting up old candles and just used what I had.  I also learned my lesson and didn’t melt my Tupperware bowl this time!

Step 1: I cut the extra pieces off the egg cartons and filled each cup with a bit of lint fluff. I also used an old box under the egg cartons in case the melted wax seeped through.

Firestarters - 2

Step 2: I melted my candle wax and poured it over each lint filled egg cup. I only microwaved it for about 30 seconds at a time and left some of the wax unmelted.

Firestarters - 3

Step 3: I let the linty, egg carton mess cool and harden. Once the wax was hard-ish, I cut apart each egg cup. Some of the lint balls fell out of their cups because I didn’t use enough wax, but I think they will still work fine since the lint and carton is the flammable part.

Firestarters - 5

Step 5: I needed someplace to store the fire starters so I could keep them away from the dog and kiddo, so I found an old Birchbox box, filled it with the fire starters and put it up high on my mantle. It looks cute and now I don’t have to stare at gross lint balls when I’m hanging out in the den.

Firestarters - 6

The question is, do they work?
Yes! We had a fire over the weekend so that we could try them out. For our first try, my husband only used one fire starter, which lit up immediately. However, the wood never lit on fire. For our second try, he used two fire starters and it worked great! Now I just need to do a bazillion more loads of laundry to get lint so I can make more.

Have you made homemade fire starters before? Is there something you’ve seen on Pinterest that you’d like me to try?

Brit + Co: Homemakers DIY Fun

I’ve mentioned before how much I love Brit + Co, as well as Brit herself. So, it was only natural that I was super excited to have a Brit Homemakers DIY get together with some of my favorite ladies over the weekend.

As part of the awesomeness surrounding Brit’s new book, Homemakers, they sent members of the Brit Co-op the ultimate DIY Starter Kit (featuring products from Scotch).

box contants

They weren’t messing around when they called it the ULTIMATE kit… each kit contained: magic tape, double sided tape, precision scissors, precision utility knife, super glue, quick drying tacky glue, a glue stick, three rolls of washi tape, patterned duct tape, needle nose pliers, wire cutters, gold metallic paint pen, black permanent marker, a sewing kit, cloth tape measure, single hole punch and red baker’s twine. I also received a stack of blue cardstock in my hostess kit.

As much as I love my girlfriends, due to my crazy work schedule, family stuff and life in general it is super hard to get together as much as I’d like to. So, I’m always happy when I have the opportunity to have them over for a fun project. Saturday worked out great for a brunch since the boys were at soccer and we had orange juice moscato fizz drinks, doughnut holes, some yummy croissants and tropical fruit salad. And yes, Travis and Jack inhaled the remaining doughnut holes as soon as they got home.

Brit party collage

Using the kits, our project was to make banners with the contents and we all had a great time making something personalized for each of our homes:

Brit party 1

Girls party college

Brit party 3

Brit party 4

Brit party 2

I made a “spring” banner to go on our fireplace… Spring IS coming soon, right?!

spring banner

As a totally unexpected surprise, my friend Annie gifted me with the hot-off-the-presses Homemakers book!

Homemakers pic

If you want one too, you can find them on the Brit + Co website (for some extra fun gifts that come with them) or on Amazon.com for a paperback edition or one for your kindle

So a big thank you to Kendall, Jessie, Annie and Bryna for making my Saturday awesome! And additional thank you’s to Brit, Brit + Co and Scotch Products for providing everything we needed for a great time. And now I can’t wait to curl up with my new Homemakers book and make more stuff with my cool DIY box o’ fun.


Disclosure: Brit + Co provided me with the Brit Kits for free. I was not required to review the kits or even write a blog post about the party. Pocketful of Joules is a participant in the Amazon Services LLC Associates Program, an affiliate advertising program designed to provide a means for sites to earn advertising fees by advertising and linking to amazon.com.