The DIY Challenge: Big Reveal

The last two weeks have flown by since I announced the DIY Challenge!

For those of you who missed the original DIY Challenge post, I challenged myself and three of my blogger friends to do a DIY project that we’ve wanted to do for a while. It could be inspired by something we saw on Pinterest, someone else’s blog, a HGTV show, a magazine, or wherever else.

Now the two weeks are up and it’s time to see how we all did!

I went into the challenge with the best intentions to complete THREE mini projects in a trifecta of holiday goodness:

Mini project #1: Paint Dipped Pinecones
Mini project #2: Paper Punch Snowflake Garland
Mini project #3: Glittered Candlesticks

Project #2: Fail
I started with searching for the supplies for project number two, the paper punch snowflake garland. I searched high and low through Joann Fabrics and Michaels and could not find a large snowflake punch. The closest thing I found was a star-like thingie, but the hole-punch was over $20 and so small that it wasn’t giving me as much bang as I wanted for my buck. I made the executive decision to pass on this project and focus on the other two.

Project #3: Success
While I was wandering the aisles at Joann’s, I was sucked forward into the Martha Stewart section. I remember in the past that I was entranced by Martha’s glitter because it was brighter and smaller chunks than ‘normal’ glitter –  I swear that woman probably has unicorns farting out the magical glitter in her factories – which MIGHT explain why each bottle was $12.99.

You know that I’m not paying $13 for a bottle of glitter, even if it came from a unicorn’s butt… so I quickly googled on my phone and pulled up a 50% off coupon. I also grabbed a jar of Martha’s glitter glue for $4.99 which is basically a thin, super sticky glue with an application brush in the top.

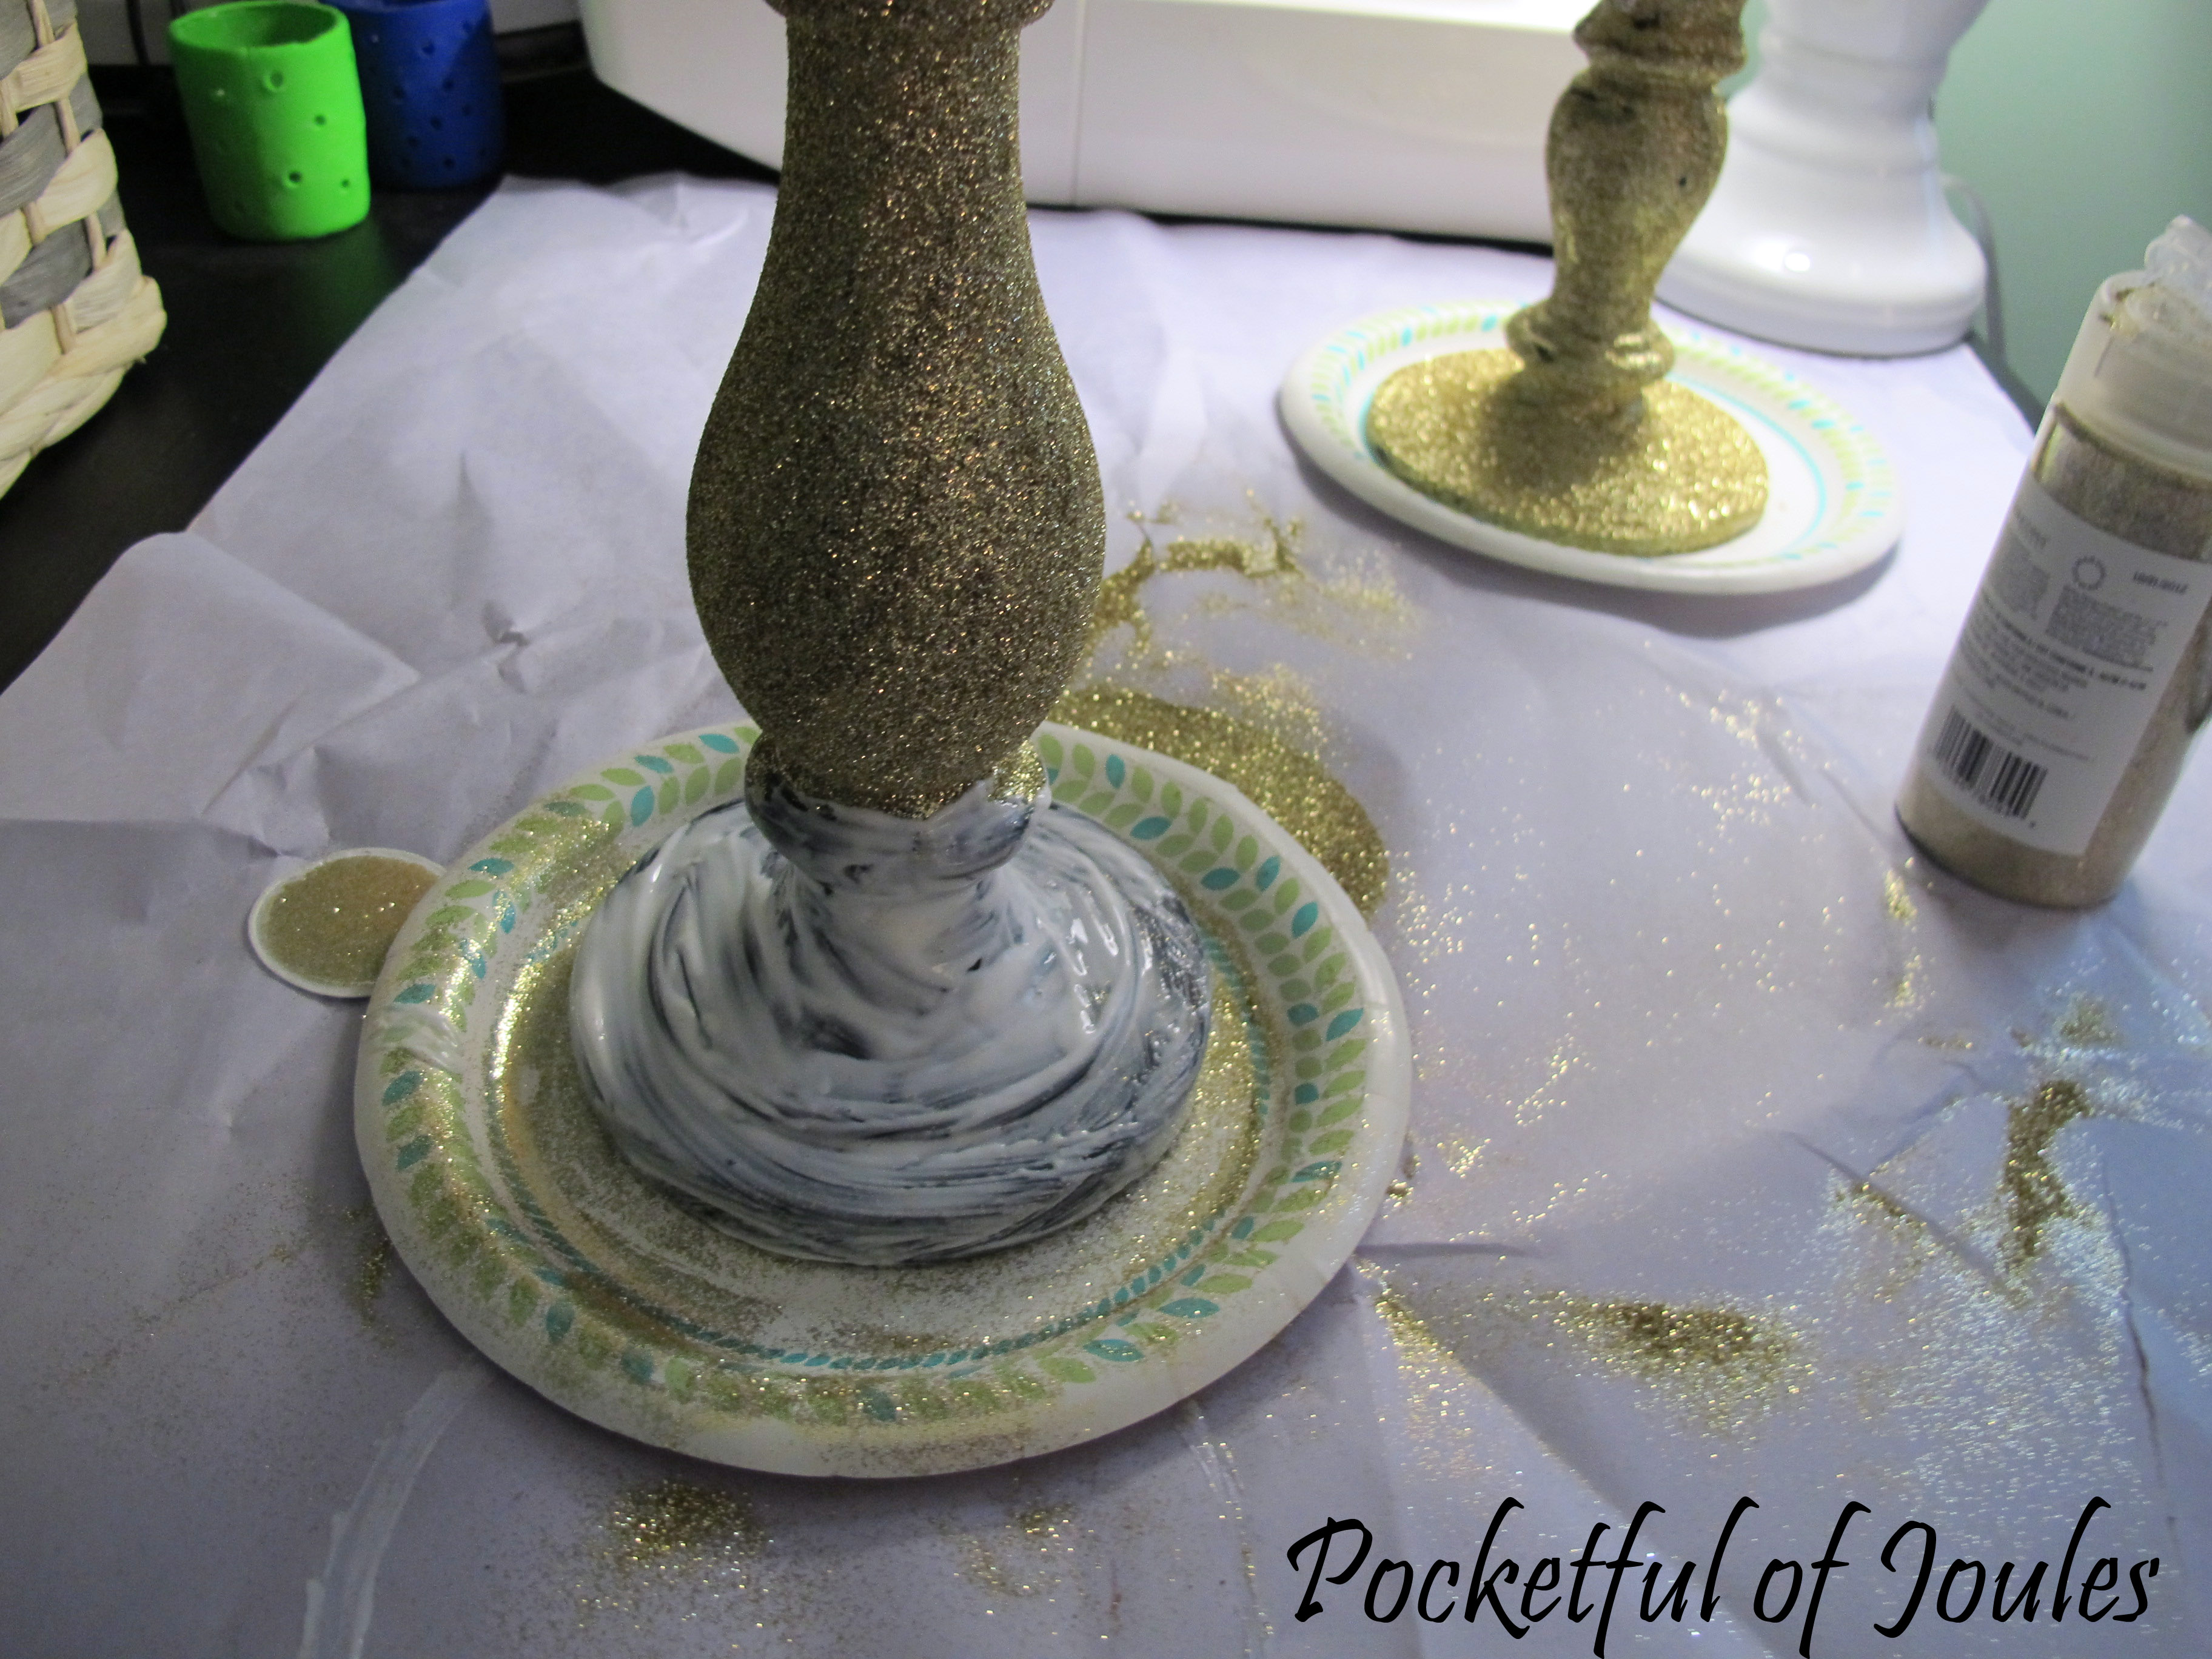
At home, I pulled out two Home Interiors candlesticks that I’ve had for years (they came in the interior consultant beginner kit I purchased when I sold the stuff). After dusting them off on the front of my shirt, I brushed on a layer of glue and then carefully shook the glitter onto the sticky candlestick. For the shorter candlestick I left the very top clear to give me something to hold on to and did the opposite for the taller candlestick. After each candlestick was covered in glitter, I tapped it on the table so that all the excess would fall off onto the plate. I was able to fold the plate in half and dump the glitter back into the container pretty easily.

I let them both dry for a few hours and then painted some more glue on the bare areas and repeated the glitter-shaking process. I’m really glad I went with the expensive glitter, because it definitely makes the project look much more professional and expensive than normal chunks of glitter.

Here it is in pictures:

glitter candlesticks - supplies

glitter candlesticks - cover in glue

glitter candlesticks - add glitter

glitter candlesticks - second part glue

glitter candlesticks - let dry

Project #1: Total Change
This project started out easy-peasy and I finally saw the benefit of having over a dozen pine trees dropping their darn needles all over my land. I gathered a few pretty pinecones just steps from my door and figured that checked off the first step, so YAY for that.

Unfortunately, when I went back in the house and clicked through to the originally pinned project I read the comments and found that most people had issues. Apparently, when you dipped the pinecone in the paint it looked beautiful…until it dried and closed back up. Um… what?! That sounds like a lot of work and mess for something that will look like crap. So then I went to the obvious next step of, “oh, I’ll just spray paint them!” but read further in the comments to see that doesn’t turn out as well. Hmm… well, I have a bunch of glitter sitting around from the candlestick project…

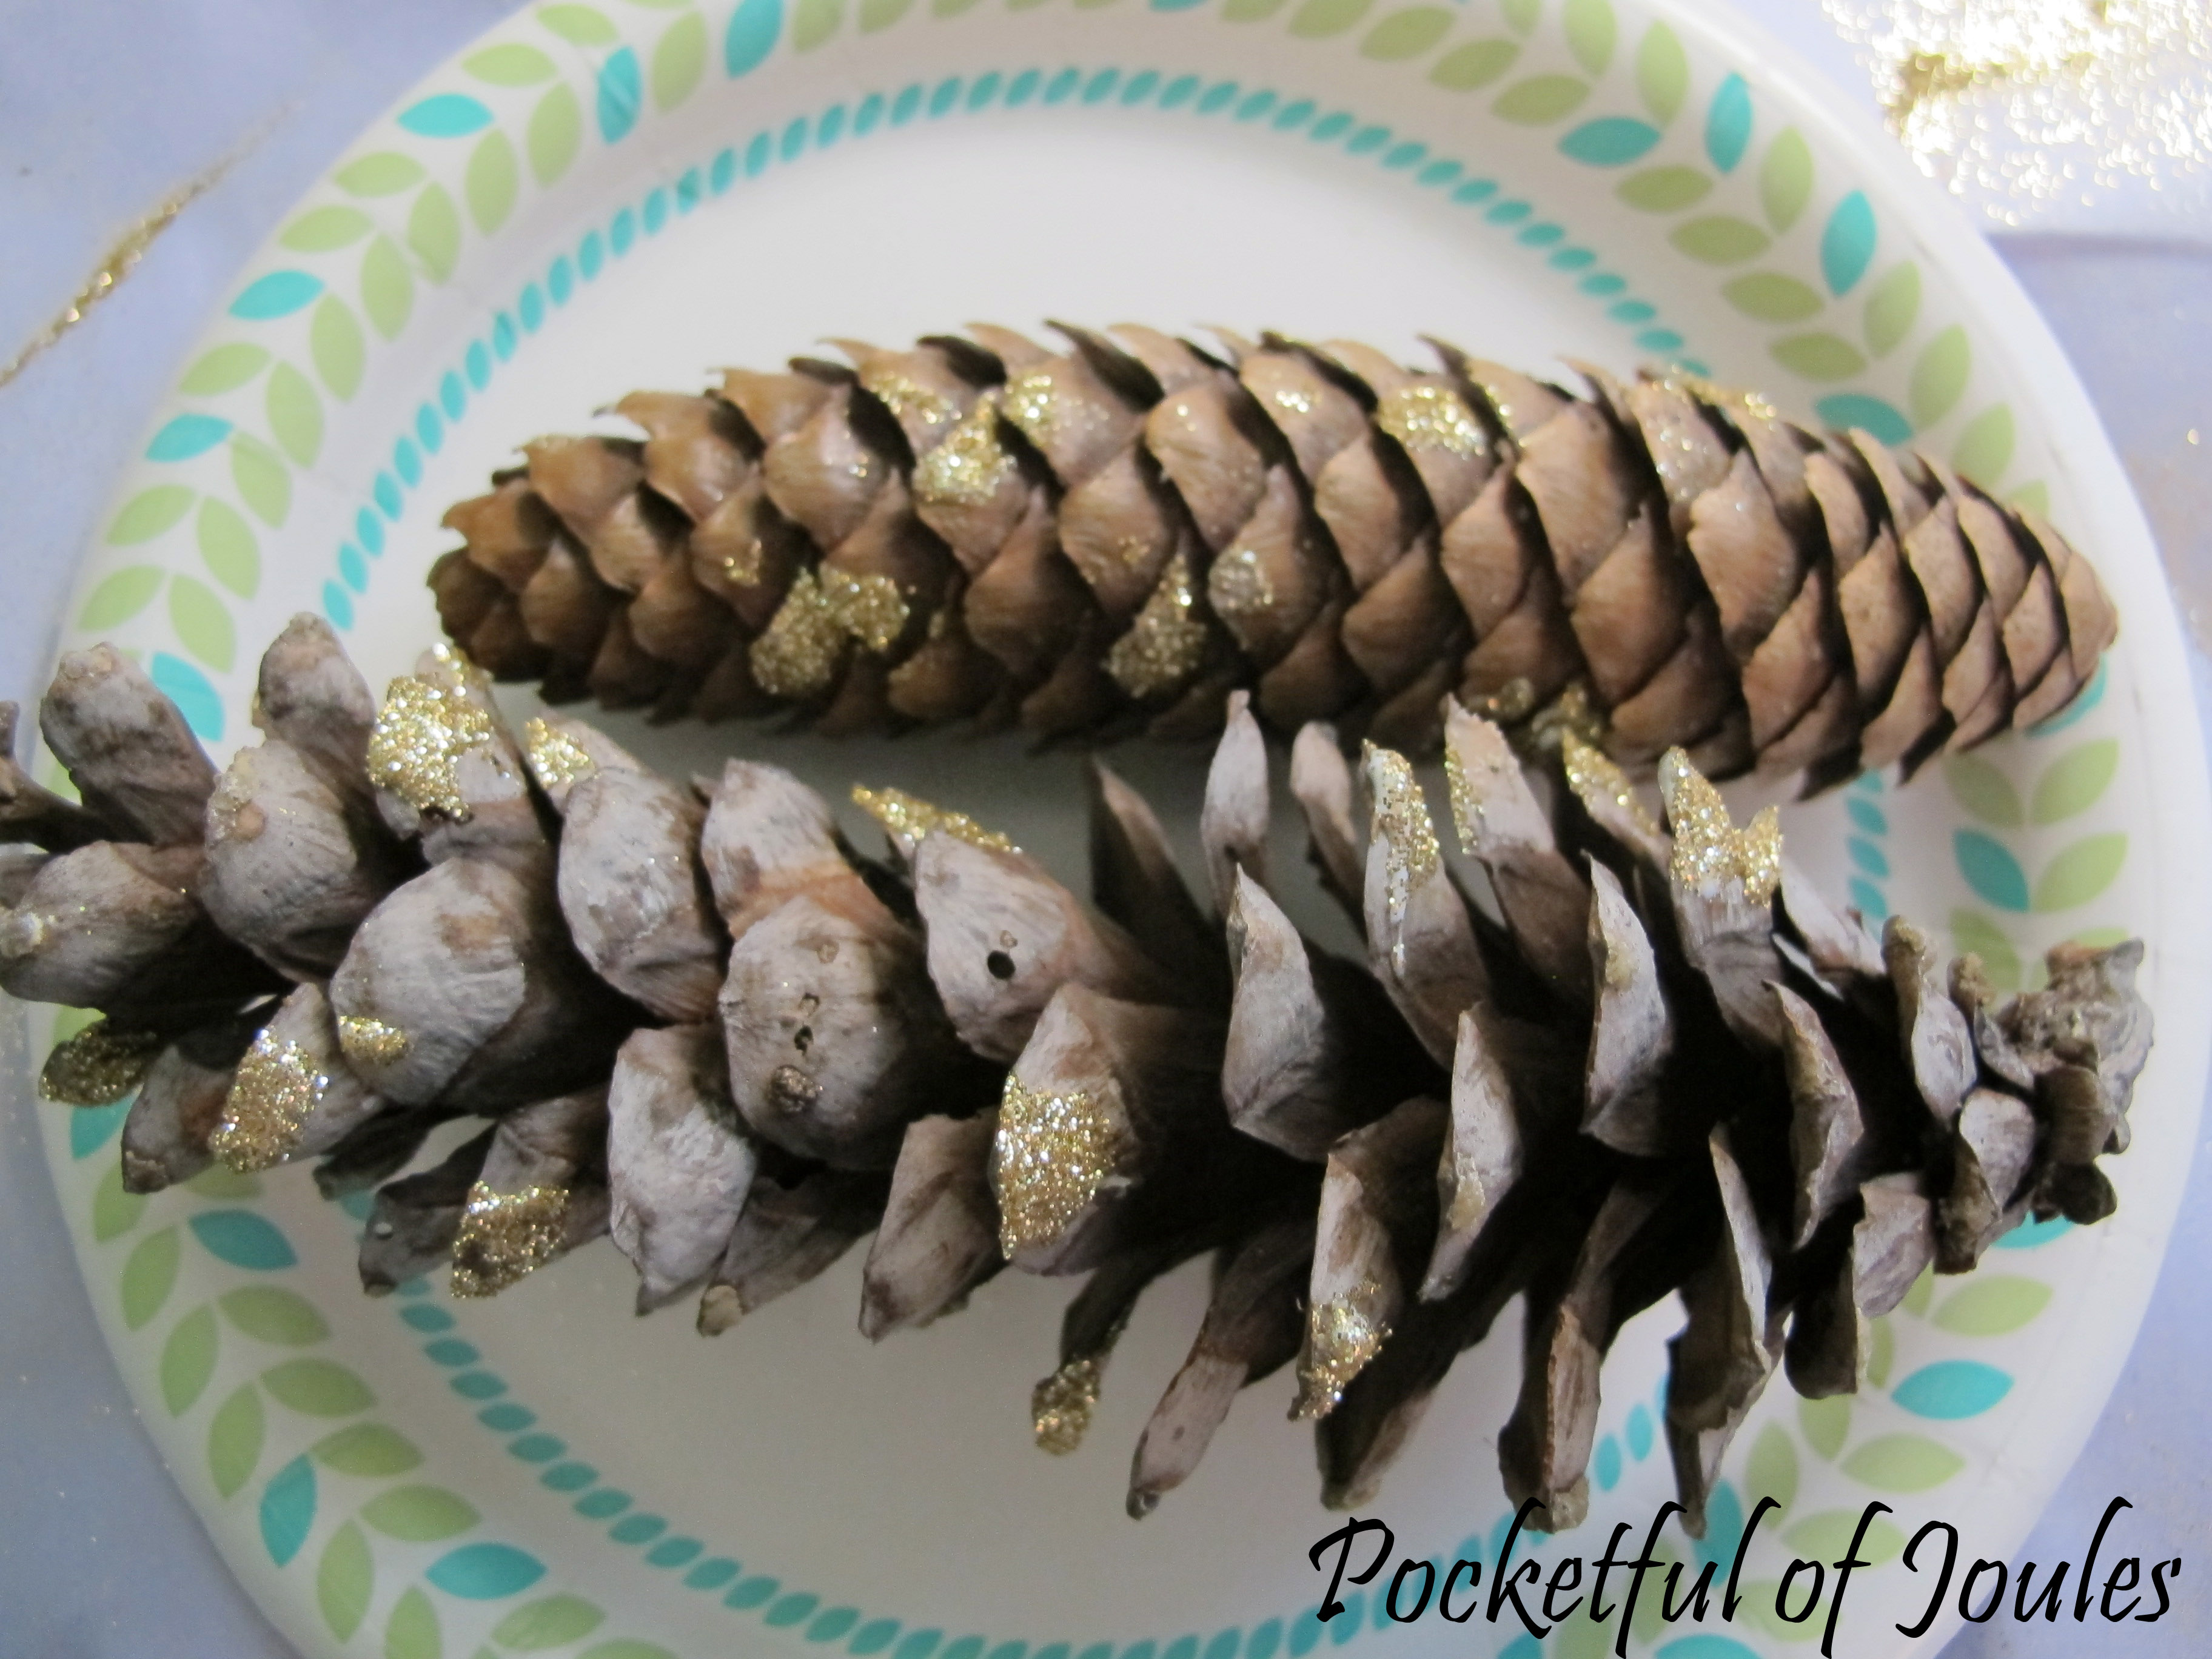
So I decided to change my paint dipped pinecone project into a glitter one instead! I brushed glue on random spots of the piney part of the cone and then shook some glitter on top. I think they look much snazzier than if I had just fully covered them in glitter like a kiddie project.*
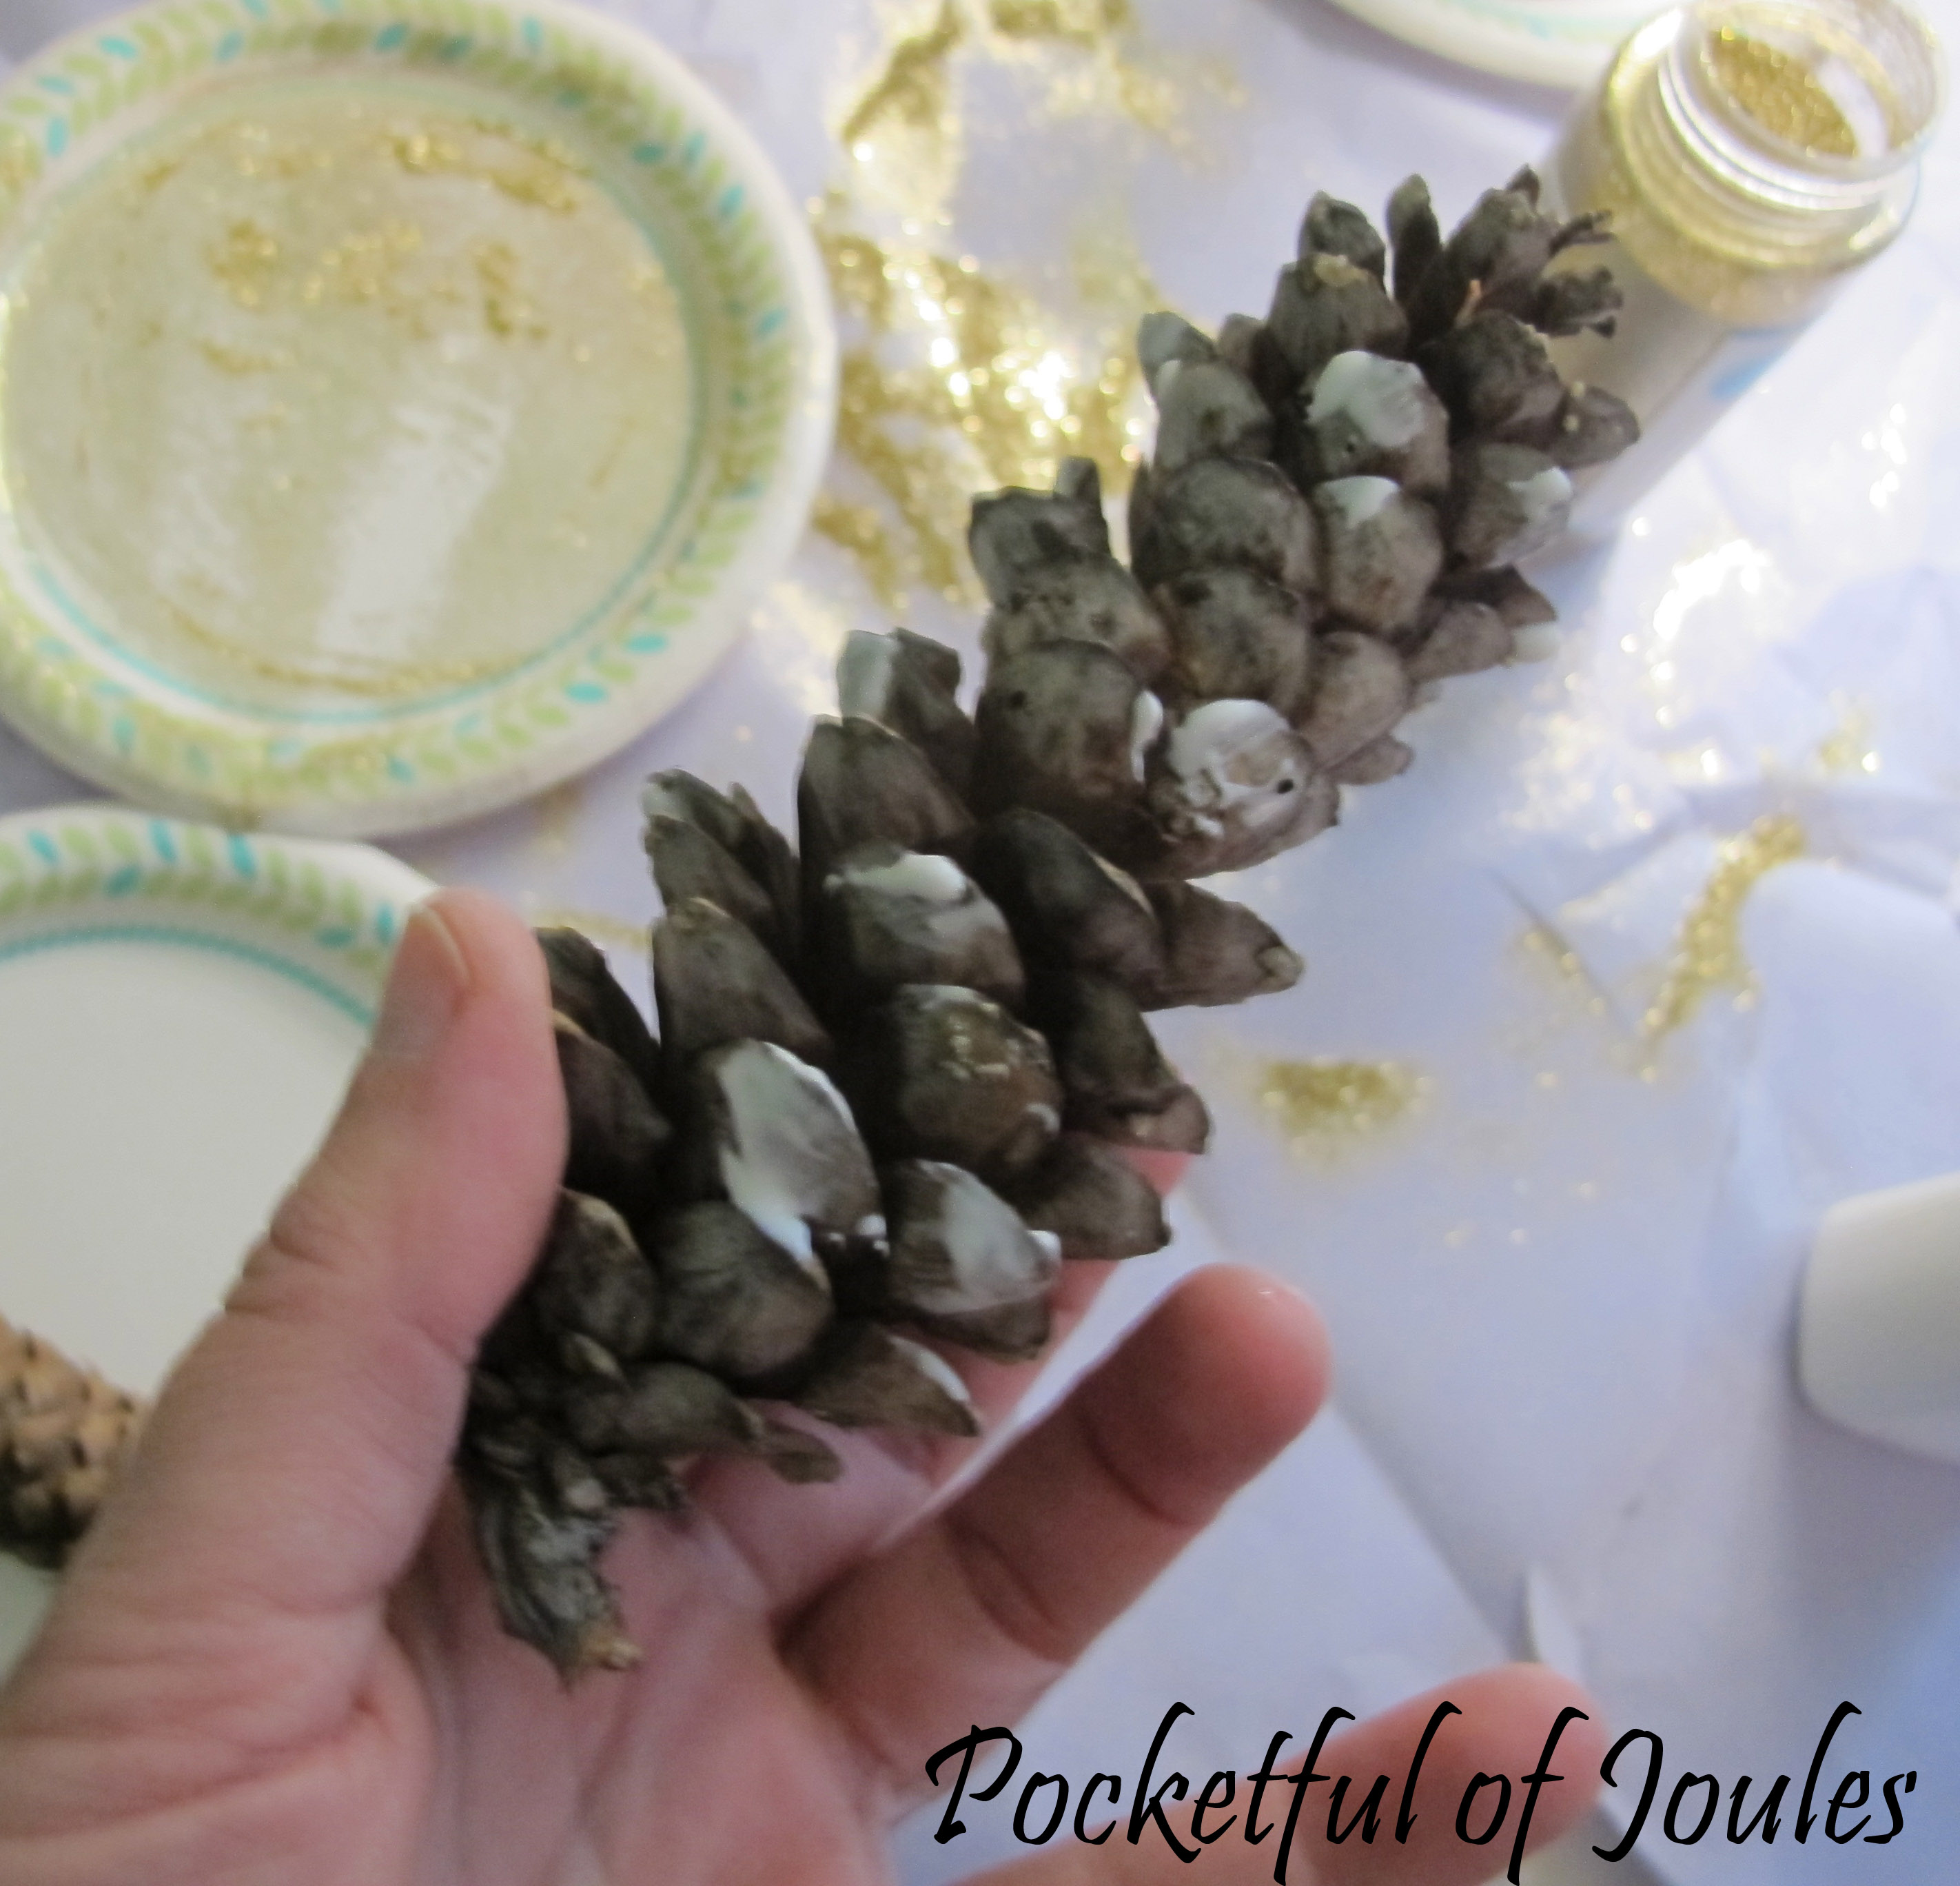
pinecones - add glue

pinecones - add glitter

I found a pretty brass bowl at the thrift store for $2.90, so I figured I’d put it to use as a kind of holiday display:

glitter candlesticks and pinecones

Of course, now I’m kind of dying to throw glitter on more stuff…

Ollie

Hmm…that could POSSIBLY be going a bit too far. He’d look awfully pretty though with a glittery mane…

I LOVED doing the DIY Challenge and especially liked checking out what the rest of my Glue Crew did (named by Katie, of course).

DIY bloggers headshots

Stop by and check them out:
Words for Worms: Pinterest & Peer Pressure
A Grace Full Life: DIY Challenge for the DIY Challenged: The Aftermath
Quirky Chrissy: What do a Glue Gun, Exacto Knife and Pain Have in Common?

Did you play along at home? If so, email me your pictures by Friday, November 29th and I’ll dedicate a blog post to showcase your awesome projects!

*Oh my GOSH I cannot WAIT until Jack starts bringing me home art projects from school!

The DIY Challenge

Do you all remember when I used to do those fun gift swaps for other bloggers? Like the Fun Fall Swap I did last year. It was lots of fun, but then a couple people pissed me off and I went with a whole scorch-the-earth philosophy and decided that EVERYONE would lose their toys.

Well, I handpicked a few of my very favorite bloggers to do another {harebrained} fun project. I’m basing it on the fabulous Young House Love’s idea of their Pinterest Challenge… but calling it a DIY Challenge because it won’t be just restricted to Pinterest.

The premise is that I challenged myself and three blogger friends to do a DIY project that we’ve wanted to do for a while. It could be inspired by something we saw on Pinterest, someone else’s blog, a HGTV show, a magazine, or wherever else.

We will each post the project that we plan to attack today. Then, we have two weeks to make our DIY dreams a reality (and yes, I know that sounds corny). We will each post again on November 26th and reveal how the project went and show you our Before/After pictures.

Sounds fun, right?

For my project, I’m picking a trifecta of holiday goodness!

Mini project #1: Paint Dipped Pinecones
Mini project #2: Paper Punch Snowflake Garland
Mini project #3: Glittered Candlesticks

So be sure to check back in two weeks to see if I end up with three adorable holiday crafts… or if I have another melted bowl in the microwave incident…

Want to know who else is playing?

DIY bloggers headshotsKatie from Words for Worms
Kari from A Grace Full Life
Chrissy from Quirky Chrissy

They’ll each be posting which projects they’re going to attempt sometime today on their blogs, so stop by and say hi!

Do you want to play along at home? If so, do your very own DIY project and email me pictures by Friday November 29th and I’ll dedicate a blog post to showcase your awesome projects!

Pinterest exploded all over my Linen Closet

Do you like to organize things? Do you get all giddy when everything has its own special spot when you put things away?

If so, this post is for you!

And me.
Because I totally get that fluttery feeling when I walk into The Container Store.

Last week I was complaining about my linen closet because it basically looked like that pile of crap that the creepy lady wears on her back in The Labyrinth spilled all over the place.

Well, I’m going to show you how one hour of work and $11.50 changed my horribly overstuffed closet into a Pinterest dream.

First, brace yourself because this is an actual photo of what my closet looked like before I touched it…

linen closet - beforeMessy. Messy. Messy.

Between the bath towels, hand towels and washcloths, I had 35 towels shoved in there. 35!! That’s like 30 towels too many when you consider the fact that we basically use the same towels, launder them and then hang them right back up in our bathroom to use them again!

Step 1 was obviously to purge the towels. I kept 2 – 3 of each type of towel (picking the ones that didn’t have random bleached out spots because we’re totally classy) and the rest went into the donation bag. Just that small change resulted in the towels and spare sheet set taking up just ONE shelf, instead of two. Yay for progress!

Step 2 was to go through the overflowing medicine organizer and divide the contents into three piles: cold & allergies, ouchies and expired. After I disposed of the expired medication, all the cold & allergies medicine went into one clear box and was labeled appropriately. Then, I gathered up anything that would fix an “ouchie” situation: band aids, heating patches, Neosporin, etc and added that to the Ouchie box. A couple of the larger items, like the heating pad, went into a black basket. Now we have one shelf full of medicines, instead of having random stuff just hanging out all over the place.

Step 3 was fixing the “I can’t find it” problem. You know, when your husband asks you for his razor refills and you tell him to look in the linen closet only to be met with him shuffling things around and muttering that he can’t find anything… That happens to other people too, right? Well, now all Travis has to do is look straight ahead at the “Travis Refills” box to find his extra soap bars, deodorant, razor refills, dude face wash, shaving gel and more. Genius, right?! I made a box for myself too, so that I have easy access to my girlie stuff.

This is when I realized that I have an issue with lotion. I always think that I’ve run out of lotion, so I keep buying more. I was also given a crap-load of fun lotions to try at the last BlogHer conference, which of course I took gleefully. However, as you can tell by my FULL box of lotion… I need to have a lotion intervention and go cold turkey.

Step 4 was to organize the rest of the randomness that lives in the closet. One basket was used for light bulbs and another for batteries. The large basket on the floor houses travel-sized stuff and travel bags so that I can just grab and go when I have to go out of town.

Step 5 was the snazzy on-the-door organizer for those frequently needed items. The organizer is actually a mesh bath organizer, but I thought it would work great for my closet. Also, it was only $2.50 at Dollar General… I hung it on the back of the door with a couple small picture hanging hooks and filled it with pain relievers (which my husband asks for a few times a month), a refill for my conditioner, and toothpaste. There are a few empty pockets too so that I can add things that Travis is having a hard time finding.

Are you ready to see the difference?

linen closet - after
SO. GOOD. Right?!
Want a close up?

linen closet - close up

Oooooh baby. That’s the stuff!
And here’s a closer look at the door organizer:

linen closet - door

So there you go, the secrets to eternal happiness. Oh wait, I mean the secrets to keep from opening your closet and having a pile of towels fall on your head.

I could have gone to The Container Store or Bed, Bath and Beyond to pick up lots of pretty organizers, but I decided to do this project on a tiny budget. I stopped by Dollar General and loaded up on supplies for way less than I thought I could have. I even bought a super cute $5 lampshade for Jack’s room that I instagrammed over the weekend!

lampshadeI WAS kind of confused that the Dollar General was different than the Dollar Store in that everything was NOT a dollar… I mean, isn’t that kind of the point?! Anyway, I ended up spending $11.50 on this project.

Here’s my supplies breakdown:
6 plastic shoebox organizers = $6
3 black baskets = $3
1 mesh shower organizer = $2.50

So what do you think, is it Pinterest worthy? Does your husband need his own refill box because he can’t find anything unless you hand it to him? Are you confused on why everything at the Dollar General isn’t a dollar?

11/7/13 Update: Do you see that shiny new “Featured on BlogHer” badge in my right sidebar? Well, THIS post was FEATURED on the BlogHer website. That’s right, I clicked over to the FRONT PAGE of BlogHer, saw MY article on their front page and then jumped up and down while doing a weird little scream!