Printcopia Canvas Review & Giveaway

You read that right, I’m having ANOTHER giveaway!

It’s like Christmas at Pocketful of Joules – in addition to having the National Ice Cream Month contest where you can win a free Target gift card and free ice cream (entries accepted until noon on Wednesday), I’m able to offer you another treat!

The kind people at Printcopia reached out to me and asked if I would be interested in reviewing one of their photo canvases. In addition to trying out their service myself, I would be able to give away an 8 x 10” canvas to one of my lucky readers!

PLUS, everyone who enters the contest will receive an email with a 60% off code just for being a friend of Pocketful of Joules!

How could I say no? Especially since I’ve been drooling over this artwork hallway over at my friend A Graceful Life’s house.

So I picked one of my favorite pictures of me and Jack from this summer and had it printed by Printcopia on an 8 x 8” canvas. It was super easy to lay out my picture on the canvas online and the finished product was delivered really quickly to my house. I was very impressed with the quality of the canvas print (especially when comparing it to the cheapo ones I bought from the craft store). The canvas wraps all the way around the wood frame of the picture and just looks really expensive and nice on my wall.

canvas

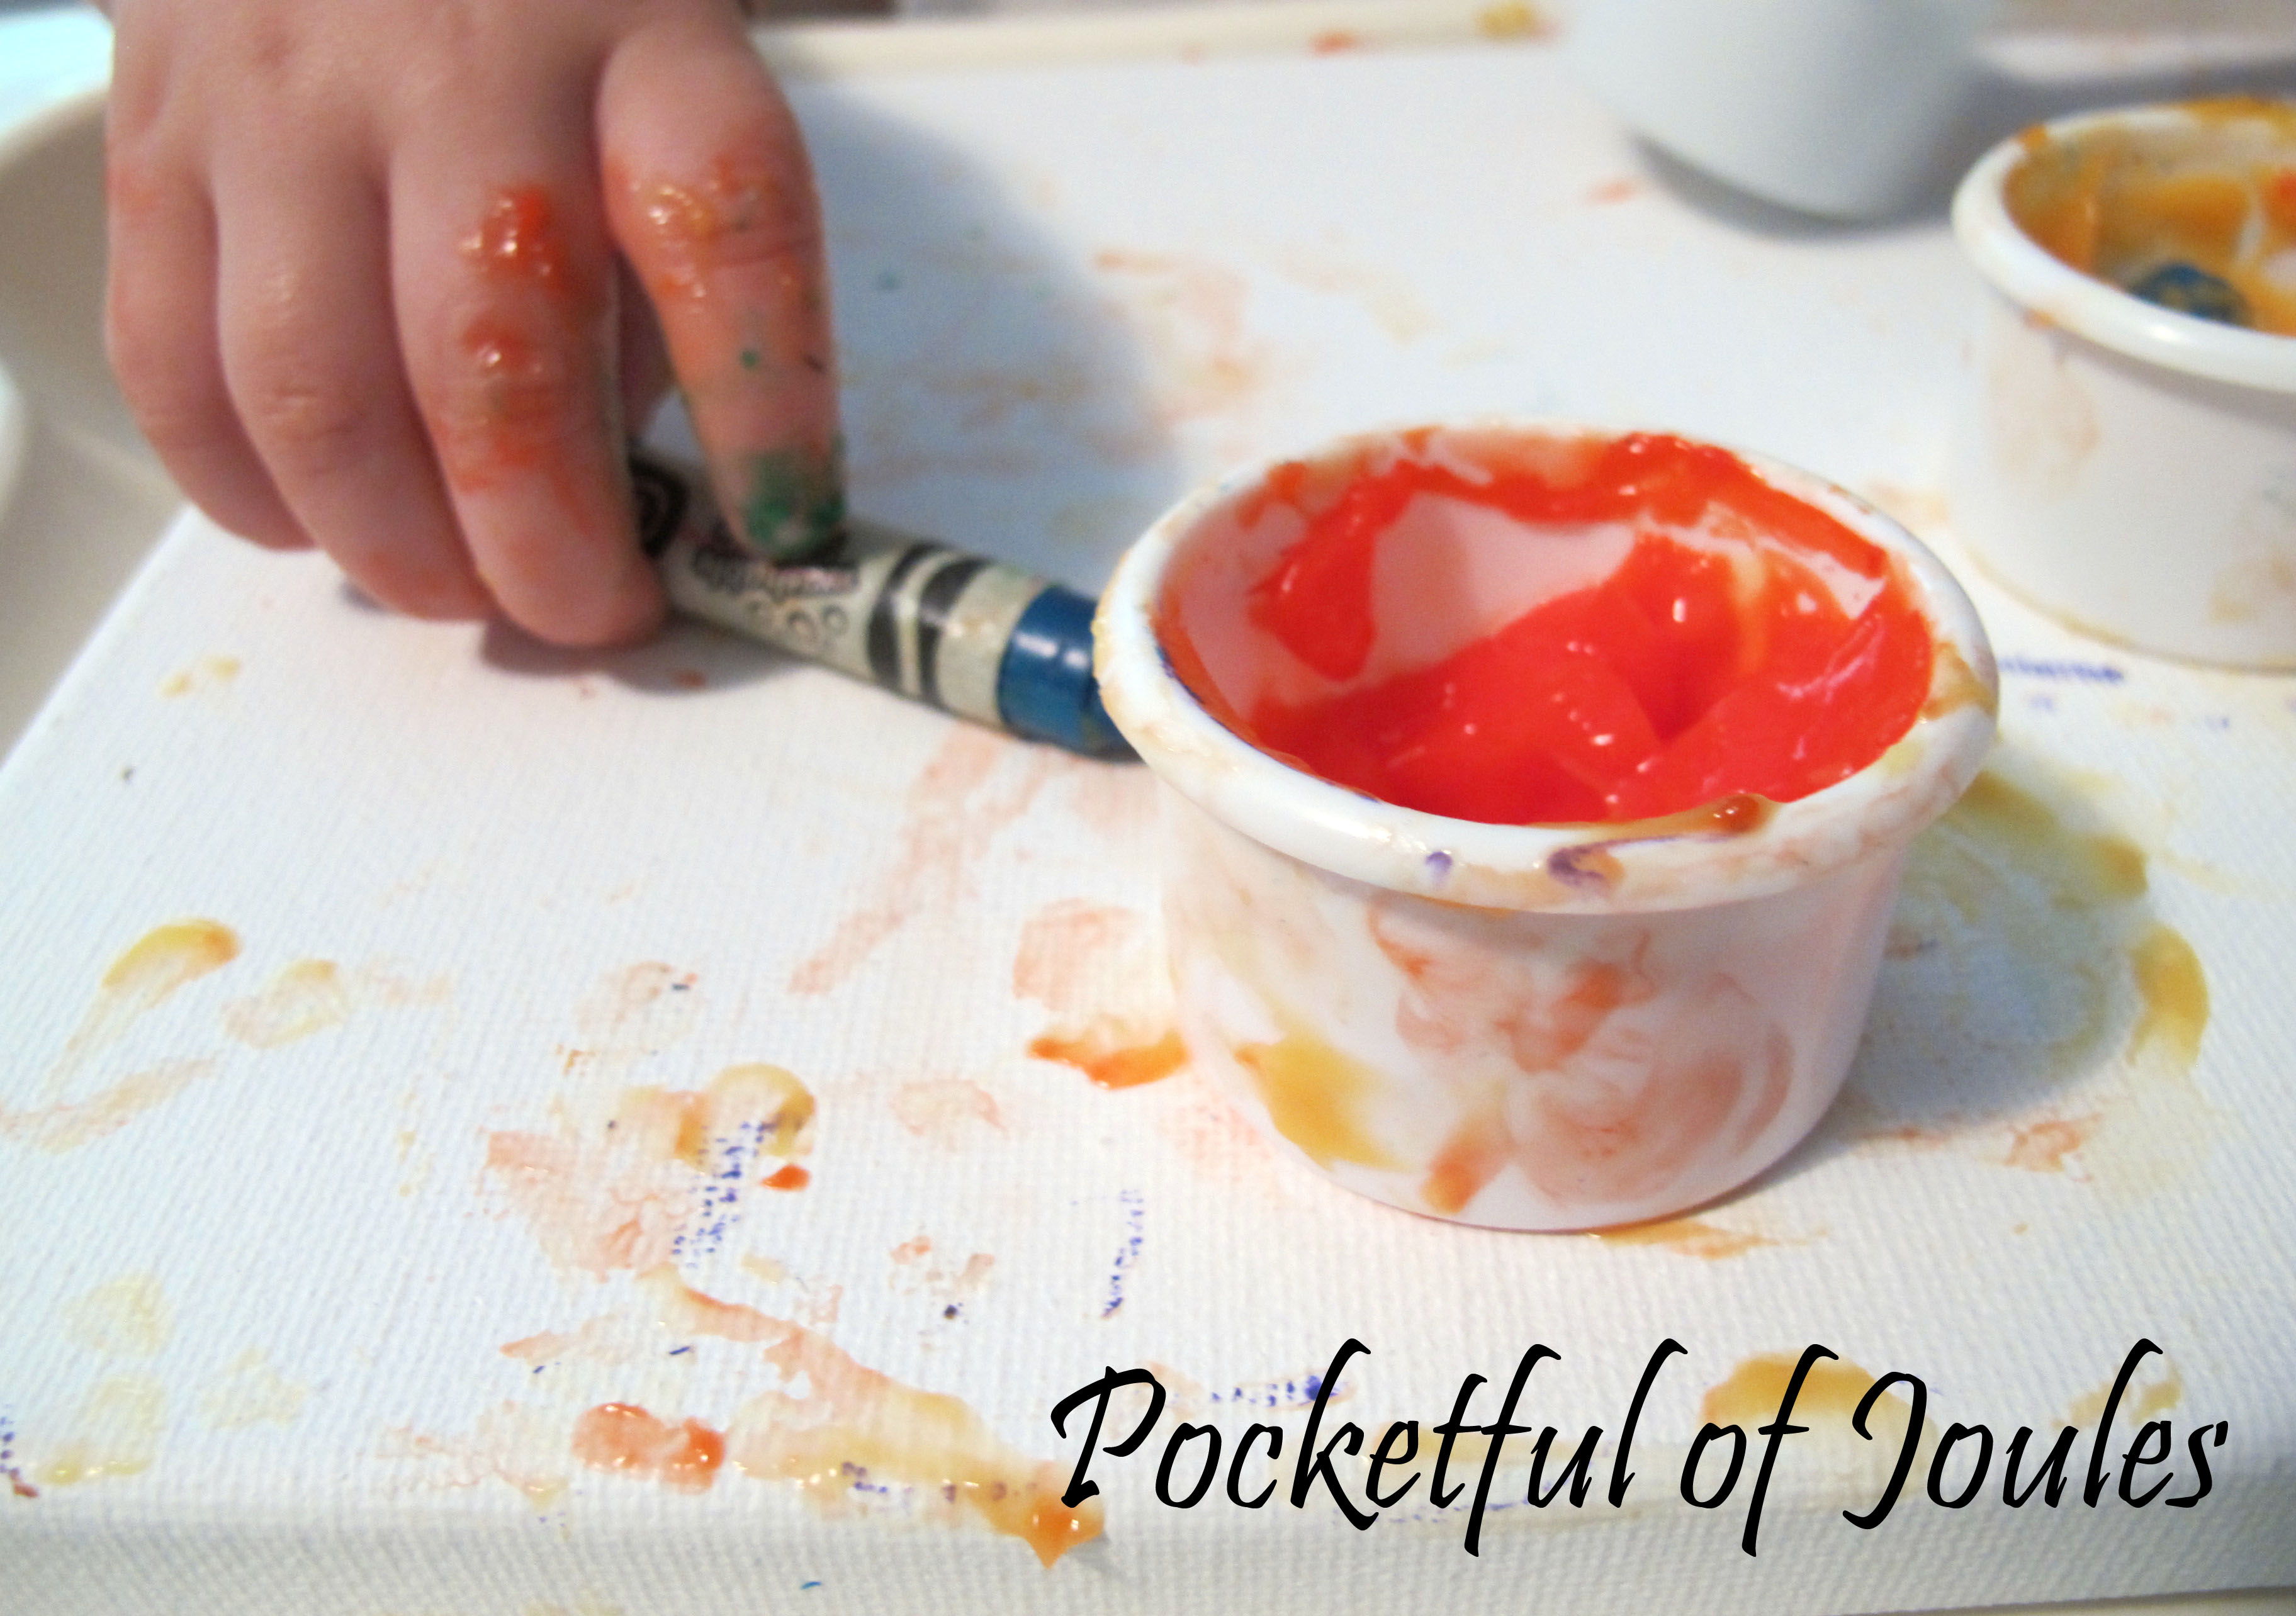
Once my new canvas arrived from Printcopia, I grabbed up a pack of blank canvases from Michaels for Jack to unleash his inner artist on. I stripped him down to a disposable bib – because all serious artists obviously have to be almost naked to create – and gave him crayons and finger paints.

paintingclose up painting and coloring

Lastly, I scooped up an old project we did last summer where I stamped Jack’s feet on a little canvas and created my own artwork hallway!

three canvases

hallway

Well, it’s only three pieces of “art” so far, but as Jack grows I plan to add lots and lots of kid art to this snazzy little space outside my guest bathroom. So THANK YOU to Printcopia for giving me this adorable canvas and THANK YOU to Kari at a Grace Full Life for giving me the idea!

Now it’s time to share the wealth – do you have a favorite picture that you’d like to have printed on an 8 x 10” canvas?

Click here to enter the giveaway!

A winner will be chosen on Tuesday, July 30th and everyone who enters will automatically be emailed a 60% off code that you can use on whatever you’d like at Printcopia!

Disclosure: Printcopia provided me with a free canvas to review; however all thoughts and opinions in this review are my own. A representative at Printcopia will randomly choose the contest winner and contact them with their special promo code for a free 8 x 10″ canvas. Everyone who enters the contest through Rafflecopter will automatically receive a special 60% off code from Printcopia.

8/2 Update: And the winner is… Jocie Hagan! Jocie, I will be emailing your special promo code so that you can claim your prize. Thank you to everyone who participated and I hope you enjoy your 60% off codes!

Building a RumbleStone Fire Pit

I was going to name this blog post, “A Place to Eat my Marshmallows” but we all know that I eat my marshmallows EVERYWHERE. So instead, let’s talk about how my husband and I made the best fire pit in ALL THE LAND. And how I can use it to roast my marshmallows.

fire pit 1Our original plan for a fire pit was to just dig a hole in the ground, throw some wood in and light it on fire. But then, on one of our trips to Home Depot we saw that they sold fire pit kits made out of RumbleStone. They had a bunch of different options, but we decided to go for Round Fire Pit No. 1 with a couple of changes.

On our first trip, we picked up the stones we would need (36 mini’s and 36 traps) and a tube of landscaping caulk. We didn’t bother with the insert because we wanted to be able to make larger fires. Also, why pay for an insert if you don’t really need one? The one thing that I found lacking is that there were no instructions included. The brochure pointed us to the Home Depot website to find the RumbleStone instructions… but all I saw was a video.

So, I thought that there might be other people out there who could use some help and put together this blog post.

rumblestone fire pit instructions

Once we got home, we started by picking a spot in the yard that was a good distance from the house and any trees and set down the first layer of stone to figure out the spacing.

fire pit 2

In order to make it easier for us* to mow the lawn, we decided to dig out some extra surrounding area around the stones. This way, instead of using the weedwacker right next to the stones (and having them break down over time) we had a little barrier. We used one of the mini stones to make the spacing even all around.

fire pit 3

Travis then used a little spray paint to mark where the stones would sit, before he threw them aside so he could start digging.

fire pit 4

And dig he did. The grass and dirt that came out of the hole ended up being three trips with the wheelbarrow!

fire pit 5

And more digging. This totally wasn’t like it was on TV where the entire project was finished in 20 minutes…

fire pit 6

After all the digging was finished, Travis used a rake to brush the dirt around so it was nice and even. Well, even-ish. It was still pretty crooked, but we hoped that the stones would cover that!

fire pit 7

Finally, we were able to put the first layer of stones down. Look, it almost looks like a real fire pit!

fire pit 8

Then, I came in with my handy-dandy caulk gun and made a zigzag pattern on top of all of the stones.

fire pit 9

Travis came behind me and placed the second row of stones into the caulk, giving them a nice little wiggle to make sure that they would stay affixed.

fire pit 10

One more layer of caulk and one more layer of stones, and we were done. Well, almost.

fire pit 11

Our fire pit didn’t look like the most awesome fire pit in ALL THE LAND… it looked… well. Kind of lame. So the next night, we went out and bought some more supplies: 5 bags of base sand, 5 bags of pea pebbles and some plastic lawn edging.

Unfortunately, I don’t have any ‘in progress’ pictures of this part because I was making a delicious dinner inside while corralling Jack and dealing with a sick dog. While I was playing Supermom, Travis cut the plastic edging to size and smushed it into the exterior circle. Then, he added a thick layer of sand and topped it with a layer of pea pebbles.

fire pit 12

Here’s a close up. The pebbles aren’t super pretty, but they were cheap and did the job!

fire pit 13

So NOW we do have the prettiest fire pit in ALL THE LAND! After we put Jack to bed on Saturday night, we filled it with wood, grabbed some super-sized marshmallows and bottle of wine, and broke it in!

fire pit 14

Here’s the cost breakdown:

  • RumbleStone mini’s: $20.88
  • RumbleStone traps: $89.28
  • Landscape caulk: $4.97
  • Caulk gun: $1.97
  • Plastic lawn edging: $9.47
  • 5 bags leveling sand: $17.45
  • 5 bags pea pebbles:$17.40

Total: 161.42

I LOVE having the fire pit in my yard because it’s totally like camping. But not, because I can go inside to use the bathroom instead of squatting in the woods and falling over. In a few years I can imagine us setting up our tent next to the fire pit and having Jack and his friends sleep outside for a fun boy’s party. Heck, I can see us setting up the tent NOW for a fun Mommy and Daddy party!

I do think we’re going to have to take one more trip to Home Depot to pick up a few Adirondack chairs (maybe a small side table too) in order to make the area super comfy for entertaining friends.

I also need to find some fun recipes for cooking food over a bonfire! I’m pretty darn good at making s’mores and also roasting hotdogs. Do you have any favorites that we should try?


*and by “us” I mean, Travis.

Come & Knock on my Door

Can you hear that?

Listen really hard… hear it?

That faint clucking noise is the sound of smug satisfaction in Joules-town. It’s like Funky Town, but with more failing arms and karate kicks.

Yeah, that’s right – I finished another house project!

One of the first things I added to my house list over a year ago was to paint our outdated evergreen colored door (apparently the previous owners really liked green). The door is a really nice one from Pella, so I really didn’t want to replace it… but the color was just so BORING. And early 1990’s.

old door 2

The door was green EVERYWHERE too – both inside and outside. Oh yeah, AND the inside surrounding trim. Blegh. Just the trim around the door though… the rest of the entrance has white trim. My husband said it best when he assumed they must have been thinking, “Holy crap this door is ugly, maybe we should paint the trim the same color so it blends in more?”

old door 1

With my mission to bring our door into 2013, I grabbed a bunch of fun colored swatches from Home Depot and we taped them up and stared at them for a couple of days…

swatches 1

Then we narrowed them down and stared a little more…

swatches 2

We wanted something that went well with the rest of our house and also worked well with the existing glass door. Finally, we picked a winner (Clover by Behr) and bought a quart of paint. And then… nothing. Life got busy and it sat in the coat closet for a few weeks.

This past holiday weekend was the perfect time for me to get my painting groove on and I finally had a chance to give the door a quick sanding (just the outside because it looked like there was a herd of bugs stuck in the old paint) and throw on my first coat. And yes, the first coat always looks horrible and you run around all confused wondering why you made such a terrible, terrible mistake…

coat 1

Then my second and third coat.

coat 3

Oooh, check out that fresh white trim! Here are some more saucy poses…

new door -1

new door 2

I LOVE the finished door. My husband tentatively liked it but said that it’s totally growing on him. So he’ll probably be joining me in giving it long lingering glances as I pass by it throughout the day. The only thing I’m not crazy about is the hardware, so I’m going to keep my eyes peeled for something fabulous next time we stop by the ol’ HD.

How was your holiday weekend? Did you finally finish a project that has been waiting in the wings (or hall closet) for ages? Do you walk past your front door and give it sexy bedroom eyes?